Starting your journey with a dwarf mountain pine begins with the critical process of planting and understanding how to expand your collection. Whether you are adding a single specimen to a rock garden or planning a larger landscape feature, the initial steps determine the plant’s long-term success. You must approach the planting process with precision, focusing on the needs of the roots and the surrounding soil environment. Propagation, while more challenging, offers a rewarding way to create new plants from your existing favorites.
The ideal time to plant your dwarf mountain pine is during the cooler months of spring or early autumn. This timing allows the root system to establish itself without the added stress of extreme summer heat or deep winter freezes. You should prepare the site well in advance, ensuring that the soil is loose and free of aggressive weeds. A well-planned start is the best insurance policy for a plant that may live for many decades.
Propagation requires patience and a bit of technical knowledge, but it is a fascinating aspect of gardening for many enthusiasts. You can choose between starting from seeds or taking cuttings, each with its own set of advantages and difficulties. While professional growers often handle these tasks, an ambitious home gardener can achieve great results with the right equipment and timing. Learning these skills deepens your connection to the life cycle of your garden.
This article will guide you through the professional techniques for both planting and propagation. You will learn how to handle the roots with care and how to encourage new growth in a controlled environment. By following these expert tips, you can ensure that your dwarf mountain pines get the very best start in life. A successful planting or propagation project is a testament to your skill and dedication as a horticulturist.
Selecting the right site and soil
Before you even dig a hole, you must carefully evaluate the potential site for your new dwarf mountain pine. These plants require a location that receives full sun for at least six to eight hours a day to maintain their compact form. You should also consider the wind patterns in your yard, as very exposed sites may dry the plant out too quickly in the winter. A site with good natural drainage is the most important factor to look for during your assessment.
More articles on this topic
The soil at the planting site must be prepared to provide the best possible drainage and nutrient availability. If your garden has heavy clay, you should consider amending it with coarse sand or fine gravel to improve the structure. You can also incorporate a small amount of organic compost, but be careful not to make the soil too rich. These pines thrive in soils that are somewhat lean, mimicking the mineral-rich environments of their native mountain slopes.
Testing the soil pH is a wise move, as dwarf mountain pines prefer a slightly acidic to neutral range. If your soil is highly alkaline, the plant may suffer from nutrient deficiencies that lead to poor color and stunted growth. You can use soil acidifiers if necessary, but it is often better to choose a site that is naturally close to the ideal range. Understanding your soil’s baseline helps you create a stable environment for the pine’s roots.
Consider the surrounding plants and how they might compete for resources like water and light. You should provide enough space so that larger shrubs or trees do not shade out your young pine as they grow. Air circulation is vital for preventing needle diseases, so avoid planting in low-lying pockets where air becomes stagnant. By thinking ahead, you can avoid the need to transplant the pine later, which is always a risky procedure.
The technical steps of planting
When you are ready to plant, dig a hole that is at least twice as wide as the root ball but no deeper. The goal is to provide loose soil for the roots to expand into while keeping the plant at the correct depth. You should check the bottom of the hole to ensure it is firm so the plant doesn’t sink over time. If the soil is very compacted, you can gently roughen the sides of the hole with a shovel to help roots penetrate.
More articles on this topic
Carefully remove the pine from its nursery container, taking care not to damage the root system. If the roots are circling the pot, you should gently tease them outward so they can grow into the surrounding soil. You must avoid breaking the main root ball, as this can cause significant transplant shock to the evergreen. Placing the plant in the center of the hole, ensure that the top of the root ball is level with the soil surface.
As you backfill the hole, use the original soil you removed, perhaps mixed with a small amount of soil conditioner if needed. You should press the soil down firmly with your hands to remove any large air pockets, but do not stomp on it with your feet. Air pockets can cause roots to dry out, while over-compaction can prevent water from reaching them. Water the plant thoroughly immediately after planting to help settle the soil around the roots.
Finally, apply a two-inch layer of organic mulch, such as wood chips or pine bark, around the base of the plant. You must keep the mulch a few inches away from the trunk itself to prevent moisture from sitting against the bark. This mulch layer helps regulate soil temperature and conserves moisture during the critical first year. A well-planted dwarf mountain pine will quickly begin the process of anchoring itself into its new home.
Propagation from seeds
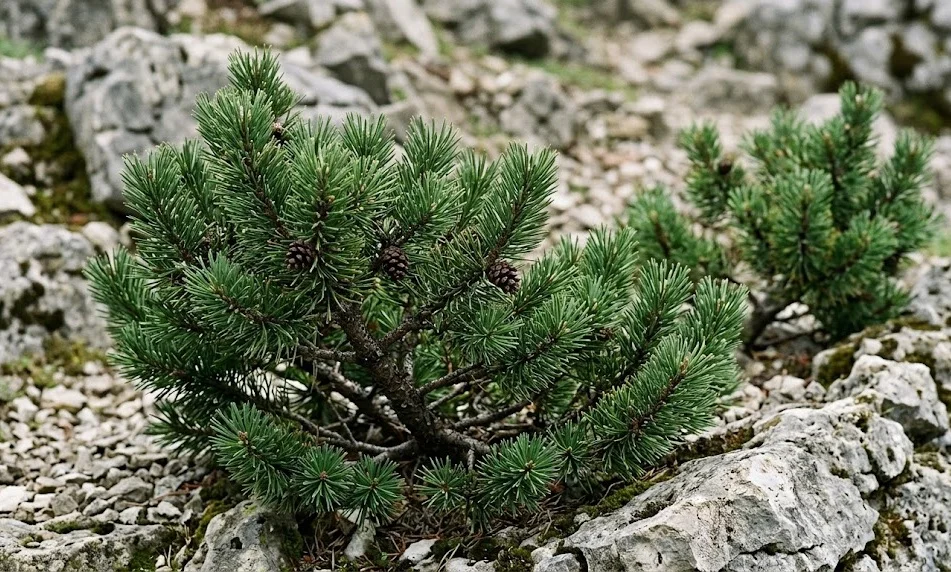
Starting dwarf mountain pines from seed is a slow but deeply rewarding process that requires specific preparation. You should collect seeds from mature cones in late autumn when they have turned brown and begun to open. The seeds must then undergo a process called stratification, which mimics the cold winter they would experience in nature. You can do this by placing the seeds in a damp medium in your refrigerator for several weeks before sowing.
Once the stratification period is over, sow the seeds in a well-draining seed-starting mix in early spring. You should place them just below the surface and keep the medium consistently moist but not soaking wet. A warm, brightly lit area is necessary for germination, though you should avoid direct, scorching sunlight at this stage. Patience is essential, as it may take several weeks or even months for the first sprouts to appear.
As the seedlings grow, they will need careful monitoring to prevent “damping off,” a common fungal disease that affects young plants. You should provide gentle air circulation and ensure they are not overcrowded in their trays. Once the seedlings have developed their first true needles and a small woody stem, they can be moved into individual pots. This transition requires a light touch to avoid damaging the delicate young root systems.
Young seed-grown pines are very vulnerable and should be kept in a protected environment for at least a year or two. You should gradually acclimate them to outdoor conditions before planting them in their permanent garden locations. While they may not grow exactly like the parent plant due to genetic variation, this is part of the excitement of growing from seed. You might discover a unique form or color that is perfectly suited to your specific garden environment.
Propagation from cuttings
Taking cuttings is a more reliable way to produce a “clone” of a specific dwarf mountain pine cultivar you admire. The best time to take cuttings is in late winter or early spring while the plant is still dormant but about to wake up. You should select healthy, semi-hardwood stems from the current year’s growth that are about four to six inches long. Using a sharp, sterilized knife or shears is critical to making a clean cut that will heal properly.
Prepare the cuttings by removing the needles from the bottom half of the stem to expose the wood. You should dip the base of the cutting into a rooting hormone to encourage the development of new roots. Insert the cuttings into a sterile, well-draining medium like a mix of perlite and peat moss. It is important to keep the environment around the cuttings humid, often by using a plastic dome or a specialized propagation chamber.
Rooting evergreen cuttings can be a long process, often taking several months to show signs of success. You should keep the medium moist and maintain a steady, cool temperature to prevent the cuttings from drying out or rotting. Check for root development by giving the cuttings a very gentle tug; if you feel resistance, roots are beginning to form. Avoid the temptation to move them too soon, as the new roots are incredibly fragile.
Once a strong root system has developed, you can begin the process of hardening off the new plants. This involves slowly exposing them to lower humidity and more variable temperatures over several weeks. Eventually, you can transplant them into larger pots with a standard evergreen soil mix. Propagation by cuttings allows you to expand your garden with plants that you know will have the exact characteristics you desire.