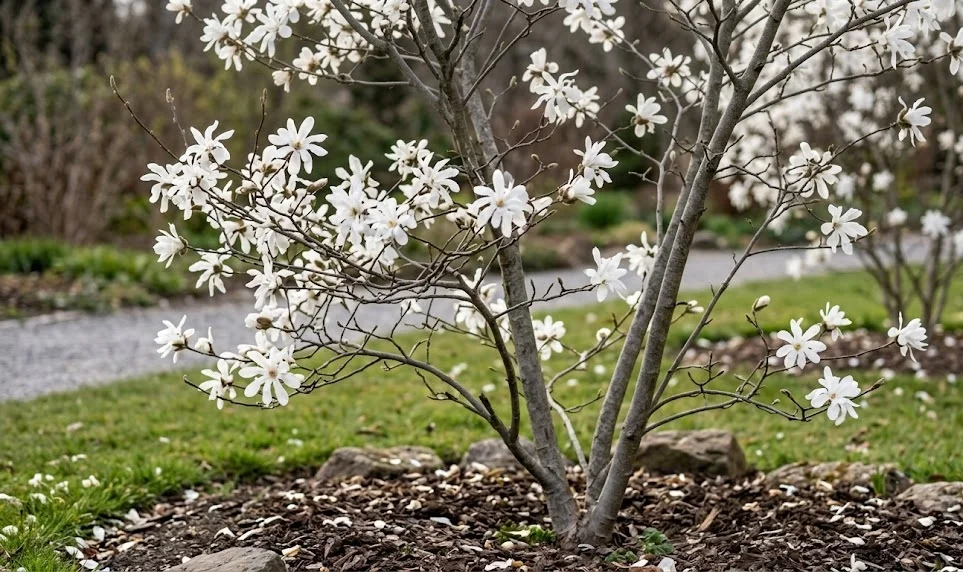
Starting a new journey with this elegant tree begins with a deep understanding of how to correctly place it in the earth. The planting process is far more than just digging a hole and covering the roots with soil as many might assume. It requires a strategic selection of location, careful preparation of the growing medium, and a gentle touch during the transition. When you get the planting phase right, you significantly reduce the risk of transplant shock and set the stage for rapid growth.
Choosing the right spot in your landscape is the most important decision you will make for the future of the tree. You should look for a place that offers plenty of room for both the roots and the canopy to expand without restriction. Consider how the sunlight moves across your yard throughout the day and how it changes during the different seasons. A spot that gets full morning sun but offers some protection from the harsh afternoon heat is often the best choice.
The preparation of the site should begin weeks before the actual tree arrives from the nursery or your propagation area. You should clear away any competing vegetation and loosen the soil in a wide area around the intended planting hole. This loose soil encourages the new roots to push out horizontally and establish a wide, stable base for the growing trunk. Adding some organic compost during this stage can help jumpstart the biological activity in the soil that the tree needs.
The depth of the planting hole is a technical detail that can make or break the health of your magnolia. You must ensure that the flare of the trunk, where the roots meet the stem, is exactly at or slightly above the ground level. Planting too deep can lead to stem rot and suffocation of the roots, while planting too high can cause the roots to dry out. It is better to spend extra time measuring the depth twice than to have to dig the tree back up later.
Preparing the ground for successful establishment
Once the hole is ready, you should focus on the quality of the soil you will use to backfill around the root ball. Using the native soil mixed with a small amount of high-quality organic matter is usually the most effective approach for gardeners. This helps the tree get used to the natural conditions of your garden while still providing a little extra boost of nutrition. Avoid using too much heavy fertilizer in the planting hole, as it can burn the sensitive new root tips.
More articles on this topic
You should also check for any large rocks or debris that might hinder the path of the emerging roots in the surrounding area. Breaking up any hardpan layers of soil at the bottom of the hole is essential for preventing water from pooling around the roots. If the water cannot move away from the root zone, the plant will struggle to take in oxygen and may eventually die. A well-prepared ground is like a comfortable bed that allows the tree to rest and then grow with vigor.
Watering the hole before you place the tree can provide a deep reservoir of moisture that the roots can tap into immediately. This ensures that the surrounding soil is already saturated and won’t pull moisture away from the root ball after planting. It also helps settle the soil and eliminates any large air pockets that could cause the roots to dry out over time. This proactive step is a hallmark of an expert gardener who understands the subtle needs of woody plants.
After the tree is in place and the soil has been gently firmed down, applying a layer of mulch is the final critical step. The mulch acts as a protective blanket that keeps the soil temperature stable and prevents moisture from evaporating too quickly. It also suppresses weeds that would otherwise compete with the young tree for the limited resources available in the soil. Make sure to keep the mulch a few inches away from the trunk itself to prevent moisture from building up against the bark.
Propagation from seeds for the patient gardener
Propagating this species from seed is a slow but incredibly rewarding process that allows you to create many new plants. The seeds are typically harvested in the late summer or early autumn when the fruit pods begin to split open. You will find that the seeds are covered in a fleshy, bright orange or red coat that must be removed before planting. Cleaning the seeds is a messy but necessary task to prevent mold and ensure the best possible germination rates.
More articles on this topic
Magnolia seeds require a period of cold stratification to break their natural dormancy and prepare them for growth in the spring. You can achieve this by placing the cleaned seeds in a bag with moist sand or peat moss and keeping them in the refrigerator. This process mimics the natural winter cycle that the seeds would experience if they were left on the ground in the wild. After several months of cold, the seeds will be ready to feel the warmth of the spring sun and begin to sprout.
When the time comes to sow the seeds, use a light and well-draining seed-starting mix that won’t hold too much water. Place the seeds just below the surface and keep the soil consistently moist but never waterlogged or soggy. Germination can be erratic, with some seeds sprouting quickly while others may take several more weeks or even months to appear. Seeing the first green shoots emerge from the soil is a magical moment for any dedicated plant enthusiast or hobbyist.
As the seedlings grow, they will need plenty of bright light and protection from strong winds or extreme temperature changes. You should gradually acclimate them to the outdoor environment through a process known as hardening off before they are permanently planted. This involves moving them outside for a few hours each day and slowly increasing their exposure to the sun and wind. Growing your own trees from seed gives you a unique connection to the plants that populate your garden landscape.
Creating new plants through softwood cuttings
If you want a faster method of propagation, taking softwood cuttings in the early summer is an excellent professional technique to master. You should look for young, flexible shoots that have just started to turn slightly woody at the base but are still green. The best time to take these cuttings is in the early morning when the plant is fully hydrated and the cells are turgid. Using sharp, sterilized shears will ensure a clean cut that heals quickly and reduces the risk of introducing pathogens.
Each cutting should be about four to six inches long and contain at least two or three leaf nodes for the best results. You should remove the leaves from the bottom half of the cutting to prevent them from rotting when they are placed in the soil. Dipping the cut end into a rooting hormone can significantly increase the chances of successful root development on the new stem. This hormone mimics the natural signals that tell the plant to stop growing leaves and start growing roots instead.
The cuttings need to be placed in a high-humidity environment to prevent them from drying out before they can grow their own root system. Many gardeners use a small propagator or simply cover the pots with a clear plastic bag to trap the moisture inside. Keep them in a bright spot but out of direct sunlight, which can cause the temperature inside the plastic to rise too high. Within a few weeks, you should start to see signs of new growth indicating that the roots are forming.
Once the cuttings have established a strong root system, they can be moved into larger pots with a standard potting mix. It is important to continue monitoring their moisture levels and providing them with a little extra care as they continue to develop. Eventually, these new plants will be strong enough to join the other members of your garden out in the open soil. This method allows you to clone your favorite trees and share them with friends and neighbors in your community.