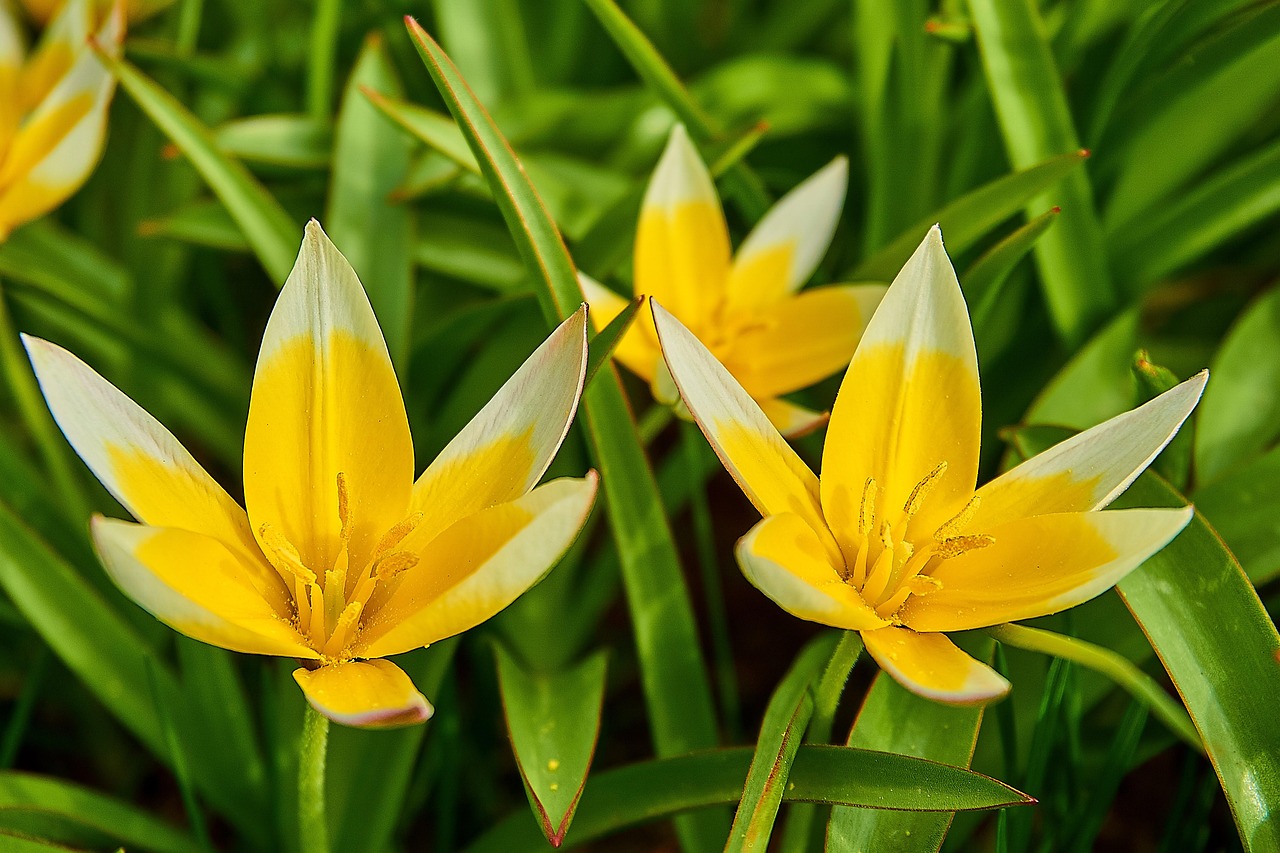
After the vibrant, multi-headed blooms of Tulipa praestans have passed their peak and the petals begin to fall, a simple but crucial task known as deadheading should be performed. Deadheading is the process of removing the spent flower heads from the plant. The primary purpose of this action is not merely cosmetic; it is a vital step in redirecting the plant’s energy towards the most important goal: strengthening the bulb for the following year’s display. If the faded flowers are left on the stem, the plant’s natural instinct is to begin producing seeds, a process that consumes a significant amount of its precious energy reserves.
By removing the developing seed pod, you effectively halt this energy-draining process. All the energy that would have gone into seed production is now channelled downwards, back into the bulb. This energy is stored in the form of carbohydrates and is used to fuel the bulb’s survival through its summer dormancy and to initiate the formation of the flower embryos for the next spring. Consistent deadheading is one of the most significant factors that contributes to the successful perennialization of tulips, ensuring they return with vigour year after year.
The process of deadheading is simple and can be done in one of two ways. You can either use a clean, sharp pair of secateurs or scissors to snip off the flower head at the top of the stem, just below the base of the flower. Alternatively, you can simply snap the head off with your fingers. It is important to remove only the flower head and the small section of stem immediately below it. The main flower stalk and all the leaves must be left intact and undisturbed.
This task should be carried out as soon as the flowers look tatty and have lost their ornamental value. There is no benefit to leaving the withered blooms on the plant. By deadheading promptly, you maximize the amount of time the plant has to focus its energy on bulb replenishment. This simple act of garden maintenance, which takes only a few moments, pays significant dividends in the long-term health and performance of your bunch-flowering tulips.
Why you must not cut the foliage
The period after flowering is the most critical time for the tulip bulb’s life cycle, and the single biggest mistake a gardener can make during this phase is to prematurely cut back the foliage. While the green leaves may start to look untidy and flop over, they are now functioning as the plant’s engine room. They are actively photosynthesizing, capturing sunlight and converting it into the essential food reserves that are being transported down to the bulb. Cutting the leaves off while they are still green effectively starves the bulb and severely compromises its ability to produce a flower the following year.
More articles on this topic
It is absolutely essential to allow the foliage to remain on the plant until it has completed its work and has withered and turned completely yellow or brown on its own. This natural process of senescence is the visual confirmation that the transfer of energy to the bulb is complete. At this point, the leaves will have a dry, papery texture and will often pull away from the ground with a gentle tug. This process typically takes around six weeks after the flowering period has ended.
During this foliage maturation period, it is important to continue to care for the plant. If the weather is dry, provide occasional watering to keep the soil lightly moist, as the roots are still active. The temptation to braid, tie up, or bundle the leaves to make them look neater must also be resisted. While well-intentioned, these actions fold and crease the leaves, reducing the surface area exposed to the sun and restricting the flow of nutrients within the plant’s vascular system, thereby hindering the vital process of photosynthesis.
The aesthetic issue of the declining foliage is best managed through clever companion planting. As discussed previously, positioning your tulips among perennials like hostas, geraniums, or daylilies whose foliage emerges later in the spring is an excellent strategy. As these companion plants grow, their leaves will naturally unfurl and expand, effectively camouflaging the yellowing tulip leaves and ensuring the garden bed remains attractive throughout the transition.
Cutting flowers for indoor arrangements
The multi-flowered stems of Tulipa praestans make them a charming and delightful cut flower for bringing a splash of spring colour indoors. However, when cutting the flowers for arrangements, it is important to do so in a way that minimizes the negative impact on the bulb’s health. The key principle to remember is that every leaf you remove detracts from the bulb’s ability to recharge itself for the following season. Therefore, the goal is to cut the flower stem while leaving as much of the foliage on the plant as possible.
More articles on this topic
The best time to cut tulips for the vase is in the cool of the morning when the flowers are fully hydrated. Select stems where the buds are showing full colour but have not yet fully opened. This will ensure the longest possible vase life. Using a sharp, clean knife or secateurs, cut the stem at an angle. Try to leave at least two of the largest leaves remaining on the plant at its base. These lower leaves are the most important for photosynthesis, and leaving them intact gives the bulb a fighting chance to recover and bloom again next year.
Once cut, immediately place the stems into a clean vase filled with cool water. It can be beneficial to re-cut the stems underwater to prevent air bubbles from entering the vascular system, which can block water uptake. Adding a floral preservative to the water can also help to extend the life of the blooms and keep the water clean. Keep the vase in a cool location, away from direct sunlight and sources of heat, and change the water every day or two to keep the flowers fresh.
While cutting the flowers is a wonderful way to enjoy them, it is important to acknowledge that it will inevitably have some impact on the bulb’s vigour. For this reason, if your primary goal is the long-term perennialization and naturalization of a large outdoor display, it is best to limit the number of flowers you cut. Consider having a dedicated cutting patch, or resolve to sacrifice the blooms on a few plants for indoor enjoyment while leaving the majority in the garden to complete their natural life cycle undisturbed.

The practice of deadheading is often dismissed as purely aesthetic, but for a species like Tulipa praestans, it is a biological necessity if you want the bulbs to multiply. When the plant starts producing seed pods, it diverts a massive amount of carbohydrates away from the bulb and toward the seeds. Since most gardeners prefer bulb propagation over the slow process of growing from seed, this energy is essentially “wasted.” I use sharp snips to remove the head just below the flower base, leaving as much of the stem as possible. The stem is still green and capable of photosynthesis, so it continues to contribute energy back to the bulb. It’s a small task that yields huge dividends for the following year’s display.
I’m glad you mentioned leaving the stem, James, as I see so many people cutting the whole thing down to the ground. That stem is basically a little solar panel for the bulb during those crucial few weeks after flowering. I’ve even experimented with leaving some stems and cutting others on the same clump. The ones with the stems left intact always produced larger offsets by the following autumn. It’s a clear demonstration of how every bit of green tissue matters for bulb recovery.
Regarding the foliage, the “tidy gardener” instinct is often the enemy of a healthy tulip. I tell my clients they must resist the urge to braid or tie the leaves together as they start to fade. This practice reduces the surface area exposed to the sun and can trap moisture, leading to fungal issues. The leaves should be allowed to flop and turn yellow naturally. If the sight of dying foliage is too much, I suggest planting them behind later-emerging perennials like Hostas or hardy Geraniums. These will hide the tulip’s decline while still allowing it the space it needs to complete its life cycle.
The idea of using Hostas as a “screen” is excellent advice, Elena. I use Nepeta (Catmint) for the same purpose, as its bushy growth covers the yellowing tulip leaves perfectly by late May. It’s also important to note that you should never pull the leaves off before they are completely brown. If there’s any resistance when you tug on them, the bulb hasn’t finished its nutrient transfer yet. If you pull too early, you risk tearing the neck of the bulb, which opens it up to soil-borne pathogens.
I’ve found that the bunch-flowering varieties tend to have foliage that stays green slightly longer than the large hybrids. This might be because they are closer to their wild ancestors and have a more robust constitution. I usually give mine a very light liquid feed right after the flowers fade to help that foliage do its job even better. I make sure the feed is low in nitrogen and high in potassium to strengthen the bulb itself. This seems to result in a much better “return” the following year.
One quick tip: when you are deadheading, make sure you don’t accidentally snip off any remaining buds that haven’t opened yet! Because these are “bunch-flowering,” the buds can open at slightly different times. I usually wait until the very last petal of the entire stem has fallen before I go in with the shears. It saves time and ensures you enjoy every bit of the display. It’s a small detail, but one that makes a difference when you have hundreds of bulbs to manage.
Just finished my first round of deadheading for the season! My ‘Fusilier’ tulips were spectacular this year, with some stems producing up to five large blooms. I’m following the advice about leaving the stems intact and I can already see how much green surface area is left. It’s a great feeling to know that I’m helping the bulbs prepare for next year. Thanks for the clear explanation of why this process is so important for the plant’s health.