The successful establishment of this shrub begins with a thorough understanding of the planting site and its specific characteristics. You must choose a location that provides the right balance of environmental factors to support healthy growth from day one. Proper preparation of the soil and the surrounding area will pay off in the form of a much more resilient plant. Taking the time to do things correctly at the beginning saves a lot of work and frustration in the long run.
Before you even bring the plant home, you should analyze the drainage patterns of your chosen spot. This shrub does not enjoy sitting in stagnant water, which can quickly lead to root rot and other issues. You can test the drainage by digging a small hole and filling it with water to see how fast it disappears. If the water lingers for hours, you might need to consider raising the planting bed or choosing a different location.
Selecting the right time of year for planting is also a critical decision for any serious gardener. You should ideally aim for the early spring or the middle of autumn when the weather is mild. These periods allow the roots to settle into their new home without the stress of extreme heat or cold. Planting during a cloudy day can further reduce the transplant shock that the shrub might experience.
Once you have the site ready, you should ensure that the hole is at least twice as wide as the root ball. This gives the roots plenty of room to expand into loosened soil as they begin to grow. You should avoid planting the shrub deeper than it was growing in its original container. Keeping the root collar at the soil level is essential for preventing trunk rot and ensuring proper respiration.
Planting techniques and initial steps
When you are ready to place the plant in the ground, handle the root ball with extreme care to avoid damage. You should gently loosen any circling roots that might have formed if the plant was in a pot for too long. This encourages the roots to grow outward into the surrounding soil rather than continuing to circle. A healthy root structure is the most important factor for the plant’s long-term stability.
More articles on this topic
Filling the hole with a mixture of native soil and high-quality compost will provide a nutrient-rich start. You should firm the soil down gently with your hands or feet to remove large air pockets. Be careful not to pack the soil too tightly, as this can impede water penetration and root growth. Finding the right balance of firmness and porosity is key to a successful planting process.
Immediately after planting, you must provide a generous amount of water to settle the soil around the roots. This initial watering helps to eliminate any remaining air gaps and ensures the roots have immediate access to moisture. You should continue to monitor the soil moisture daily for the first few weeks to ensure the plant does not dry out. A consistent supply of water during the establishment phase is non-negotiable for success.
Applying a thin layer of mulch around the base of the newly planted shrub will help conserve moisture and suppress weeds. You should keep the mulch a few inches away from the stem to allow for proper air circulation. This layer also helps to moderate soil temperature fluctuations during the transition period. A well-mulched plant is much less likely to suffer from environmental stress during its first season.
Propagation by softwood cuttings
Propagation through cuttings is an excellent way to expand your garden without spending a lot of money on new plants. You should take softwood cuttings in the early summer when the new growth is still flexible but starting to mature. Choose healthy, disease-free stems that show no signs of stress or pest damage. Using a sharp, sterilized knife or pruners will ensure a clean cut that heals quickly.
More articles on this topic
Each cutting should be about four to six inches long and include at least two or three nodes. You should remove the leaves from the bottom half of the cutting to reduce moisture loss and expose the nodes. Dipping the cut end into a rooting hormone can significantly increase the chances of successful root development. This simple step provides the chemical signal the plant needs to start producing new roots.
Place the cuttings into a well-draining rooting medium, such as a mix of peat and perlite or sand. You should keep the medium consistently moist but not soaking wet to prevent the stems from rotting. Placing a clear plastic cover over the container can help maintain high humidity around the foliage. This creates a mini-greenhouse environment that supports the cutting until it can draw water through its own roots.
Check for root development after a few weeks by gently tugging on the cuttings to see if there is resistance. Once a strong root system has formed, you can transplant the young plants into individual pots. You should gradually acclimate them to the outside environment before planting them in their permanent location. This hardening-off process is essential for the survival of the young and tender specimens.
Seed propagation and layering methods
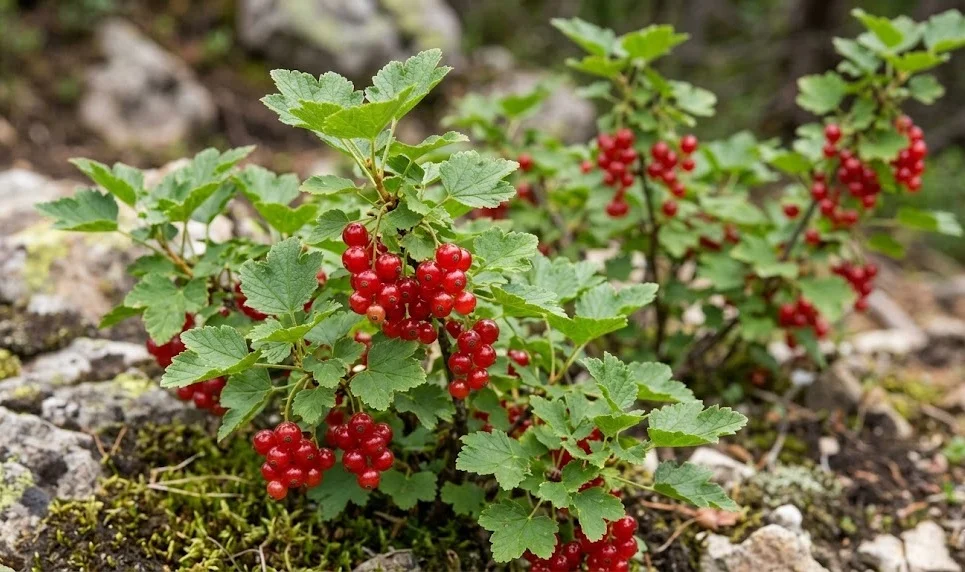
While growing from seed is a slower process, it can be a rewarding way to produce a large number of plants. You should collect the ripe berries in late summer and extract the seeds from the pulp immediately. The seeds often require a period of cold stratification to break their natural dormancy before they will germinate. This mimics the winter conditions they would experience in the wild and prepares them for spring growth.
Sow the seeds in a tray filled with high-quality seed starting mix and cover them with a thin layer of soil. You should keep the tray in a cool, bright location but away from direct, scorching sunlight. Germination can be irregular, so you must be patient and keep the soil moisture levels consistent. Once the seedlings are large enough to handle, they can be moved into larger containers to continue their development.
Layering is another effective propagation technique that takes advantage of the shrub’s natural growth habit. You should choose a flexible, low-growing branch and gently bend it down to the ground. Small incisions on the underside of the branch can encourage root formation at the point of contact with the soil. Secure the branch in place with a landscape pin and cover the wounded section with soil and mulch.
It may take a full growing season for the layered branch to develop a sufficient root system of its own. You should check the progress periodically by carefully moving a small amount of soil to look for roots. Once the roots are well-established, you can sever the new plant from the parent shrub. This method is highly reliable because the new plant remains attached to the parent for nutrients during the entire process.