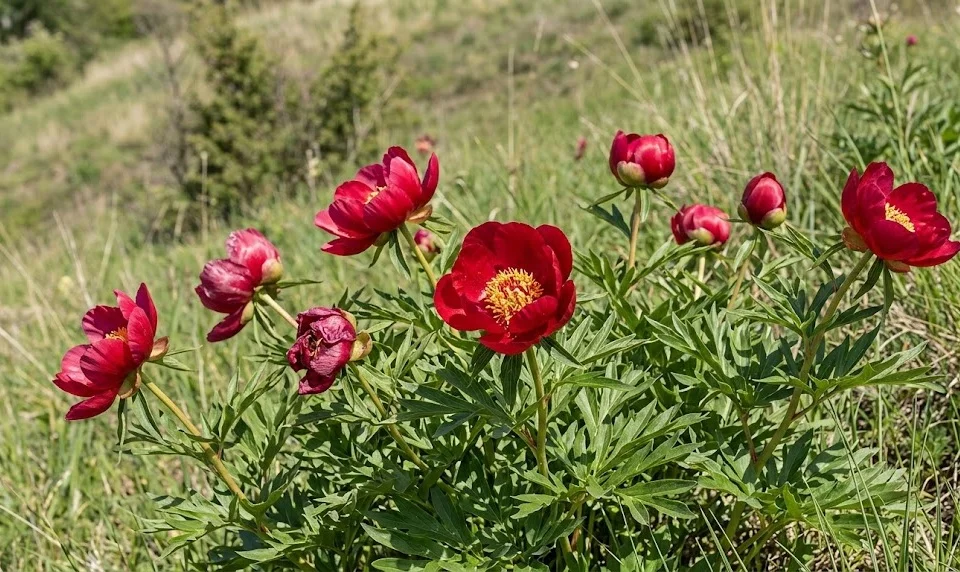
Successful establishment of this rare perennial begins with a precise understanding of its preferred environmental conditions and soil chemistry. You must select a site that mirrors its native habitat, focusing on well-drained locations with a high mineral content in the substrate. Planting is a critical phase that determines the future health and blooming potential of the specimen for many years to come. A professional approach to the initial installation will prevent many common issues associated with root stress and poor development.
The timing of planting is one of the most important factors to consider when introducing this species to your garden landscape. Early autumn is generally considered the optimal period, as it allows the roots to settle before the ground freezes while the plant is entering dormancy. You should avoid planting in the spring if possible, as the rapid onset of top growth can put excessive strain on an unestablished root system. Professionals prefer the cool, moist conditions of fall to ensure a high success rate and a more robust start in the following year.
Site preparation involves more than just digging a hole; it requires a systematic improvement of the local soil environment to meet the plant’s needs. You should excavate an area significantly larger than the root ball to allow for the incorporation of organic matter and drainage-improving materials. If your garden has heavy clay soil, adding coarse sand or fine grit will help prevent the waterlogging that often leads to root rot. This investment in preparation creates a reservoir of nutrients and a physical structure that encourages deep and healthy root penetration.
The orientation of the planting site should provide a balance of light and protection from the elements to ensure optimal growth. While the plant enjoys bright conditions, a spot that receives some dappled shade during the hottest part of the afternoon is often ideal. You should also consider the proximity of large trees, as their roots can compete for moisture and nutrients, potentially stunting the peony’s growth. Careful planning of the spatial arrangement within the garden ensures that the plant has the room it needs to reach its full mature size.
Planting depth and mechanics
The depth at which the root crown is placed in the soil is perhaps the most technical and critical aspect of the entire planting process. You must ensure that the “eyes” or growth buds are covered by no more than five centimeters of soil in temperate climates. If they are planted too deeply, the plant may produce lush foliage but will consistently fail to produce any flowers. Conversely, planting them too shallowly leaves the buds vulnerable to desiccation and damage from extreme winter temperatures.
More articles on this topic
Handling the root system requires a delicate touch to avoid breaking the brittle storage roots that contain the plant’s energy reserves. You should spread the roots out naturally in the planting hole, ensuring they are not cramped or circling back on themselves. Gently firming the soil around the roots as you fill the hole eliminates air pockets that could cause the roots to dry out. Professional gardeners often use a mixture of native soil and compost to ensure a smooth transition for the plant into its new environment.
Initial watering after planting is essential to settle the soil and provide the necessary hydration for the roots to begin their recovery. You should apply water slowly and deeply, making sure it reaches the entire depth of the root zone without causing erosion. This first irrigation helps to establish a good contact between the soil particles and the root surfaces, facilitating the uptake of moisture. Monitoring the moisture levels during the first few weeks after planting is a vital part of the establishment phase.
Mulching immediately after planting provides a protective layer that helps to stabilize soil temperatures and retain moisture during the transition period. You should use a light, breathable material like shredded bark or leaf mold, keeping it a few inches away from the center of the crown. This layer also prevents the soil from crusting over, which can interfere with water penetration and gas exchange in the root zone. A well-mulched planting site looks professional and provides the best possible start for a new botanical acquisition.
Propagation through seed
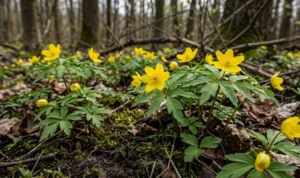
Propagating this species from seed is a task that requires a significant amount of patience and a professional understanding of plant biology. The seeds possess a complex double dormancy, meaning they require specific sequences of warm and cold periods to trigger germination. You should sow the seeds immediately after they are harvested in the late summer while they are still fresh and viable. This natural timing aligns with the environmental cues the seeds would receive in their native woodland settings.
More articles on this topic
Using a specialized seed-starting mix that offers both moisture retention and excellent drainage is essential for success with this method. You should place the pots in a protected outdoor location where they can experience the natural fluctuations of the seasons. It often takes two full years for the first leaves to appear above the soil surface, as the first year is dedicated to root development. This slow process is why seed-grown plants are highly valued and require constant monitoring during their early stages of life.
Maintaining consistent moisture levels in the seed trays is a delicate balance that must be managed throughout the long germination period. You should ensure the substrate never dries out completely, but it must also never remain saturated, which would cause the seeds to rot. Providing a layer of grit on the surface can help prevent the growth of moss and liverworts that might compete with the emerging seedlings. Professional propagation requires a dedicated space where environmental variables can be observed and managed with precision.
Once the seedlings have developed their first true leaves, they should be handled with extreme care during any transplanting efforts. You should wait until the young plants have a substantial root system before moving them to their permanent positions in the garden. It can take five to seven years for a seed-grown peony to produce its first flowers, making this a project for the truly dedicated horticulturist. The reward is a genetically unique individual that contributes to the diversity and resilience of your garden collection.
Vegetative propagation and division
Division is the most common method for increasing your stock of mature plants while maintaining the exact characteristics of the parent specimen. You should only attempt this process on healthy, established plants that are at least five to eight years old. The best time for division is in the early autumn when the plant is dormant but the soil is still warm enough for some root growth. A professional division ensures that each new section has a healthy piece of the root crown and at least three to five strong buds.
The process begins by carefully lifting the entire root mass from the ground using a sharp spade or garden fork to minimize damage. You should wash away the excess soil so that the structure of the crown and the location of the buds are clearly visible. Using a sterilized knife, you can then cut the crown into sections, ensuring that each piece has an adequate supply of storage roots. This surgical approach prevents the introduction of pathogens and ensures the highest possible survival rate for the new divisions.
After the division is complete, the new sections should be replanted as quickly as possible to prevent the roots from drying out in the air. You should follow the same planting depth and soil preparation guidelines as you would for a new nursery-purchased plant. It is often beneficial to trim back the remaining foliage to reduce water loss through transpiration while the roots are re-establishing. This technique allows the plant to focus its energy on subterranean development rather than maintaining a large canopy.
Properly divided peonies may not bloom in their first year after the move, as they need time to recover from the stress of the process. You should provide consistent care and avoid over-fertilizing during this recovery phase, which could lead to weak and spindly growth. By the second or third year, the divisions should regain their full vigor and begin to produce the beautiful flowers for which they are known. Professional division is an essential skill for managing a large garden and sharing rare species with other collectors.