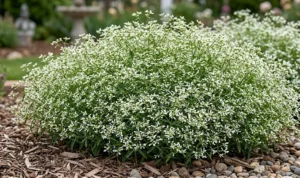
Starting marjoram from seed requires patience and precise environmental control during the early stages. The seeds are incredibly small and must be handled delicately to ensure successful germination. Sowing them indoors provides a significant advantage over direct seeding in unpredictable outdoor climates. Establishing strong seedlings is the foundational step for a highly productive agricultural season.
The growing medium must be exceptionally light, sterile, and well-draining. A specialized seed-starting mix prevents the devastating damping-off disease that often kills young sprouts. The fine seeds should be scattered thinly across the surface of the moistened substrate. They require exposure to light for germination, so they must not be buried deeply.
Maintaining consistent moisture is critical without creating a waterlogged environment. Using a fine misting spray bottle prevents the tiny seeds from being washed away. Covering the seed trays with a clear plastic dome helps retain vital humidity. Once the first sprouts appear, the dome must be removed to improve air circulation.
Temperature control significantly accelerates the emergence of the young seedlings. Heat mats placed beneath the trays can maintain an optimal substrate temperature of twenty-one degrees Celsius. Germination typically occurs within eight to fourteen days under these controlled conditions. Supplemental lighting ensures the emerging plants grow stocky and avoid becoming undesirably leggy.
Direct sowing in the field
Direct sowing outdoors is only viable in regions with long, dependably warm growing seasons. The soil bed must be meticulously prepared to a very fine, crumbly tilth. Any large clods or stones will easily obstruct the emergence of the fragile seedlings. The soil temperature must consistently remain above fifteen degrees Celsius before planting begins.
More articles on this topic
Sowing the seeds in clearly marked, shallow rows facilitates easier weed management later. Mixing the tiny seeds with fine sand helps achieve a more even distribution along the trench. The rows should be spaced adequately to allow for future mechanical cultivation. A very light dusting of soil is sufficient to secure the seeds in place.
Irrigation during the field germination phase requires specialized agricultural equipment. Overhead sprinklers must deliver a very fine droplet size to avoid disrupting the seedbed. The top layer of soil must remain consistently damp until the cotyledons fully emerge. Extreme drying events during this period will result in a complete crop failure.
Thinning the young plants is a mandatory procedure once they reach five centimeters in height. Overcrowded seedlings will compete fiercely for nutrients and display stunted vegetative growth. Proper spacing allows each individual plant to develop a robust and expansive root system. The thinned plants can occasionally be transplanted to fill empty gaps in the rows.
Vegetative propagation by cuttings
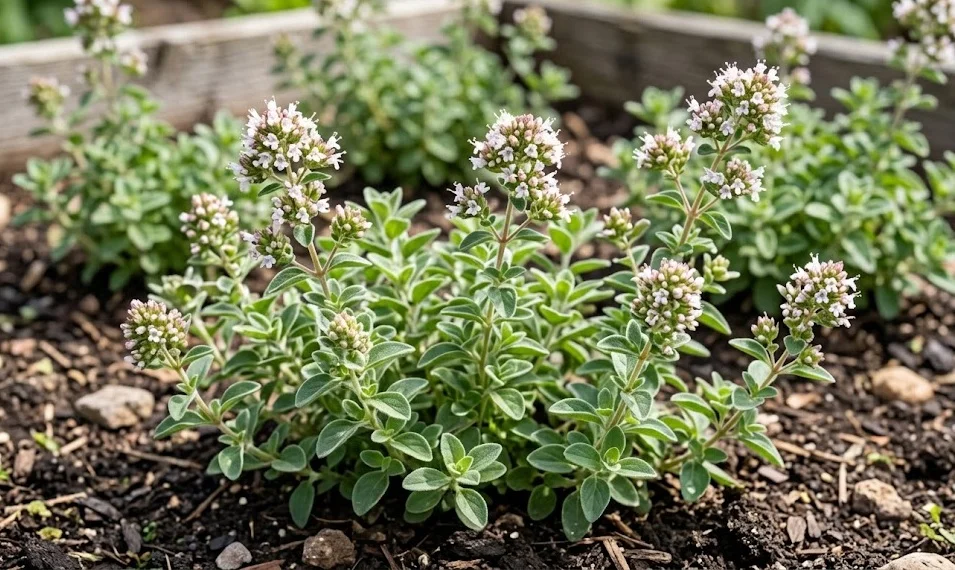
Propagating through stem cuttings guarantees genetic identicality to the original mother plant. This method is highly preferred for multiplying specific cultivars with exceptional aromatic profiles. Cuttings should be taken during the period of active vegetative growth in late spring. Utilizing healthy, non-flowering stems yields the highest success rate in rooting.
More articles on this topic
The cuttings should be approximately ten centimeters long and severed just below a leaf node. The lower leaves must be carefully stripped away to expose the bare stem. Dipping the cut end into a commercial rooting hormone powder accelerates root development. The prepared stems are then inserted into a sterile mixture of perlite and peat moss.
High humidity must be maintained around the foliage to prevent fatal desiccation. Placing the propagation trays inside a shaded greenhouse structure provides the ideal microclimate. The substrate must be kept consistently moist but never completely saturated with water. Rooting typically occurs within three to four weeks under optimal environmental conditions.
Transitioning the rooted cuttings to field conditions requires a gradual hardening-off process. Exposing them to increasing amounts of direct sunlight and fluctuating temperatures builds physiological resilience. Premature field planting often results in severe transplant shock and subsequent plant mortality. Once fully acclimated, the robust clones will establish themselves rapidly in the soil.
Division of mature root systems
Root division is an effective propagation technique for established, multi-year-old plants. This procedure is best performed during the early spring before vigorous new growth commences. Carefully excavating the entire root ball is necessary to assess the structure of the crown. A sharp spade or sanitized knife is used to slice the plant into smaller sections.
Each divided section must possess a healthy portion of the root system and several distinct growing shoots. Removing any dead or decaying woody material revitalizes the newly separated plants. Replanting these divisions immediately prevents the delicate fibrous roots from drying out in the air. Generous watering after planting helps settle the soil and eliminates damaging air pockets.
Division not only propagates the plant but also significantly improves its overall vigor. Older specimens tend to become woody in the center and exhibit declining leaf production. Breaking them apart stimulates fresh vegetative growth and extends the productive lifespan of the crop. Agronomists often recommend dividing perennial herb crops every three to four years.
Post-division care requires careful monitoring of the soil moisture levels. The traumatized root systems need time to regenerate and anchor themselves in the new location. Applying a light organic mulch helps retain soil moisture and suppresses competing weed seeds. Within a few weeks, the divided plants will exhibit strong signs of successful establishment.