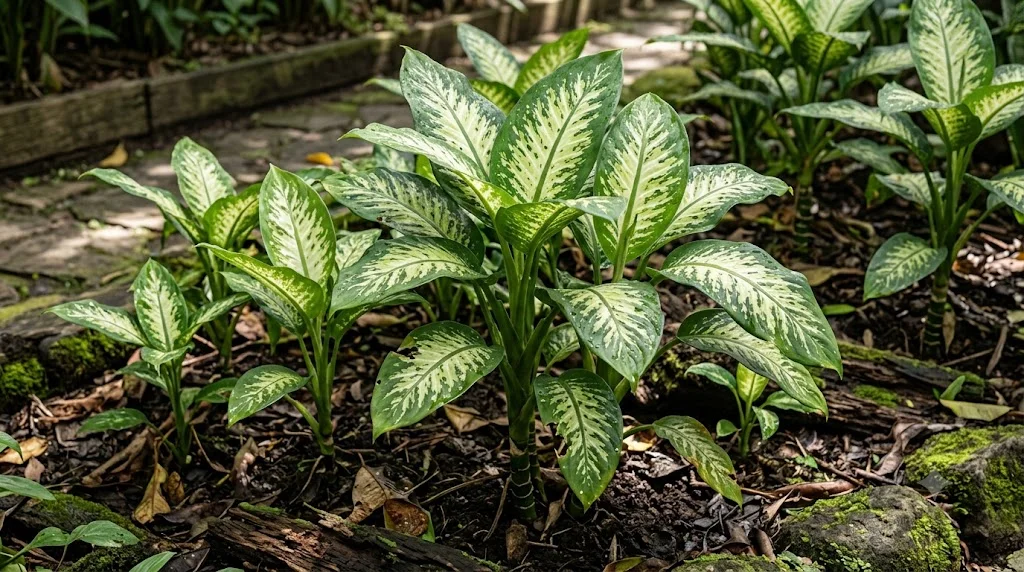

Planting dumb cane correctly gives its thick stems and moisture-sensitive roots the stable environment they need. The container, compost, planting depth, and aftercare all influence how quickly the plant becomes established. Propagation is equally rewarding because healthy stem sections can produce new roots and shoots under warm conditions. Careful hygiene is essential throughout the work because the sap can irritate skin and damaged tissue is vulnerable to infection.
Preparing the container and growing medium
Choose a container with several functional drainage holes rather than relying on a layer of stones at the bottom. The pot should be wide enough to support the plant without holding a large volume of unused wet compost. A container that is two to five centimetres wider than the root ball is usually sufficient. Oversized pots increase the risk of overwatering because the surrounding medium remains damp for too long.
The compost should combine moisture retention with good aeration. Quality indoor plant compost can be improved with perlite, fine orchid bark, pumice, or coconut fibre. These coarse materials create small air spaces around the roots and reduce compaction. The mixture should drain freely while remaining slightly moist after excess water has escaped.
Before planting, moisten dry compost lightly so that it settles evenly around the roots. Extremely dry peat-based mixes may initially repel water and leave hidden dry pockets. The medium should feel damp but not muddy or compressed. Preparing it in advance also reduces the need for heavy watering immediately after planting.
Clean pots and tools lower the risk of introducing pathogens. Wash reused containers with hot soapy water and remove old soil from drainage holes. Sterilise cutting blades before working with stems or roots. Wear gloves and avoid touching your face while handling the plant.
More articles on this topic
Planting and repotting established specimens
Remove the plant from its old pot by supporting the base and easing the root ball out gently. Do not pull forcefully on the leaves or upper stem because the cane can split. If the root ball is stuck, squeeze a flexible pot or run a blunt tool around the inner edge. Severely root-bound specimens may require the old plastic pot to be cut away.
Loosen only the outermost circling roots unless the entire root ball is severely compacted. Excessive root disturbance can cause prolonged wilting and leaf loss. Remove any soft, blackened, or foul-smelling roots with a clean blade. Healthy roots should be preserved as much as possible.
Place a layer of compost in the new pot and position the plant at its original depth. Fill around the root ball gradually, pressing the medium lightly enough to remove large air gaps. Do not compact it into a dense mass because roots require oxygen. Leave a small watering space below the rim.
Water the newly planted specimen thoroughly and allow all excess moisture to drain. Keep it in bright indirect light while the roots recover. Avoid fertilising for several weeks because fresh compost usually contains sufficient nutrients. Mild temporary drooping can occur, but continued collapse may indicate root damage or excessively wet soil.
More articles on this topic
Propagating with stem tip and cane cuttings
A healthy stem tip can be used to create a compact new plant. Cut a section approximately ten to fifteen centimetres long, ensuring that it includes at least one node. Remove the lowest leaves so they do not sit in water or compost. Allow the cut surface to dry briefly before placing it in the chosen rooting medium.
Stem sections from an older bare cane can also be propagated. Cut the cane into pieces containing at least one visible node or growth bud. Keep track of the original upper and lower ends because upright cuttings root more reliably when planted in the correct direction. Horizontal sections can be laid partly into moist compost with the bud facing upward.
Cuttings may be rooted in water, perlite, sphagnum moss, or an airy propagation mix. Water rooting allows easy observation, but roots formed in water can be fragile during transfer to compost. Solid media produce roots already adapted to an aerated environment. Whichever method is chosen, keep the medium lightly moist rather than saturated.
Warmth greatly improves rooting speed. Maintain temperatures around 22 to 27 degrees Celsius and provide bright filtered light. A transparent cover can help retain humidity, but it should be ventilated regularly to prevent mould. New root growth may take several weeks, and shoot development can take longer.
Caring for young propagated plants
A cutting should not be potted up merely because a tiny root has appeared. Wait until several roots have developed and reached a few centimetres in length. This gives the young plant a better chance of coping with transplanting. Use a small pot so the limited root system can regulate moisture effectively.
Plant the rooted cutting into a fine, airy houseplant mix. Support the stem while gently firming compost around the roots. Water lightly but thoroughly, then allow excess moisture to drain. Avoid pressing heavily around delicate new roots.
Young plants require high humidity but are especially vulnerable to rot. Keep them warm and out of direct sunlight while maintaining gentle air circulation. The compost should remain lightly moist without becoming cold or waterlogged. Gradually reduce humidity once active leaf growth begins.
Do not fertilise immediately after potting a newly rooted cutting. Wait until it produces clear signs of fresh growth, then begin with a very dilute balanced feed. Strong fertiliser can damage immature roots. As the plant becomes established, normal care can be introduced gradually.