Preparing the Cape primrose for the colder months is a vital task that ensures the plant survives the winter and returns with vigor in the spring. As a sub-tropical species, it does not have a natural tolerance for freezing temperatures and must be protected from the harsh winter elements. The goal of overwintering is to provide a stable, stress-free environment where the plant can rest without being exposed to extreme cold or excessive dryness. With the right adjustments to its care, this charming perennial can remain a healthy part of your collection for many years.
The process of overwintering should begin well before the first frost is expected in your region. Monitor the outdoor temperatures closely, and as soon as the nights consistently drop below ten degrees Celsius, it is time to bring any outdoor plants inside. A sudden cold snap can cause irreversible damage to the soft stems and leaves, so it is better to act early than to risk a late-season freeze. This transition should be handled with care to minimize the shock of moving from an outdoor to an indoor environment.
Before moving the plant to its winter quarters, perform a thorough inspection for any pests that might be hitching a ride. It is much easier to treat an infestation before the plant is placed near your other indoor specimens. Clean the pot and remove any dead or yellowing leaves to ensure the plant enters its rest period in the best possible condition. This initial cleanup also helps improve the aesthetic appearance of the plant as it becomes a focal point of your indoor space.
Selecting the right location for the winter is a balance between providing enough light and maintaining a cool but stable temperature. A bright windowsill that does not get direct, scorching sun is often the ideal spot for the winter months. Avoid placing the plant near heat sources like radiators or fireplaces, as these can dry out the air and the soil far too quickly. A room that is kept slightly cooler than the rest of the house can actually help the plant enter a more effective dormant state.
Managing the winter environment
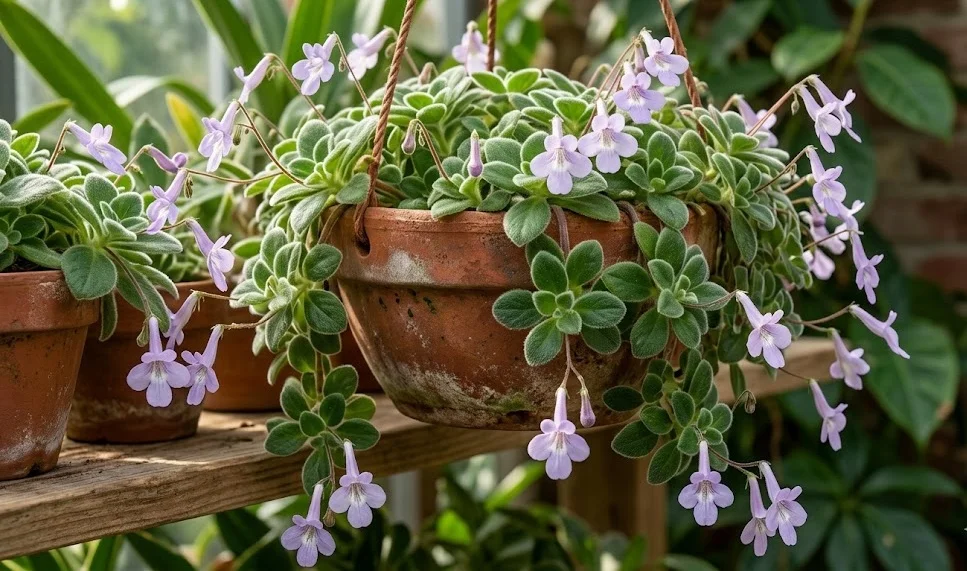
During the winter, the humidity levels in most homes drop significantly due to the use of central heating systems. This dry air can be particularly hard on the velvety leaves of the Cape primrose, causing them to lose their vibrant texture. Using a humidity tray filled with pebbles and water is a simple and effective way to boost the moisture in the immediate vicinity of the plant. A group of plants huddled together can also create a microclimate that retains more humidity than a single isolated pot.
More articles on this topic
Light availability is another major challenge during the short, dark days of the winter season. The plant still needs bright, indirect light to maintain its health, even if it is not actively growing or flowering. If your home does not have enough natural light, you may want to consider using a small LED grow light to supplement the day length. Providing about ten to twelve hours of light each day will help the plant stay green and prevent it from becoming overly leggy.
Air circulation remains important during the winter to prevent the development of mold or mildew in the stagnant indoor air. However, you must be careful to avoid cold drafts from leaky windows or doors that could shock the plant’s system. A gentle, indirect movement of air from a ceiling fan or a small oscillating fan in the room is usually sufficient. Keeping the environment stable and predictable is the key to a successful overwintering experience for any indoor gardener.
Temperature monitoring is essential to ensure the plant does not get too cold during the night. While it can tolerate temperatures down to about twelve degrees Celsius, it should never be exposed to anything lower. If you keep your plants on a windowsill, remember that the air between the glass and a closed curtain can become dangerously cold at night. Moving the plants a few feet away from the window during the coldest nights is a wise precaution that can save their lives.
Water and nutrient adjustments
The most common mistake made during the winter is continuing to water the plant as if it were still in its peak growing season. Because the metabolism of the plant slows down in response to the lower light and cooler temperatures, it requires much less water. You should allow the soil to dry out significantly more than you would in the summer before adding any moisture. Always check the weight of the pot or use your finger to test the soil depth to ensure it truly needs a drink.
More articles on this topic
When you do water, use room-temperature water to avoid shocking the roots, which are more sensitive during their rest period. Bottom-watering is still the preferred method to keep the crown and leaves dry, which is even more important in the cooler winter air. If the soil becomes very dry and shrinks away from the sides of the pot, you may need to soak it more thoroughly to ensure the root ball is rehydrated. The goal is to keep the plant alive, not to encourage new growth during this time.
Fertilization should be stopped completely during the months of November, December, and January. Feeding a plant that is not growing can lead to a toxic buildup of salts in the soil and can even force weak, spindly growth that is susceptible to pests. The plant has enough stored energy to maintain itself through the winter without any external chemical support. Resuming fertilization should only happen once you see clear signs of new, healthy growth in the early spring.
If you notice the plant starting to wilt despite the soil being damp, it may be a sign that the roots are struggling with the cool, wet conditions. In this case, move the plant to a slightly warmer spot and allow the soil to dry out as quickly as possible. Winter care is often a lesson in restraint, as the best thing you can do for the plant is usually to leave it alone. Trust in the plant’s natural ability to survive the dark months if its basic needs for light and temperature are met.
Preparing for the return of spring
As the days begin to lengthen in late February, you will notice the plant starting to “wake up” from its winter slumber. This is the time to slowly increase the frequency of your watering as the plant’s metabolic rate begins to rise. You may also see the first few flower buds starting to form deep within the foliage, which is an exciting sign of a successful overwintering. This transitional period is the perfect time to evaluate the plant’s overall health and plan for any necessary maintenance.
Inspect the stems for any legginess that may have occurred if the winter light was insufficient. You can lightly prune any weak or unattractive growth to encourage the plant to fill out and become more bushy as the growing season starts. This is also the ideal time to check if the plant needs repotting into fresh soil or a slightly larger container. Refreshing the growing medium provides a clean slate and plenty of space for new roots to expand in the coming months.
Gradually reintroducing fertilizer at a very dilute strength will help support the first flush of spring growth. Start with a quarter-strength dose and monitor how the plant responds over the following weeks. As the sun becomes stronger, you may need to move the plant further back from the window to prevent its leaves from being scorched. The transition back to active care should be as smooth and gradual as the transition into the winter was.
By the time the danger of frost has passed in May, your Cape primrose should be fully revitalized and ready to be moved back outdoors if you wish. The process of overwintering is a testament to the gardener’s patience and ability to adapt to the changing needs of their plants. Seeing a healthy, vibrant specimen emerge from a long winter is one of the most satisfying rewards in the world of horticulture. With these simple steps, your false African violet will continue to bring beauty to your home for many years to season.