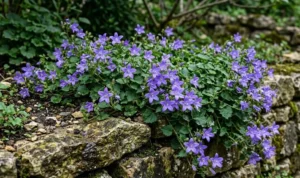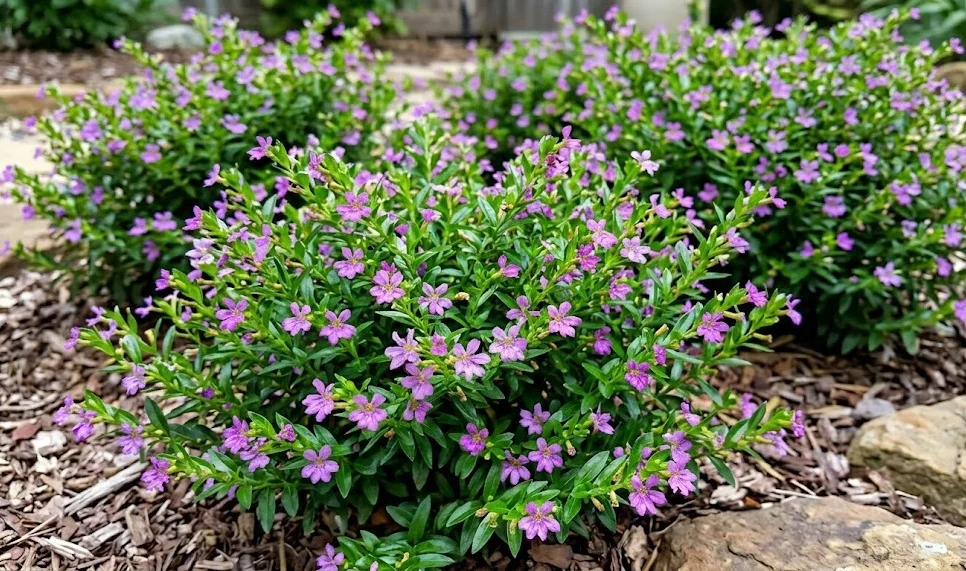
Preparing your shrubs for the cold months is an essential task that ensures they return with vigor when the temperatures rise again in the spring. You must understand that this species is not frost-hardy and will suffer significant damage or death if exposed to freezing conditions. The process of overwintering is more than just moving the plant indoors; it involves managing a period of dormancy where the plant’s metabolic needs change dramatically. By following a professional overwintering protocol, you can protect your investment and enjoy the same plants year after year.
Recognizing the signs for winter prep
The transition to winter care should begin long before the first frost is forecasted in your local weather report. You should observe the plant for natural signs that its growth is slowing down, such as a reduction in flower production and a hardening of the stems. As the nights get longer and the air turns crisp, the plant naturally begins to shift its energy from outward growth to internal storage. Recognizing these subtle cues allows you to time your interventions perfectly for a smooth transition to the indoors.
You should stop all fertilization at least six weeks before you plan to bring the plant inside to prevent the production of soft, new growth. Tender new shoots are highly susceptible to both cold damage and the stresses of moving to a lower-light indoor environment. By allowing the existing foliage to mature and toughen up, you give the plant a much better chance of surviving the winter months unscathed. Reducing the frequency of watering during this period also helps to signal to the plant that it is time to prepare for rest.
A thorough inspection for pests and diseases is a critical professional step before any plant is brought into a clean indoor space. You should look closely for any signs of aphids, mites, or scale that might hitch a ride and multiply rapidly in the warm, stagnant air of your home. Treating any issues while the plant is still outdoors is much easier and safer than dealing with a localized infestation in your living room. A gentle wash with a garden hose can help remove any dust and hidden insects from the dense foliage.
Deciding on the best indoor location for your plant requires a balance between light availability and temperature stability. You should identify a spot that receives plenty of bright light, such as a south-facing window or a heated sunroom where the temperature stays above ten degrees Celsius. Avoid placing the plant near heat vents or drafty doors, as sudden changes in temperature and humidity can cause significant stress. Preparing this space in advance ensures that you can move the plant quickly and efficiently when the time comes.
More articles on this topic
Creating an ideal indoor environment
The indoor environment is vastly different from the great outdoors, and you must make several adjustments to help your plant thrive during its winter stay. Light is the most limiting factor indoors, as even a bright window provides only a fraction of the intensity found under the open sky. You should place the plant as close to the glass as possible without allowing the leaves to touch the cold surface. If natural light is insufficient, supplementing with a full-spectrum grow light for ten to twelve hours a day can prevent the plant from becoming weak and spindly.
Humidity is another major challenge indoors, as modern heating systems tend to dry the air to levels that are stressful for subtropical plants. You should take steps to increase the moisture in the air around the plant, such as using a small humidifier or placing the pot on a tray filled with pebbles and water. Grouping several plants together can also create a microclimate with higher humidity through collective transpiration. Regular misting of the foliage provides a temporary boost but should not be relied upon as the sole source of humidity.
Temperature management is about consistency rather than high heat, as the plant is in a state of semi-dormancy and does not need summer-like warmth. You should aim for daytime temperatures between fifteen and twenty degrees Celsius, with a slight drop at night to mimic natural conditions. Keeping the plant in a cooler room can actually be beneficial, as it further encourages the plant to rest and reduces its demand for light and water. The key is to avoid extreme fluctuations that could trick the plant into thinking spring has arrived prematurely.
Air circulation remains important even in the winter, as stagnant air can lead to the development of fungal issues or pest outbreaks. You should ensure that there is at least some movement of air in the room, perhaps by using a ceiling fan on a low setting or opening a window for a few minutes on warmer days. However, you must be careful to protect the plant from direct cold blasts that could cause the leaves to drop. A professional approach to indoor air quality will keep the plant’s foliage looking fresh and healthy until spring.
More articles on this topic
Care routines during dormancy
During the winter months, your primary goal is maintenance rather than growth, which requires a much more hands-off approach to daily care. You should significantly reduce your watering frequency, allowing the top inch or two of soil to dry out completely before adding more. Overwatering is the most common cause of plant death during the winter, as the roots are not active enough to process large amounts of moisture. Always check the soil moisture manually rather than following a fixed schedule during this delicate period.
Cleaning the leaves is even more important indoors, as dust can accumulate quickly and further reduce the amount of light reaching the plant’s cells. You should use a soft, damp cloth to gently wipe the leaves every few weeks or give the plant a quick rinse in the shower with lukewarm water. Keeping the foliage clean not only improves the plant’s appearance but also allows it to breathe more easily in the indoor environment. It also gives you a regular opportunity to check for any hidden pests that may have appeared.
You should resist the urge to prune or shape the plant during the winter, as any cuts you make will not heal quickly while the plant is dormant. The only exception is the removal of dead or diseased branches, which should be done as soon as they are noticed to maintain health. Any major structural pruning should be saved for the early spring when the plant has the energy reserves to respond with new growth. Patience is the most important tool in your gardening kit during the long winter months.
Monitoring the plant’s reaction to its indoor home will help you make small adjustments that can prevent major issues down the line. You should watch for signs like leaf drop or yellowing, which could indicate that the light is too low or the water is too much. A few lost leaves are normal as the plant adjusts to the lower light levels, but a sudden or total loss of foliage is a sign of serious stress. Being a professional observer allows you to intervene early and keep the plant on a steady path to spring.
Awakening the plant in spring
As the days begin to lengthen and the natural light intensity increases, you will notice the first signs of the plant waking up from its winter slumber. You should start to gradually increase the amount of water you provide as you see the first new green shoots appearing on the stems. This is also the time to reintroduce a weak solution of liquid fertilizer to provide the nutrients needed for the upcoming surge of growth. The transition out of dormancy should be just as gradual and deliberate as the entry into it.
Early spring is the perfect time to perform any necessary pruning to shape the plant and encourage a bushy growth habit for the summer. You should remove any leggy or weak stems that grew during the winter and cut back the main branches to a healthy node. This “refresh” pruning stimulates the plant to produce a flush of new, vigorous growth that will eventually carry the season’s flowers. Using clean, sharp tools for this task is a professional requirement that ensures the best results for your plant.
Hardening off the plant before it returns to its permanent outdoor location is a non-negotiable step that prevents transplant shock. You should start by placing the plant in a shaded, protected spot outdoors for an hour or two each day during the warmest part of the afternoon. Over the course of two weeks, slowly increase the amount of time the plant spends outside and its exposure to direct sunlight. This process allows the plant’s tissues to toughen up and adapt to the much higher light levels and varying temperatures of the outdoors.
Once the danger of frost has completely passed and the nighttime temperatures are consistently above ten degrees Celsius, the plant can stay outside for the season. You should find that the plant responds quickly to the fresh air and natural sunlight, putting on a spectacular show of foliage and flowers. Moving the plant back to its summer home is the final step in a successful overwintering cycle. Your professional care during the winter has paid off, and you are now ready to enjoy another year of beauty from your shrubs.