Successfully introducing a new shrub to your landscape requires a thoughtful approach to both the timing and the technique of the planting process. The rose of sharon is known for its resilience once established, but the initial phase of its life in your garden is the most critical for future success. You must consider the soil conditions, the exposure to elements, and the long-term space requirements of the mature plant before you ever pick up a shovel. Professional planting ensures that the root system can transition smoothly from the nursery pot to its permanent home in the earth.
Selecting the ideal planting site
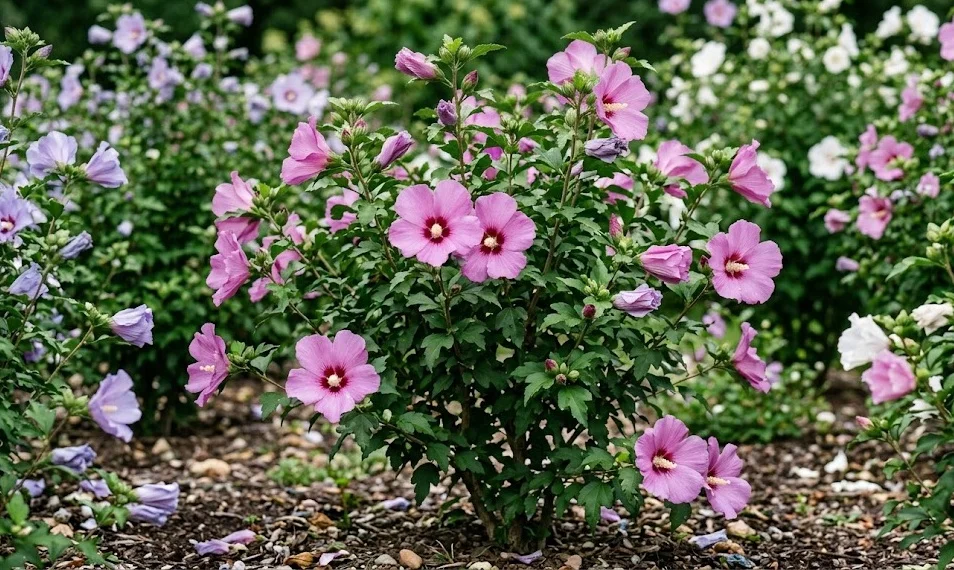
The success of your planting project begins with finding a location that provides at least six to eight hours of direct sunlight every day. Sunlight is the primary fuel for the impressive floral display that these shrubs are famous for during the late summer months. If you plant them in too much shade, you will likely see leggy growth and a significantly reduced number of flower buds. Observe your garden throughout the day to identify the areas with the most consistent and intense light exposure for your new addition.
Soil quality and drainage are the next most important factors to evaluate when you are choosing a permanent spot for your shrub. These plants do not tolerate “wet feet,” which means the roots should never be sitting in stagnant water for extended periods of time. You can test the drainage by digging a small hole, filling it with water, and timing how long it takes for the liquid to disappear completely. If the water lingers for many hours, you may need to amend the soil or choose a different, more elevated location in the garden.
Consider the mature dimensions of the shrub to ensure it has enough room to expand without encroaching on buildings or other plants. A typical specimen can reach heights of eight to twelve feet and widths of six to ten feet depending on the specific cultivar. Giving the plant enough space promotes better airflow, which is essential for preventing various fungal diseases that thrive in crowded conditions. Proper spacing also makes future maintenance tasks like pruning and fertilizing much easier for you to manage effectively.
Before you begin digging, it is always a wise idea to check for underground utility lines to ensure a safe and uninterrupted planting process. Many regions offer a free service that will mark the location of pipes and cables in your yard upon your request. Avoiding these obstacles prevents costly repairs and ensures that your gardening activities remain a peaceful and productive endeavor. Once you have cleared the site and confirmed the conditions are right, you are ready to prepare the ground for the actual planting.
More articles on this topic
The technical process of planting
Digging the hole to the correct dimensions is a fundamental step that many gardeners rush, but it deserves your full attention and effort. The hole should be twice as wide as the root ball of the plant but no deeper than the height of the container it came in. This wide, shallow preparation allows the roots to spread horizontally into the loosened soil with much less resistance during the first few months. Roughing up the sides of the hole with your shovel prevents the roots from circling and becoming root-bound in the future.
Gently removing the plant from its nursery container requires care to avoid damaging the delicate fine roots that are essential for water absorption. If the roots are tightly packed or circling the root ball, you can carefully loosen them with your fingers or a small tool. Place the plant in the center of the hole, making sure that the top of the root ball is level with the surrounding soil surface. Planting too deep can lead to stem rot, while planting too shallow can cause the roots to dry out much too quickly.
Backfilling the hole with the original soil mixed with a bit of organic matter provides a familiar yet enriched environment for the new roots. You should firm the soil gently with your hands as you go to remove large air pockets that could dehydrate the root system. Avoid stamping down the earth too hard with your feet, as this can compress the soil and make it difficult for water and oxygen to penetrate. Filling the hole halfway and then watering it before finishing the rest of the backfilling is an excellent way to settle the soil naturally.
Immediately after planting, you should provide a deep and thorough watering to ensure the roots and the surrounding soil are completely hydrated. Applying a two to three-inch layer of organic mulch around the base of the shrub will help retain this vital moisture for a longer period. Be sure to keep the mulch a few inches away from the trunk itself to maintain good air circulation around the base of the plant. This final touch protects the root zone from temperature extremes and helps suppress competing weeds while the plant becomes established.
More articles on this topic
Propagation through softwood and hardwood cuttings
Taking softwood cuttings in the late spring or early summer is one of the most effective ways to create new plants that are identical to the parent. You should look for young, flexible stems that have not yet become woody but are firm enough to snap when bent sharply. Cut a piece about four to six inches long, ensuring it has several leaves and at least two or three nodes along the stem. Removing the lower leaves and dipping the cut end in rooting hormone can significantly increase your chances of a successful rooting process.
Insert the prepared cuttings into a well-draining potting mix or a combination of perlite and peat moss for the best results. You must keep the medium consistently moist and provide a high-humidity environment by covering the container with a clear plastic dome or bag. Place the cuttings in a bright location but away from direct sunlight, which could overheat the young stems and cause them to wilt. After a few weeks, you can gently tug on the cuttings to check for resistance, which indicates that new roots are beginning to form.
Hardwood cuttings are another viable option and are typically taken during the dormant season in late autumn or early winter. These cuttings should be taken from mature, woody stems that are about the thickness of a pencil and roughly six to ten inches in length. You can bundle these cuttings together and store them in a cool, dark place or plant them directly into a protected nursery bed outside. Hardwood cuttings take longer to root than softwood ones, but they are often more resilient and require less intensive monitoring during the process.
Once the cuttings have developed a strong root system, they can be transplanted into individual pots to continue growing for another season. This intermediate step allows the young plants to gain strength and size before they are eventually introduced into the permanent landscape. You should gradually acclimate them to the outdoor conditions over a period of a week or two through a process known as hardening off. Successfully growing your own shrubs from cuttings is a deeply satisfying way to expand your garden and share plants with friends.
Growing from seeds and naturalization
The rose of sharon is known for its ability to produce a large number of seeds that can easily sprout in the surrounding soil. If you allow the spent flowers to remain on the plant, they will develop into woody seed pods that eventually burst open in late autumn. These seeds often germinate the following spring, creating many small seedlings around the base of the original parent plant. While this naturalization can be charming, it can also lead to a crowded garden if the seedlings are not managed or relocated promptly.
If you want to harvest the seeds for intentional planting, you should collect the pods just as they begin to turn brown and dry out. Store the seeds in a cool, dry place over the winter to maintain their viability until the following spring planting season arrives. You can start the seeds indoors several weeks before the last frost to give the young plants a head start on the growing year. Keep in mind that seeds from hybrid varieties may not produce plants that look exactly like the parent, leading to interesting new variations.
When sowing the seeds, place them on the surface of a moist seed-starting mix and cover them very lightly with a thin layer of soil. They require consistent warmth and moisture to germinate, which usually occurs within two to four weeks under the right conditions. Once the seedlings have developed their first set of true leaves, you can begin feeding them with a very diluted liquid fertilizer. Transplant them into larger containers as they grow to ensure their roots have plenty of room to expand without becoming cramped.
Managed properly, seed propagation is a low-cost way to produce a large number of plants for a hedge or a massive garden installation. You must be prepared to weed out any unwanted volunteers that sprout in places where they might interfere with other delicate perennials. Some newer cultivars have been bred to be sterile, which is a great option if you want the beauty of the shrub without the maintenance of extra seedlings. Understanding how the plant reproduces allows you to control its presence in your landscape and use its natural tendencies to your advantage.