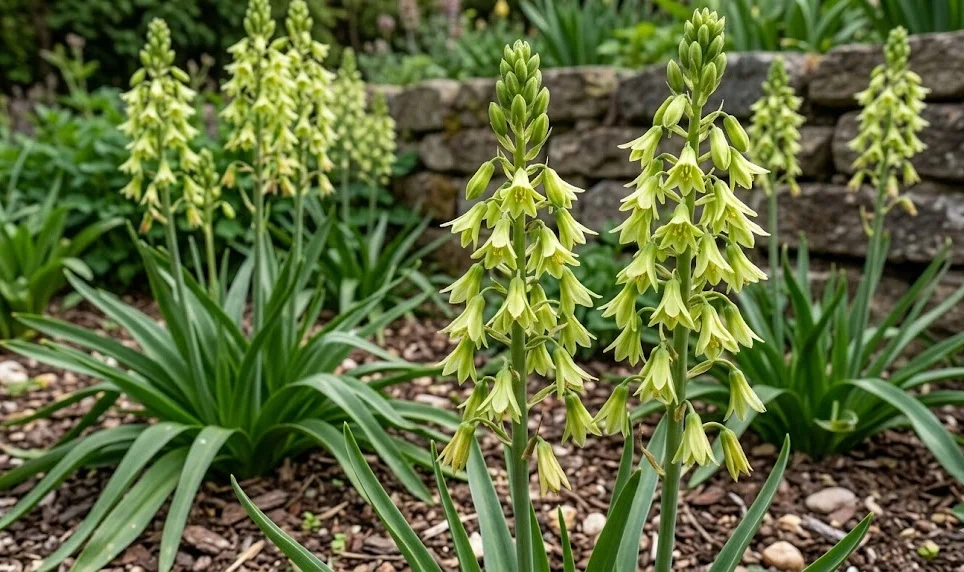

Planting green-flowered giant chincherinchee successfully begins with choosing a firm bulb, a free-draining medium, and the correct moment in its growth cycle. The bulb is vulnerable to rot when placed in cold, saturated compost, so careful preparation is more important than deep planting. Propagation is usually achieved through offsets, although seed offers an interesting option for patient growers. Both methods work best when the young plants receive bright light, restrained watering, and protection from frost.
A healthy bulb should feel firm and heavy relative to its size. Avoid bulbs with soft bases, sunken areas, mould, or a sour smell. Dry outer scales are usually harmless and provide protection during handling. Any damaged bulb should be isolated until its condition is clear.
Planting is easiest near the end of the dormant period, shortly before natural growth resumes. At this time, the bulb can establish new roots in fresh compost without prolonged exposure to moisture. Planting during active growth is possible, but greater care is needed to protect roots and shoots. Dormant bulbs are generally simpler to handle and position.
The planting site or container should be prepared before the bulb is unpacked. This prevents unnecessary drying and reduces the risk of accidental damage. All tools and pots should be clean, particularly when valuable bulbs are involved. Hygiene is an important defence against fungal and bacterial decay.
Preparing the planting medium
The growing medium should drain rapidly while retaining a small amount of moisture around active roots. A practical mixture combines potting compost with coarse grit, pumice, perlite, or another stable mineral component. Fine sand alone is less effective because it may settle and reduce air spaces. The finished mixture should feel open and crumble easily when squeezed.
More articles on this topic
Avoid media rich in undecomposed organic material. Bark fragments and poorly matured compost can hold irregular pockets of moisture and support fungal growth. A moderate organic content is sufficient for nutrient retention. The bulb stores considerable energy and does not need excessively fertile soil at planting time.
For outdoor beds, improve drainage over a broad area rather than placing a handful of grit directly beneath the bulb. A narrow gravel pocket can collect water from surrounding heavier soil and create a saturated zone. Raised planting positions are safer where winter rainfall is high. Sloping ground also allows excess water to move away naturally.
The pH should be mildly acidic to neutral, although slight alkalinity is usually tolerated if drainage remains good. Extreme pH conditions can limit nutrient availability and weaken growth. Avoid using fresh lime unless soil testing shows it is necessary. Balanced physical structure matters more than minor pH adjustments.
Planting bulbs and offsets
Place the bulb upright with the basal plate facing downward and the growing point directed upward. If the orientation is unclear, lay the bulb slightly on its side rather than forcing a guess. Roots and shoots will usually correct their direction as growth begins. Handle the basal plate carefully because damage there can interfere with rooting.
More articles on this topic
In containers, leave the upper neck or a portion of the bulb close to the surface. This position promotes airflow and reduces prolonged moisture around the crown. In open ground, the bulb may be planted somewhat deeper for stability and temperature moderation. Heavy, wet soils require shallower positioning than dry, sandy soils.
After planting a dormant bulb, water sparingly unless active roots or shoots are already present. A small amount of moisture can settle the compost around the bulb without saturating it. Further watering should wait until growth becomes evident. This cautious approach is especially important in cool conditions.
Offsets can be replanted individually or grouped in a shallow community pot. Small offsets are easier to manage together because they dry out more slowly than isolated bulbs in oversized containers. Provide enough spacing to allow leaf development and future separation. Label young plants clearly, as they may resemble other bulb seedlings during early growth.
Propagating through offsets
Offsets develop naturally around the base of mature bulbs. They should be separated only when they detach with minimal force or have formed their own roots. Pulling immature offsets away prematurely can create wounds on both the parent bulb and the young plant. These injuries increase the risk of infection and may slow establishment.
The ideal time for division is during dormancy or just before new growth. Remove the parent bulb from its pot and gently loosen the compost from the root area. Examine each offset for firmness and a sound basal plate. Discard any material that is soft, discoloured, or visibly decayed.
Fresh separation wounds should be allowed to dry briefly in a shaded, well-ventilated place. This drying period encourages a protective callus to form. Some growers apply a light dusting of sulphur-based fungicidal powder, although good hygiene and dryness are often sufficient. Do not leave small offsets exposed for so long that they shrivel severely.
Young bulbs should be watered more cautiously than established flowering specimens. Their limited root systems cannot use large volumes of moisture. Bright light and moderate temperatures encourage sturdy leaves and gradual bulb enlargement. Flowering may take several seasons, depending on the original size of the offset.
Raising plants from seed
Seed propagation produces larger numbers of plants and preserves genetic diversity. However, seedlings require patience because they may need several years to reach flowering size. Fresh seed generally germinates more reliably than seed stored for a long period. Sow as soon as conditions suit the plant’s natural growing season.
Use a clean, fine-textured but free-draining seed compost. Scatter the seeds with enough space to reduce crowding and fungal problems. Cover them lightly, as a very deep layer can delay emergence. Water from below or use a fine mist so the seeds are not displaced.
Maintain gentle moisture without allowing the surface to remain continuously saturated. Good airflow is essential, especially after germination. Seedlings should receive bright, filtered light and protection from severe temperature changes. Weak light encourages thin leaves that are vulnerable to collapse.
Allow seedlings to complete their natural growth and dormancy cycles rather than forcing constant activity. During the first dormancy, tiny bulbs can dry out more quickly than mature specimens. Keep the medium only faintly moist if complete dryness causes severe shrivelling. Transplant seedlings once they are large enough to handle safely and have entered an appropriate resting stage.