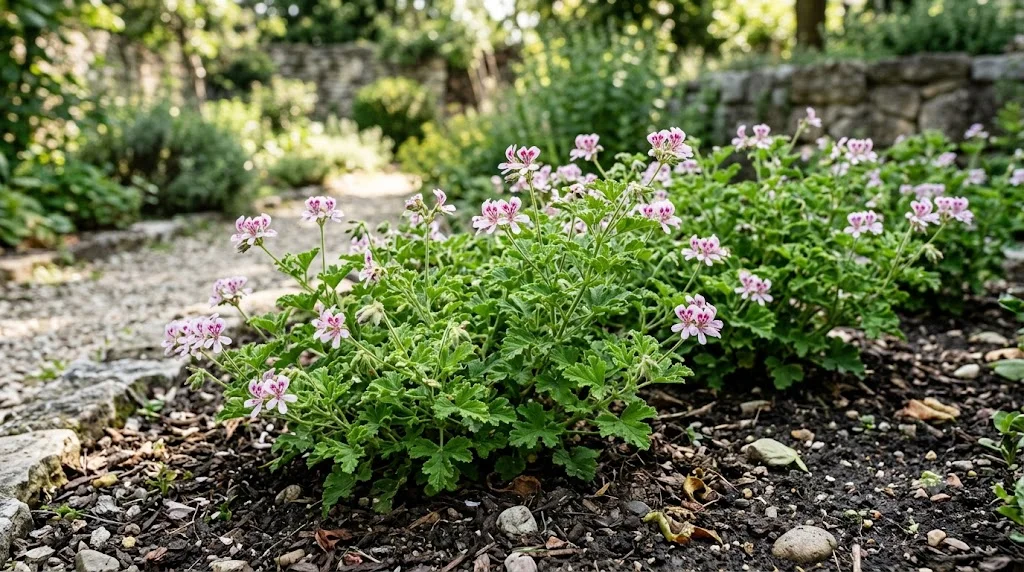

Planting a lemon-scented geranium correctly establishes the foundation for healthy roots, compact growth and richly aromatic foliage. The plant needs an airy growing medium, a container with reliable drainage and a position that provides warmth and abundant light. Propagation is equally straightforward when clean, vigorous shoots are selected and handled carefully. With appropriate timing and moisture control, even a small cutting can develop into a strong new specimen.
Container cultivation is the safest approach in climates where winter frost occurs. Pots allow the plant to be moved between outdoor summer conditions and a protected winter position. They also make it easier to control drainage and soil composition. Garden planting is possible in warm climates where the soil remains well drained and temperatures stay above freezing.
The best planting period is spring, when increasing light and warmth stimulate new root growth. Early summer planting can also succeed if the plant is protected from severe heat while establishing. Autumn planting is less reliable because declining light slows root development. Newly planted specimens should never enter winter with saturated compost and a weak root system.
Propagation is most commonly carried out from stem cuttings because this method preserves the characteristics of the parent plant. Cuttings root relatively quickly under warm, bright conditions. Seed propagation is possible but less predictable, and seedlings may vary in fragrance, leaf shape and growth habit. For most gardeners, vegetative propagation is the practical choice.
Preparing the planting site and container
Choose a pot that is only slightly larger than the existing root ball. A container that is too large contains more wet compost than the developing roots can use. This creates a cool, oxygen-poor zone where root diseases can begin. A modest increase in pot diameter supports healthy expansion without excessive moisture retention.
More articles on this topic
Every container must contain unobstructed drainage holes. Covering the holes with a piece of mesh can prevent compost from escaping without restricting water flow. A thick layer of gravel at the bottom is not necessary and does not replace a free-draining soil mixture. The entire root zone should contain a balanced, aerated medium.
A practical potting mixture combines quality compost with a substantial proportion of perlite, pumice or fine grit. The organic component retains enough moisture and nutrients for active growth. The mineral component creates air spaces and prevents the mixture from collapsing. The medium should drain within seconds after thorough watering.
When planting in the ground, select a raised or naturally well-drained location. Heavy clay should be improved over a broad area rather than only inside a narrow planting hole. A small pocket of amended soil surrounded by compacted clay can behave like a basin. Raised beds are often more dependable where winter rainfall is high.
Planting without damaging the roots
Water the plant lightly several hours before transplanting so that the root ball is moist but not saturated. A slightly moist root mass holds together and slides from the pot more easily. Very dry roots can crumble, while waterlogged roots are easily torn. Handle the plant by the root ball rather than pulling on its stems.
More articles on this topic
Inspect the roots after removing the old container. Healthy roots are generally pale, firm and evenly distributed. Dark, soft or unpleasant-smelling sections should be trimmed away with clean scissors. Circling roots can be loosened gently so that they grow outward into the fresh compost.
Set the plant at approximately the same depth at which it previously grew. Burying the crown or lower stems too deeply can encourage rot. Position the root ball centrally and fill around it gradually, pressing the compost only lightly. Excessive compression removes valuable air from the root zone.
Water thoroughly after planting until excess moisture flows through the drainage holes. This settles the compost around the roots and removes large air pockets. Allow the pot to drain completely before placing it in a saucer or decorative container. Keep the plant in bright, indirect light for several days before returning it to stronger sun.
Propagating from stem cuttings
Select a healthy, non-flowering shoot with firm tissue and several leaf nodes. A cutting approximately eight to twelve centimetres long is usually easy to handle. Make the cut just below a node because this area contains tissues capable of producing roots. Avoid shoots showing insect damage, discolouration or weak, stretched growth.
Remove the lowest leaves so that no foliage is buried in the propagation medium. Large upper leaves can be reduced slightly if they lose water too quickly, but unnecessary cutting should be avoided. Flower buds and flower stalks should be removed because they consume energy. The prepared cutting should retain enough foliage to support photosynthesis.
Insert the cutting into a small pot filled with a sterile, airy mixture. A combination of seed compost and perlite works well because it provides moisture without remaining heavy. Firm the medium gently around the stem so that the cutting stands upright. Several cuttings can share a larger pot, provided their leaves do not overlap excessively.
Water sparingly after insertion and allow excess moisture to drain. The medium should remain slightly moist, not permanently wet. Bright indirect light and moderate warmth encourage root formation while reducing water loss. A sealed plastic cover is often unnecessary and may increase fungal risk unless it is ventilated carefully.
Caring for newly rooted plants
Root development can be checked by observing new growth or gently testing resistance at the base of the cutting. A rooted cutting usually feels anchored when touched lightly. Pulling repeatedly can break delicate young roots, so inspection should remain minimal. Visible new leaves are generally a safer indication of successful establishment.
Once roots have filled part of the propagation pot, move the young plant into a slightly larger container. Use the same free-draining mixture recommended for mature specimens. Avoid jumping immediately to a large pot because young roots are still vulnerable to excess moisture. Water thoroughly after transplanting, then allow the surface to begin drying.
Pinch the growing tip when the young plant has established several sets of leaves. This encourages side shoots and produces a fuller structure. Further light pinching can be repeated as new branches develop. Early shaping reduces the need for severe pruning later.
Introduce rooted plants gradually to direct sunlight. Begin with gentle morning light and extend exposure over several days. Sudden strong sun may scorch leaves that formed under sheltered propagation conditions. Once acclimatized, the young plant can be managed in the same way as an established lemon-scented geranium.