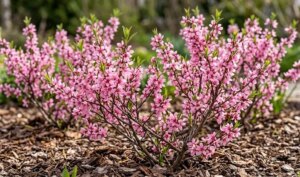
Preparing azaleas for the winter months is a critical task for gardeners who want to ensure their shrubs return with vigor in the spring. While many varieties are remarkably hardy, the combination of freezing temperatures, dry winds, and shifting soil can be challenging. A professional approach to overwintering involves both physical protection and careful management of the plant’s hydration levels. By following a structured plan, you can minimize winter damage and protect the delicate flower buds that have already formed for the next season.
The process of overwintering begins long before the first frost by gradually reducing the amount of nitrogen-rich fertilizer in late summer. This encourages the plant to stop producing tender new growth that would easily be killed by the cold. Instead, the shrub focuses its energy on hardening off its existing stems and preparing its internal systems for dormancy. A plant that has properly transitioned into a dormant state is much more resilient to the stresses of winter.
Hydration is the single most important factor in determining how well an azalea will survive a cold winter. Because the foliage of evergreen varieties continues to lose moisture even in the winter, the roots must have access to water. You should provide a deep, thorough watering in the late autumn before the ground freezes solid. This reservoir of moisture in the soil and within the plant’s tissues acts as an insurance policy against the drying effects of winter winds.
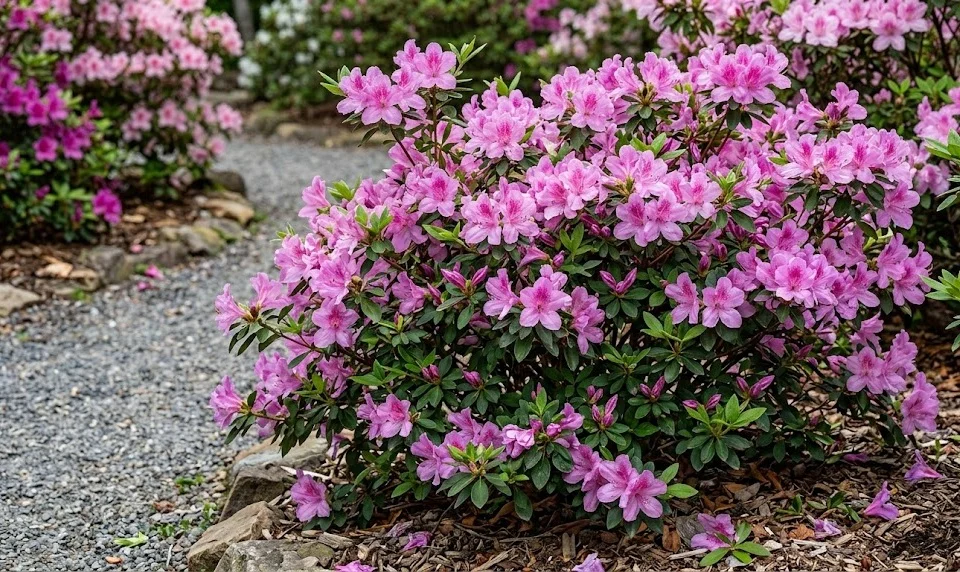
Mulching is your second line of defense against the cold, acting as an insulating blanket for the shallow root system. Apply a fresh layer of organic mulch, such as shredded bark or pine needles, to a depth of about three to four inches. This layer helps to keep the soil temperature stable, preventing the damaging cycle of freezing and thawing that can heave plants out of the ground. Be careful to leave a small gap around the base of the stem to maintain air circulation and prevent rot.
Understanding hardiness and selection
Before you even plant an azalea, it is essential to understand the hardiness zone of your specific location. Not all azaleas are created equal, and some varieties can withstand much lower temperatures than others. Deciduous azaleas, which drop their leaves in the fall, are generally more cold-hardy than their evergreen cousins. Always choose varieties that are rated for at least one zone colder than yours to provide a safety margin for unusually harsh winters.
More articles on this topic
The specific microclimate of your garden also plays a role in how well a plant will overwinter. A spot that is protected from northern winds, such as the south side of a building, can be several degrees warmer than an exposed hilltop. Conversely, low-lying areas in your landscape may become “frost pockets” where cold air settles and lingers. Understanding these nuances allows you to place your most sensitive plants in the most sheltered locations.
If you have already planted a variety that is marginally hardy for your area, you may need to provide extra protection each year. This could involve building a temporary frame and covering it with burlap to shield the plant from the wind and sun. Avoid using plastic covers that touch the foliage, as they can trap heat and cause the plant to break dormancy too early. Burlap is an ideal material because it provides shade and wind protection while still allowing the plant to breathe.
Monitoring the health of your plants throughout the autumn will give you a good indication of their winter readiness. Plants that have struggled with pests or diseases during the summer will be naturally more vulnerable to winter stress. Addressing these issues early and ensuring the plant is in peak condition will improve its chances of a successful overwintering. A healthy, well-fed plant has the chemical reserves necessary to survive the long period of dormancy.
Protection for outdoor specimens
For azaleas in the ground, the primary goal of winter protection is to prevent desiccation and physical damage. Heavy snow and ice can easily break the brittle branches of an azalea, especially if the plant has a wide or spreading habit. In areas prone to heavy snowfall, you might consider tying the branches together gently with soft twine to give them more structural support. Alternatively, a simple wooden A-frame placed over smaller shrubs can shed the weight of the snow and prevent breakage.
More articles on this topic
Anti-desiccant sprays are another tool that professional gardeners use to protect evergreen azaleas from drying out. These products create a thin, waxy coating on the leaves that reduces the amount of moisture lost through transpiration. They are particularly useful for plants that are in windy locations or those that have been recently transplanted. Apply the spray on a clear day when the temperature is above freezing to ensure it dries and bonds properly to the foliage.
If a sudden, extreme cold snap is predicted, you can provide temporary extra insulation by piling loose leaves or straw around the plant. This “mounding” technique protects the lower branches and the graft union if the plant is a grafted specimen. Once the extreme cold has passed, be sure to remove the excess material to prevent moisture from being trapped against the stems. This type of emergency intervention can save a prized specimen during a record-breaking winter event.
Checking the plants periodically during the winter thaws is a good habit to develop. If the sun is warm and the ground is not frozen, you may notice that the soil has become surprisingly dry. In these cases, a light watering can be very beneficial for evergreen varieties that are still losing moisture. Just be sure not to overwater, as you don’t want the roots sitting in a puddle if the temperatures drop again that night.
Managing potted azaleas in winter
Azaleas grown in containers are much more vulnerable to the cold because their roots are not insulated by the large mass of the earth. In most climates, it is unsafe to leave a potted azalea outdoors without significant intervention. One common method is to “heel in” the pot by burying it in a pile of mulch or directly in the ground for the winter. This uses the earth’s natural heat to protect the container’s contents from the extreme temperature fluctuations of the air.
If you choose to bring your potted azaleas indoors, they should be kept in a cool, bright area like an unheated garage or a sunroom. They still require a period of dormancy, so keeping them in a warm, heated house will disrupt their natural cycle. The temperature should ideally stay between 35 and 45 degrees Fahrenheit to maintain dormancy without risking a hard freeze. This controlled environment allows the plant to rest while being completely protected from the elements.
Watering remains a vital task for indoor overwintering, though the plant’s needs will be much lower than during the growing season. Check the soil every week or two and provide enough water to keep it slightly moist but never soggy. Since there is no wind and very little heat, the soil will dry out slowly, making it easy to accidentally overwater. Avoid fertilizing until the spring when you see the first signs of new growth beginning to appear.
As the days get longer in late winter, the plant may begin to wake up and show signs of activity. If this happens while it is still too cold to go outside, you must move it to a very bright spot to prevent weak, leggy growth. Gradually reintroduce the plant to the outdoors once the danger of a hard freeze has passed. This transition period, known as hardening off, is essential for allowing the plant to adjust to the higher light levels and wind.
Spring recovery and assessment
Once the spring thaw begins, the first task is to remove any temporary winter protection like burlap or extra mounds of leaves. Do this gradually as the temperatures stabilize to avoid shocking the plant with sudden exposure. Inspect the shrub for any signs of winter kill, which appears as brittle, brown branches or shriveled foliage. Use sharp, clean pruners to remove any dead wood, cutting back to a point where you see healthy green tissue.
Winter burn on the leaves may not be immediately apparent and can sometimes take a few weeks of warm weather to show up. If the leaves are only partially brown, you may want to wait and see if the plant will push out new growth to cover the damage. Often, a healthy azalea will quickly hide winter-damaged foliage with a fresh flush of spring leaves. If the damage is extensive, a light pruning can help stimulate new growth from the interior of the plant.
This is also the time to check the mulch and refresh it if the layer has thinned out over the winter. As the soil warms up, the roots will become active and will need the consistent moisture and temperature that mulch provides. Apply your first round of acid-loving fertilizer now to give the plant the nutrients it needs for the upcoming blooming period. A well-timed spring feeding helps the plant recover from the stress of winter and prepares it for a successful season.
Finally, take a moment to evaluate your overwintering strategy and make notes for the following year. If certain plants showed more damage than others, consider if they need a more sheltered location or better protection next time. Gardening is a continuous learning process, and each winter provides new data on how to better care for your collection. With a little bit of effort and foresight, your azaleas will continue to thrive and grow more beautiful with each passing year.