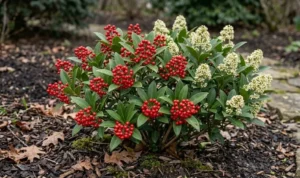
Establishing this resilient species in your garden begins with a well-thought-out planting strategy that accounts for its long-term growth. The success of a new planting depends heavily on the initial preparation of the site and the care taken during the actual installation. While the plant is known for its ability to grow in difficult spots, giving it a strong start will ensure a much more attractive specimen. Taking the time to understand the requirements for both planting and propagation will allow you to expand your collection effectively.
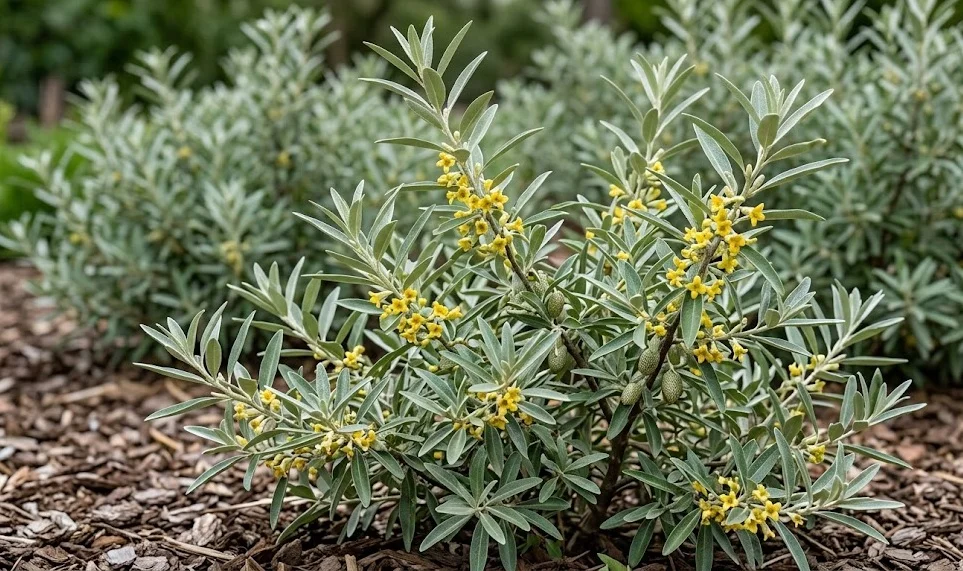
Selecting the right location is the most critical decision you will make before you even pick up a shovel. You should look for a spot that receives plenty of sunlight and has enough space to accommodate the mature size of the shrub. Think about how the silver foliage will look against your existing landscape and whether it will provide the desired level of privacy or wind protection. A well-chosen site minimizes future maintenance and allows the plant to thrive with very little intervention.
Before planting, it is wise to clear the area of any aggressive perennial weeds that might compete with the young sapling. Digging a hole that is twice as wide as the root ball but no deeper ensures that the roots can easily penetrate the surrounding soil. You can loosen the soil at the bottom of the hole slightly, but avoid making it too soft, or the plant might settle too deeply. Proper hole preparation is the foundation upon which a healthy and stable tree is built.
When you are ready to place the plant in the hole, check the depth carefully to ensure the soil line matches where it was in the nursery pot. Backfilling with a mix of native soil and a small amount of organic matter helps the roots transition to their new environment. You should firm the soil gently with your hands to remove any large air pockets that could dry out the roots. Once the hole is filled, creating a small soil basin around the base will help direct water exactly where it is needed most.
Methods for successful propagation
Propagating this species can be a rewarding way to create new plants for your garden or to share with other enthusiasts. One of the most common methods involves taking semi-hardwood cuttings during the mid-summer months when the growth is firm but still flexible. You should select healthy shoots that are free from any signs of disease or pest damage for the best chance of success. Using a sharp, clean knife to make the cuts prevents crushing the delicate tissues and encourages faster rooting.
More articles on this topic
Once you have your cuttings, removing the lower leaves and dipping the base into a rooting hormone can significantly speed up the process. Place the cuttings in a well-draining medium, such as a mix of peat and perlite, and keep them in a humid environment. You should provide bright but indirect light to prevent the cuttings from drying out before they have a chance to form roots. With consistent moisture and warmth, you will start to see new growth in just a few weeks.
Softwood cuttings are another option, typically taken in late spring when the new growth is still very tender and green. These cuttings root very quickly but require a bit more attention to humidity levels to prevent wilting. You should cover them with a clear plastic dome or place them in a specialized propagation chamber to maintain a stable environment. This method is excellent for those who want to produce a large number of plants in a short period.
Hardwood cuttings can also be successful if taken during the dormant winter months when the plant is at rest. These should be longer than summer cuttings and are often buried halfway in a sheltered outdoor spot or a cold frame. While they take longer to show signs of life, they are often more robust and require less daily monitoring than tender cuttings. This variety of propagation techniques allows you to choose the one that best fits your schedule and available resources.
Growing from seeds and layering
Growing from seed is a fascinating way to observe the entire life cycle of the plant, though it requires a bit of patience. The seeds found inside the fruit should be cleaned of all pulp and then subjected to a period of cold stratification to mimic winter conditions. You can achieve this by placing the seeds in a moist medium in the refrigerator for several months before sowing them in the spring. This process breaks the seed’s natural dormancy and ensures a much higher germination rate.
More articles on this topic
Once the seeds have been stratified, sow them in a light, sandy seed-starting mix and cover them thinly with soil. Keep the tray in a warm, bright location and ensure the soil remains consistently moist but never saturated. You will need to protect the young seedlings from harsh direct sunlight and extreme temperature changes during their first few months. As they grow, you can gradually move them into larger pots until they are strong enough to be planted in their permanent garden home.
Air layering is a more advanced technique that allows you to create a large, established plant while it is still attached to the parent tree. This involves wounding a branch, applying rooting hormone, and wrapping the area in moist sphagnum moss and plastic. You should check the moisture levels regularly and wait until you see a significant mass of roots through the plastic. Once the roots are well-developed, you can cut the branch below the wrap and plant your new, semi-mature tree.
Simple mound layering is another effective method, especially for shrubs with branches that grow close to the ground. You can bend a low-growing branch down to the soil, injure a small section of the bark, and bury it under a mound of earth. Pinning the branch in place ensures it stays in contact with the moist soil while the roots begin to form at the wound site. This hands-off approach is perfect for gardeners who want reliable results with very little technical equipment or constant supervision.
Best practices for establishment
The first year after planting is the most critical time for any new addition to your garden landscape. You must ensure that the young plant receives consistent water, especially during its first summer in the ground. While it will eventually become drought-tolerant, it needs help building a root system that can reach deeper water reserves. Mulching around the base is highly recommended during this phase to protect the roots and keep the soil temperature stable.
You should avoid heavy pruning during the first growing season to allow the plant to focus all its energy on root development. Removing only dead or broken branches is acceptable, but let the main structure grow freely for at least a year. This allows the plant to produce as much energy as possible through its leaves, which is then sent down to strengthen the roots. A patient approach during the establishment phase leads to a much more resilient and long-lived plant in the future.
Fertilizing is generally not necessary during the first year if the soil has been properly prepared with organic matter. In fact, too much nitrogen can encourage excessive top growth at the expense of the vital root system. If you feel the plant needs a boost, a small amount of balanced, slow-release fertilizer in early spring is usually sufficient. Always follow the instructions on the package and water the plant thoroughly after application to prevent root burn.
Regularly checking for pests and diseases is also important while the plant is young and more vulnerable. Catching a problem early can prevent it from setting the plant’s growth back by several months or even a year. You should look under the leaves and along the stems for any signs of unusual spots, webbing, or insect activity. Maintaining a clean and healthy environment around the new planting is the best defense against these common garden challenges.