Starting your journey with the butterfly flower begins with a clear understanding of its unique reproductive cycle and growth habits. These plants are typically treated as cool-season annuals, meaning their planting window is much tighter than many other garden favorites. If you want to achieve the best results, you must plan your planting schedule to align with the moderate temperatures of spring or autumn. Successful propagation requires a delicate balance of moisture, warmth, and light to transform a tiny seed into a blooming powerhouse.
Seed starting techniques
The most common way to begin with these plants is by sowing seeds indoors several weeks before the last expected frost. Because the seeds are quite small, you should sow them on the surface of a fine-starting mix rather than burying them deeply. They require a bit of light to trigger the germination process, so a very light dusting of vermiculite is usually sufficient. Pressing the seeds gently into the soil ensures good contact without blocking out the necessary light.
Maintaining a consistent temperature is vital during the first two weeks of the germination process. You should aim for a soil temperature around sixty-five degrees Fahrenheit to encourage steady and uniform sprouting. Using a heat mat can be helpful, but you must monitor it closely to ensure the soil does not dry out too quickly. Covering the seed trays with a clear plastic dome helps retain humidity and creates a stable microenvironment for the emerging seedlings.
Once you see the first green shoots appearing, you should move the trays to a very bright location or under grow lights. Without sufficient light, the young plants will quickly become “leggy,” stretching their stems too thin in search of energy. Keep the lights just a few inches above the tops of the plants to ensure they grow stocky and strong. Rotate the trays frequently if you are using a natural light source like a windowsill to prevent the plants from leaning.
Watering at this stage should be done with extreme care to avoid disturbing the fragile root systems. Using a spray bottle or watering from the bottom of the tray is much safer than pouring water over the top. The goal is to keep the growing medium consistently moist but never soggy, as young seedlings are very susceptible to “damping off” fungus. As the plants develop their first set of true leaves, you can begin to thin them out to prevent overcrowding.
More articles on this topic
Transplantation best practices
Moving your young plants from their controlled indoor environment to the unpredictable outdoors is a process that requires patience. You must “harden off” the seedlings by gradually exposing them to outdoor conditions over a period of seven to ten days. Start by placing them in a shaded, sheltered spot for just an hour or two and slowly increase the duration and intensity of exposure. This transition period allows the plant’s cell walls to thicken and adapt to the wind and sun.
The ideal time to perform the final transplant is on a cloudy day or in the late afternoon. This timing reduces the immediate sun stress on the roots while they are trying to establish themselves in the new soil. Dig a hole that is slightly larger than the root ball and place the plant at the same depth it was growing in its container. Avoid planting too deep, as this can lead to stem rot, or too shallow, which might cause the roots to dry out.
Soil preparation at the transplant site should be completed well in advance to allow any amendments to settle. You should incorporate a balanced compost to provide a boost of nutrients that will support the plant during its initial growth spurt. Gently firm the soil around the base of the plant with your fingers to remove large air pockets. Immediately after planting, give each specimen a thorough drink of water to help settle the soil around the roots.
Spacing is a critical consideration that will affect the health of the plants throughout the entire summer. You should leave about ten to twelve inches between each butterfly flower to allow for their mature spread. If you plant them too closely, they will compete for resources and suffer from poor air circulation. Proper spacing ensures that each plant has enough room to develop its characteristic bushy shape and produce a maximum number of blooms.
More articles on this topic
Propagation from cuttings
While seeds are the most popular method, you can also propagate the butterfly flower using stem cuttings if you have a particularly beautiful specimen. This method allows you to create an exact genetic clone of the parent plant, ensuring the same color and pattern. You should select healthy, non-flowering shoots that are about three to four inches long for the best results. Using a sharp, sterilized blade is essential to prevent crushing the delicate stem tissues.
Remove the leaves from the bottom half of the cutting to expose the nodes where new roots will eventually form. You can dip the cut end into a rooting hormone powder to speed up the process, though it isn’t strictly necessary for this species. Insert the cuttings into a pot filled with a light, sterile mix of perlite and peat moss. Ensure that at least one or two nodes are buried beneath the surface, as this is where the most vigorous rooting occurs.
Create a high-humidity environment for the cuttings by placing a clear bag over the pot or using a dedicated propagation chamber. You should keep the cuttings in a bright area but away from direct sunlight, which could cook them under the plastic. Check the moisture levels daily and mist the leaves if they appear to be wilting. Within two to three weeks, you should start to see new growth, indicating that roots have successfully formed.
Once the cuttings have established a strong root system, you can treat them like any other young seedling. Gradually acclimate them to lower humidity by opening the plastic bag for longer periods each day. After they have been hardened off, they can be moved into larger pots or directly into the garden. This technique is a great way to multiply your stock of a favorite variety without having to purchase more seeds.
Site selection for outdoor planting
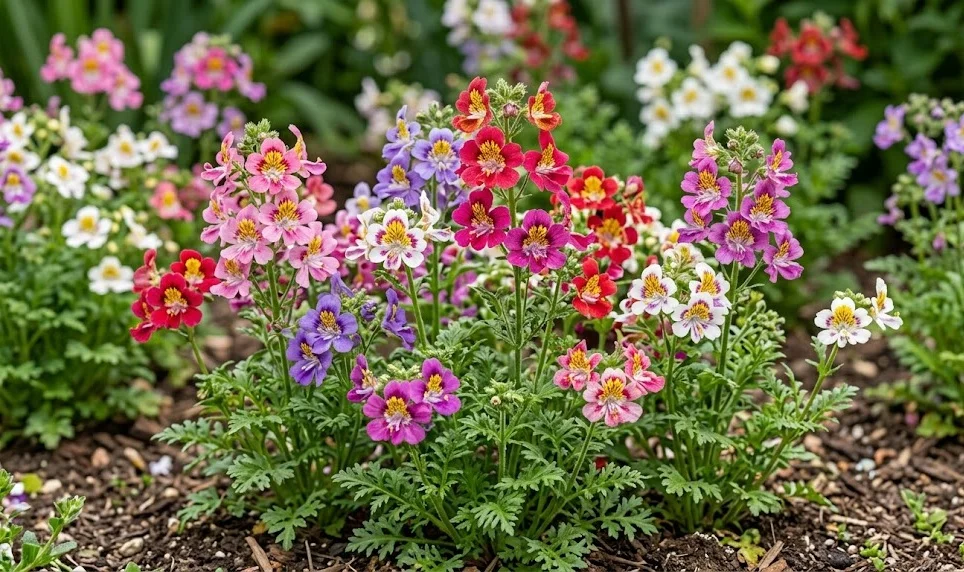
Choosing the right location in your landscape is the final piece of the planting puzzle. The butterfly flower needs a spot that offers “bright shade” or filtered sunlight, especially in the afternoon. Locations under the canopy of a tall tree or on the east side of a building are often ideal. If the site is too dark, the plants will become spindly and produce very few flowers, but too much sun will scorch them.
The soil in your chosen site must have excellent natural drainage to prevent waterlogging during rainy periods. If you notice that water puddles in a certain area after a storm, that spot is likely unsuitable for this species. You can test drainage by digging a small hole, filling it with water, and seeing how long it takes to empty. Ideally, the water should disappear within an hour, indicating a porous and healthy soil structure.
Proximity to a water source is another practical consideration that will make your gardening life much easier. Because these plants require consistent moisture, you don’t want to be hauling heavy watering cans across a large yard every day. Having a hose or a rain barrel nearby ensures that you can keep up with the plant’s needs during dry spells. Easy access also makes it more likely that you will perform the daily inspections necessary for success.
Finally, think about how the wind moves through your property when selecting a site. A location that is tucked away from the prevailing winds will help protect the delicate stems from breaking. If your yard is very open, you might need to plant a taller row of flowers or install a small lattice to act as a buffer. Creating a calm microclimate will allow the butterfly flowers to reach their full potential and provide a stunning display.