Successfully establishing a new plant begins with a professional approach to the planting process and an understanding of its reproductive capabilities. You must consider the long-term needs of the shrub when choosing its permanent location, as moving it later can cause significant transplant shock. Whether you are starting with a nursery-bought specimen or trying to grow your own from scratch, the initial steps are the most critical. By following established horticultural principles, you can ensure your new additions thrive from the very first day they are placed in the soil.
Site selection and preparation
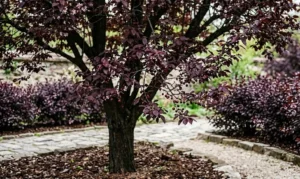
The first step in any successful planting project is identifying the ideal location that meets the biological needs of the species. You should look for a spot that offers a balance of bright, indirect light and protection from strong, drying winds. While the plant can tolerate some direct sun, a location with dappled shade during the hottest part of the afternoon is often superior. Preparing the site well in advance of planting allows the soil to settle and creates a welcoming environment for the new roots.
Soil preparation is not something you should rush, as the quality of the medium determines the future health of the plant. You should dig a hole that is at least twice as wide as the current root ball but no deeper than the container the plant is currently in. Amending the excavated soil with organic matter like compost or aged manure will improve its structure and nutrient content significantly. If the natural soil is heavy clay, you must incorporate drainage materials like grit or sand to prevent future waterlogging issues.
Testing the soil pH is a professional touch that can save you a lot of trouble in the long run by ensuring nutrient availability. You should aim for a slightly acidic to neutral range, which is where this shrub performs best and can easily absorb minerals. if your soil is too alkaline, you can add sulfur or peat moss to lower the pH to the desired level. Taking the time to adjust the chemical balance of the soil before planting ensures that the plant doesn’t suffer from immediate deficiencies.
Consider the surrounding landscape and how the plant will interact with its neighbors as it grows to its full size. You should provide enough space for the shrub to reach its natural width without being crowded out by more aggressive species. Good spacing also promotes better air circulation, which we have already identified as a key factor in preventing disease and maintaining foliage health. A well-thought-out placement within the garden design ensures that the plant is both a functional and aesthetic success.
More articles on this topic
The planting procedure
When you are ready to put the plant in the ground, you must handle the root ball with extreme care to avoid damaging the fine feeder roots. You should gently remove the plant from its nursery container by tapping the sides and sliding it out rather than pulling by the stem. If the roots are circling the pot, you can lightly tease them outward to encourage them to grow into the surrounding soil. This simple step helps the plant establish itself much faster in its new home.
Place the plant in the center of the hole, making sure that the top of the root ball is level with the surrounding soil surface. You must avoid planting too deep, as burying the stem can lead to rot and other health issues over time. As you backfill the hole with your amended soil mixture, firm it down gently with your hands to remove any large air pockets. Air pockets can cause the roots to dry out, so ensuring good soil-to-root contact is essential for a successful transition.
Immediately after planting, you should provide a thorough watering to help settle the soil and hydrate the plant after the stress of moving. You must apply the water slowly at the base of the plant, allowing it to soak deep into the root zone rather than running off the surface. This initial watering is the most important one the plant will ever receive, as it triggers the root-to-soil integration process. Continue to monitor the moisture levels closely for the first few weeks until you see signs of new growth.
Applying a layer of mulch around the newly planted shrub is the final step in a professional planting procedure. You should keep the mulch a few centimeters away from the main stem to prevent moisture buildup against the bark, which can cause decay. The mulch will help keep the new roots cool and moist while they are working hard to expand into the native soil. This protective layer also suppresses weed growth, which would otherwise compete with your new plant for precious water and nutrients.
More articles on this topic
Seed propagation techniques
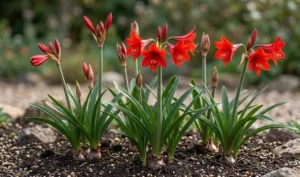
Growing this species from seed is a rewarding process that allows you to produce many plants at a relatively low cost. You should start the seeds indoors about six to eight weeks before the last expected frost to give them a head start on the season. Using a high-quality seed-starting mix that is sterile and fine-textured will provide the best environment for germination. Spread the tiny seeds evenly across the surface of the moist medium and cover them with only a very thin layer of soil.
Temperature and moisture are the two most critical factors when trying to germinate these seeds successfully in a controlled environment. You should keep the seed tray in a warm location, ideally around twenty-one to twenty-four degrees Celsius, and use a plastic dome to maintain high humidity. It is important to keep the soil consistently moist but never waterlogged, as the delicate seeds can easily rot. A spray bottle is the best tool for providing a gentle mist that doesn’t disturb the seeds or the soil surface.
Once the seedlings emerge and develop their first set of true leaves, you should provide them with plenty of bright light to prevent them from becoming leggy. You can use fluorescent or LED grow lights if natural sunlight is insufficient, keeping the lights just a few inches above the plants. At this stage, you can also begin to provide a very weak solution of liquid fertilizer to support their rapid development. Thin out the weaker seedlings to ensure that the strongest ones have plenty of room and resources to thrive.
Hardening off the young plants is a crucial transition phase that prepares them for the harsher conditions of the outdoor world. You should gradually expose the seedlings to outdoor temperatures and sunlight over a period of ten to fourteen days. Start with an hour or two in a shaded, protected spot and slowly increase the time and intensity of the exposure each day. This process toughens the plant’s tissues and prevents the shock that would occur if they were moved directly from a cozy indoor environment to the garden.
Vegetative propagation methods
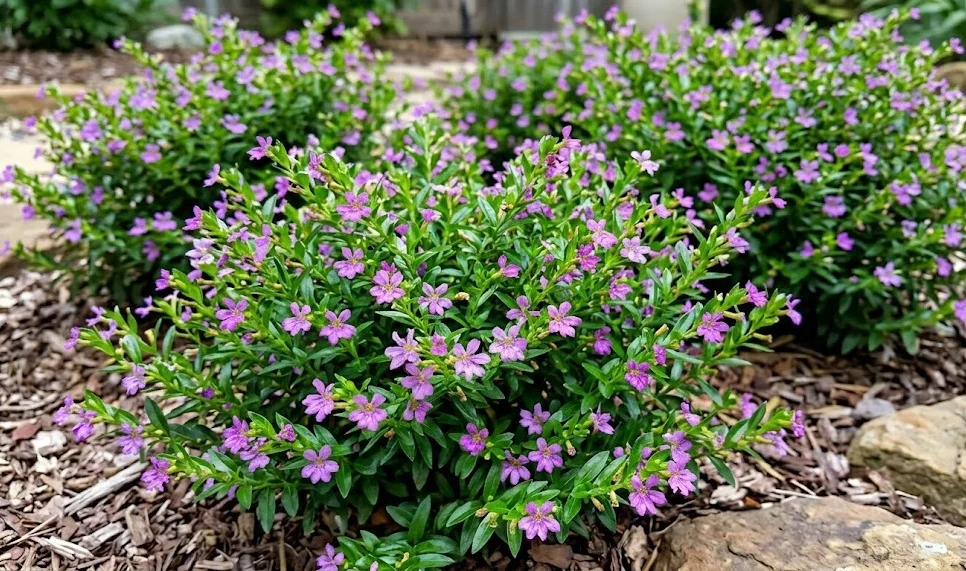
Propagating from stem cuttings is often the preferred method for professionals because it produces an exact genetic clone of the parent plant. You should take four to six-inch cuttings from healthy, non-flowering stems during the late spring or early summer when growth is most active. Use a sharp, sterilized knife to make a clean cut just below a leaf node, as this is where the highest concentration of rooting hormones is located. Removing the lower leaves will reduce moisture loss and make it easier to insert the cutting into the rooting medium.
Using a rooting hormone can significantly increase your success rate by stimulating the cells at the base of the cutting to produce roots faster. You should dip the cut end into a rooting powder or liquid before inserting it into a pot filled with a moist mixture of peat and perlite. Firm the medium around the base of the cutting to ensure it stays upright and has good contact with the rooting environment. Placing several cuttings in the same container can save space, provided they are not touching each other.
To maintain the high humidity required for rooting, you can place the entire pot inside a clear plastic bag or under a propagation dome. You should keep the cuttings in a warm, brightly lit area but out of direct sunlight, which would cause the temperature inside the plastic to rise too high. Every few days, open the bag to allow fresh air to circulate and check the moisture levels of the medium. Rooting typically occurs within four to six weeks, at which point you will notice resistance when you give the cutting a gentle tug.
Once a strong root system has developed, you can transplant the individual cuttings into their own small pots filled with regular potting soil. You should continue to grow them in a protected environment for a few more weeks until they are well-established and showing vigorous new growth. These young plants are now ready to be hardened off and eventually moved to their permanent locations in the garden or larger containers. Vegetative propagation is a reliable way to expand your collection and share your favorite plants with other gardening enthusiasts.