Establishing a thriving crop of endive begins with a precise approach to planting and understanding the fundamentals of propagation. This particular green requires a strategic start to ensure the plants develop the robust root systems and dense foliage necessary for a successful harvest. Whether you are starting from seed indoors or direct-sowing into the garden, the initial stages of the plant’s life determine its eventual quality. By focusing on professional techniques during the planting phase, you can maximize your yield and ensure a healthy, productive garden season.
Seed selection and starting indoors
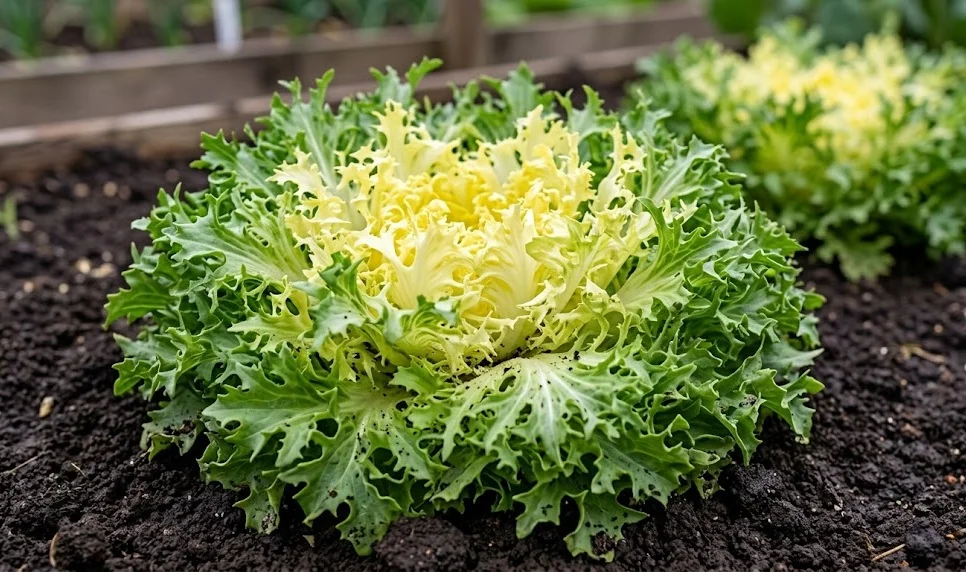
Selecting high-quality seeds is the primary prerequisite for any successful agricultural endeavor involving endive lettuce. There are many varieties available, ranging from the curly-leaved frisée types to the broad-leaved Escarole, each with its own growth habits. Professional growers often look for seeds with high germination rates and resistance to common local pathogens. Buying from reputable suppliers ensures that the genetic potential of the plant is maximized from the very beginning.
Starting seeds indoors offers a significant advantage by allowing you to control the environment during the most vulnerable stage of growth. Use a high-quality seed-starting mix that is sterile and light enough to allow for easy root penetration. Sow the seeds shallowly, as they require a bit of light to trigger the germination process effectively. Keeping the soil consistently moist but not waterlogged at a temperature of around twenty degrees Celsius will encourage quick and even sprouting.
Proper lighting is essential once the seedlings emerge to prevent them from becoming “leggy” or weak-stemmed. A dedicated grow light or a very bright south-facing window can provide the intensity required for strong, compact growth. If the seedlings do not get enough light, they will stretch toward the source, resulting in fragile plants that struggle once transplanted. Aim for about twelve to fourteen hours of light per day to mimic the ideal conditions of a bright spring day.
As the seedlings develop their first true leaves, it is time to consider thinning them to ensure each plant has enough space. If multiple seeds were sown in a single cell, keep only the strongest and most vigorous individual. This selection process ensures that you are only moving the healthiest candidates into the garden. Providing a weak liquid fertilizer at this stage can also help give the young plants the nutrients they need to build a strong foundation.
More articles on this topic
Direct sowing techniques
Direct sowing into the garden bed is a viable option for those who prefer a more natural approach or have a long growing season. This method avoids the stress of transplanting, which can sometimes set the plants back by a few days. The soil must be prepared to a fine tilth, meaning it is crumbly and free of large stones or debris that might obstruct small seeds. Wait until the soil has warmed sufficiently in the spring, as cold soil can cause seeds to rot before they have a chance to germinate.
When sowing directly, create shallow furrows about half an inch deep and space them at least twelve inches apart. Drop the seeds along the row, aiming for a spacing of one seed every couple of inches, which you will later thin out. Covering the seeds with a light dusting of fine soil or vermiculite helps protect them while still allowing light to reach them. Once sown, water the area with a very fine mist to avoid washing the tiny seeds away or burying them too deeply.
Maintaining consistent moisture is the most challenging part of direct sowing, as the top layer of soil can dry out rapidly in the sun. Many professionals use a light row cover or even a piece of damp burlap over the rows until the first sprouts appear. This technique helps retain humidity and prevents the soil from crusting over, which can trap delicate seedlings underground. Check the rows daily and remove the covers as soon as the green tips begin to emerge from the earth.
Once the seedlings are about two inches tall, they must be thinned to their final spacing to prevent overcrowding. This might feel wasteful, but it is necessary for the development of large, healthy heads of endive. The thinned-out seedlings are often tender and delicious, making them a great addition to an early-season microgreen salad. Thinning ensures that the remaining plants have access to all the sunlight, water, and minerals available in their immediate vicinity.
More articles on this topic
Transplanting into the garden
Transplanting indoor-started seedlings requires a careful process called hardening off to prevent transplant shock. This involves gradually exposing the young plants to outdoor conditions over the course of seven to ten days. Start by placing them in a sheltered, shady spot for a few hours and slowly increase their time in the sun and wind. This gradual transition allows the plant’s cuticle to thicken and its cellular structure to adjust to the rigors of the outdoor environment.
Choose a cloudy day or the late afternoon for the actual transplanting to minimize the stress caused by the midday sun. Dig a small hole for each seedling that is just deep enough to accommodate the root ball without burying the stem too deeply. Gently loosen the roots if they have become slightly pot-bound, as this encourages them to grow outward into the new soil. Firm the soil gently around the base of the plant to ensure good root-to-soil contact, which is vital for water uptake.
Immediate irrigation after transplanting is essential to help the roots settle and to eliminate any air pockets in the soil. Using a transplant solution or a diluted seaweed extract can provide a boost of micronutrients that helps the plant recover from the move. Watch the new transplants closely for the first few days, providing temporary shade if they show signs of severe wilting. Most endive plants will bounce back quickly and begin showing new growth within a week of being moved.
Space your transplants according to the mature size of the variety you are growing, typically ten to twelve inches apart. Proper spacing at this stage prevents future problems with airflow and nutrient competition as the plants reach their full size. Marking the rows clearly helps you keep track of different varieties and makes it easier to navigate the garden for maintenance. Successful transplanting bridges the gap between the nursery and the harvest, setting the stage for a productive season.
Vegetative propagation and seed saving
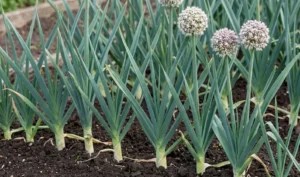
While endive is primarily grown from seeds, understanding the full cycle of propagation includes the potential for saving your own seeds. To do this, you must allow a few of your best plants to go to seed rather than harvesting them for food. This process, known as bolting, involves the plant producing a tall flower stalk with small, usually blue, flowers. Choosing the healthiest and most true-to-type plants for seed saving ensures the quality of your future crops.
Once the flowers have bloomed and faded, the plant will produce small seed heads that turn brown and dry as they mature. It is important to wait until the seeds are fully ripe before harvesting them, but you must act before they are dispersed by the wind. You can cut the entire seed stalk and place it upside down in a paper bag to catch the seeds as they fall. This traditional method is simple and effective for gathering a large amount of propagation material for the next year.
Clean the seeds by gently rubbing the dried flower heads and using a screen or a gentle breeze to winnow away the chaff. Store the cleaned seeds in a cool, dark, and dry location in an airtight container to maintain their viability. Properly stored endive seeds can remain viable for five years or more, giving you a reliable source of plants for multiple seasons. Saving your own seeds also allows the variety to adapt over time to your specific garden conditions and climate.
Propagation through division is not typically practiced with endive as it is an annual or biennial grown for its primary foliage. However, understanding the botanical nature of the plant helps in managing its lifecycle more effectively in the garden. By mastering both the starting of new seeds and the preservation of genetics through seed saving, you become a more self-sufficient and skilled horticulturalist. This complete understanding of propagation ensures that your garden remains vibrant and productive year after year.