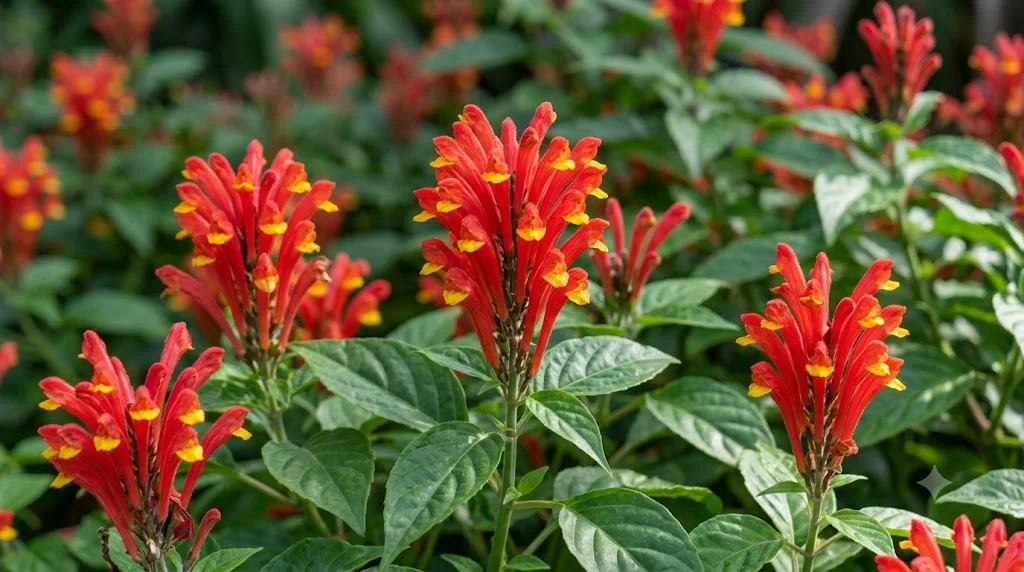

Costa Rican skullcap establishes most reliably when it is planted into an airy, moisture-retentive medium and protected from environmental extremes during its first weeks. Container culture is often the safest choice in climates with cool winters because the plant can be moved indoors before temperatures become damaging. Propagation is usually easiest from young stem cuttings, although seeds may occasionally be available. Careful preparation at planting time has a lasting influence on root strength, branching, and flowering.
Preparing the planting site and container
Choose a position that receives bright filtered light or gentle morning sun. The location should be protected from strong wind, intense afternoon heat, and cold air movement. In warm frost-free gardens, the plant can be grown in the ground as a tropical border shrub. In cooler regions, a container allows much greater control over temperature and moisture.
Garden soil should be fertile, well drained, and rich in decomposed organic matter. Dense clay can be improved by incorporating compost and coarse structural material across a broad area. Simply filling a narrow planting hole with loose compost can trap water around the root ball when the surrounding soil drains poorly. Improving the wider root zone produces more reliable results.
For container planting, use a pot only moderately larger than the existing root system. Oversized containers remain wet for too long and make irrigation difficult to judge. Several drainage holes should be present, and they must remain unobstructed after planting. A shallow layer of coarse debris is not a substitute for a well-aerated potting mixture.
Moisten the growing medium lightly before planting so that it settles evenly around the roots. Bone-dry mixes can repel water, while saturated mixes are difficult to handle without compaction. The finished medium should feel evenly damp but remain loose in the hand. This condition creates a supportive environment for new root growth.
More articles on this topic
Planting without damaging the roots
Water the plant several hours before removing it from its original container. A slightly moist root ball is easier to handle and less likely to crumble away from fine roots. Support the base of the plant while gently sliding the pot away. Pulling hard on the stems can tear roots or split the crown.
Examine the root ball before planting. Firm, pale roots are generally healthy, whereas dark, soft, foul-smelling roots indicate decay. Tightly circling roots can be loosened gently with the fingers. Severe cutting should be avoided unless the root system is badly congested or damaged.
Set the plant at approximately the same depth at which it previously grew. Burying the stem too deeply keeps the crown damp and may encourage rot. Planting too high exposes the upper roots and allows them to dry quickly. Fill around the root ball gradually, pressing only lightly to remove large air pockets.
Water thoroughly after planting so the medium settles around the roots. Allow all excess water to drain before returning the container to a decorative cover. Keep the plant in bright, indirect light while it adjusts. Strong sun, heavy feeding, and repeated movement should be avoided during the initial establishment period.
More articles on this topic
Propagating from stem cuttings
Select healthy, non-flowering shoots with flexible growth and no signs of pests or disease. A cutting about 8 to 12 centimetres long usually provides enough stem for rooting. Make the cut just below a node because this area contains tissues capable of producing roots. Use a clean, sharp blade to avoid crushing the stem.
Remove the leaves from the lower portion of the cutting. Retain a few healthy leaves near the tip, but reduce very large leaves if they cause rapid moisture loss. Flower buds and open flowers should be removed so energy is directed toward root formation. The prepared cutting should be inserted promptly before the cut surface dries.
A mixture of perlite and fine seed-starting compost provides both moisture and aeration. Insert at least one bare node beneath the surface and firm the medium gently around the stem. Water lightly so the substrate becomes evenly damp without turning muddy. Rooting hormone can be used, although fresh cuttings often root successfully without it.
Maintain warmth, high humidity, and bright indirect light while roots develop. A clear cover can reduce moisture loss, but it should not rest directly on the foliage. Open the cover regularly to provide fresh air and remove excessive condensation. New growth and gentle resistance when the cutting is tugged usually indicate successful rooting.
Establishing young propagated plants
Rooted cuttings should be moved into small individual pots rather than large containers. A small volume of medium dries more predictably and encourages the roots to expand throughout the pot. Handle new roots gently because they are brittle and easily damaged. Plant the cutting at the same depth it occupied in the propagation medium.
Humidity should be reduced gradually after potting. Removing a propagation cover suddenly can cause severe wilting because the young plant has not yet adjusted to normal air. Increase ventilation over several days until the plant remains firm without protection. This gradual hardening process improves survival.
Light levels can also be increased step by step. Newly rooted plants should not be placed immediately in strong direct sunlight. Begin with bright indirect light and introduce mild morning sun only after active growth resumes. A compact, upright response indicates that the plant is receiving an appropriate amount of light.
Pinching the tip after several new leaf pairs have formed encourages early branching. Avoid heavy feeding until the root system is clearly active. A weak, balanced fertilizer can then be introduced at reduced concentration. Consistent moisture, warmth, and careful observation help the young plant develop into a dense flowering specimen.