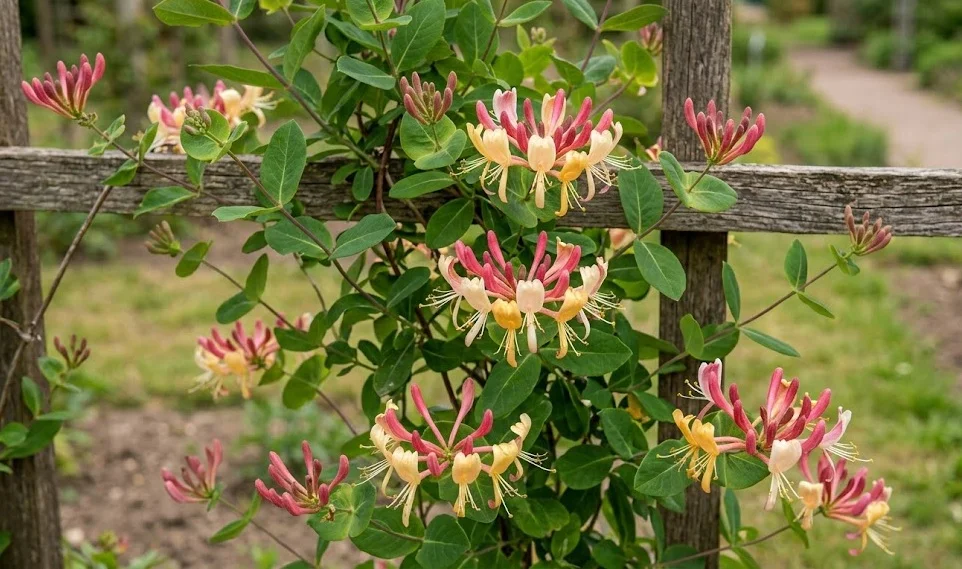

Successful cultivation of this remarkable climbing vine begins with proper site selection and correct planting techniques. Choosing the right location ensures that the plant establishes a strong root system and grows vigorously from the very start. Gardeners must consider factors such as sunlight availability, soil drainage, and structural support before digging the first hole. A thoughtful approach to the planting process saves time and prevents future growth complications.
The ideal spot should offer a combination of sun-drenched upper space and a shaded, cool root zone. This unique requirement mimics the natural woodland environment where the vine typically climbs up toward the forest canopy. Planting near a sturdy wall, fence, or custom-built trellis provides the necessary physical support for the future growth. You should ensure the site has enough clearance from aggressive neighboring plants to minimize competition for resources.
Soil preparation is another critical step that should never be rushed or overlooked during the planning phase. Digging a wide hole allows the surrounding soil to loosen up, making it easier for young roots to expand. Incorporating generous amounts of organic compost improves both the nutrient profile and the water-retention capabilities of the substrate. Proper preparation creates an inviting environment that encourages rapid root colonization and minimizes transplant shock.
Timing your planting activity correctly can significantly increase the survival rate and early growth speed of the vine. Early spring or mid-autumn are the absolute best times to introduce new plants to your garden landscape. During these cooler periods, evaporation rates are lower, and the soil contains natural moisture that supports root development. Planting when the vine is semi-dormant allows it to focus entirely on establishing its underground foundation.
Planting procedures step by step
Once the perfect location has been prepared, you can begin the physical process of setting the plant into the ground. Gently remove the young vine from its nursery container while taking great care not to disturb the root ball. If the roots have become tightly bound, lightly tease them outward to encourage outward growth into the garden soil. Place the root ball into the prepared hole so that the top sits level with the surrounding ground.
More articles on this topic
Backfilling the hole requires a careful balance of firmness to eliminate air pockets without compacting the soil excessively. Mix the native soil with compost as you fill the space around the newly positioned root ball. Gently press down on the surface with your hands to stabilize the plant and secure its upright position. This step ensures excellent contact between the existing roots and the newly introduced soil matrix.
Immediately after filling the hole, give the newly planted vine a deep and thorough watering session. This initial irrigation helps settle the soil further and provides the hydration necessary for immediate root recovery. You should apply a thick layer of organic mulch around the base of the plant to retain this moisture. Keep the mulch a few inches away from the main stem to prevent fungal decay from developing.
Finally, secure the primary shoots of the young plant to the lower section of your chosen support structure. Use soft ties that allow for flexibility and future diameter growth of the tender green stems. This initial training helps the vine find its way upward and prevents it from trailing along the ground where it could be damaged. Your precise execution of these steps guarantees a successful start for your new garden addition.
Propagating with green cuttings
Propagating your own climbing vines through softwood cuttings is an economical and highly rewarding horticultural practice. This method allows you to create exact genetic clones of a particularly vigorous or fragrant parent plant. The best time to collect these cuttings is during the late spring or early summer when new growth is flexible. Choosing healthy, non-flowering shoots ensures that the plant’s energy is directed toward developing new roots.
More articles on this topic
Using a sharp, sterilized pair of pruning shears, cut a section of shoot roughly four to six inches in length. Make the lower cut directly below a leaf node, as this area contains a high concentration of growth hormones. Remove the lower leaves carefully to expose the nodes while leaving a few top leaves to facilitate photosynthesis. Minimizing leaf surface area reduces water loss through transpiration while the cutting lacks a root system.
Dip the severed base of the cutting into a high-quality rooting hormone powder to stimulate faster cellular differentiation. Insert the prepared stem into a pot filled with a moist, well-aerated propagation medium like perlite and peat. Press the medium firmly around the base of the cutting to ensure stability and eliminate empty air spaces. Placing a clear plastic cover over the pot helps maintain the high humidity levels necessary for survival.
Keep the propagation container in a warm location that receives bright, indirect sunlight rather than harsh direct rays. Check the moisture levels regularly to ensure the medium remains consistently damp but never waterlogged or stagnant. Roots typically begin to form within three to four weeks under these optimal environmental conditions. Once a strong root system develops, you can gradually acclimate the new plants to outdoor conditions.
Propagation via layering methods
Layering represents another highly reliable propagation method that takes advantage of the vine’s natural tendency to root upon contact with soil. This technique is exceptionally safe because the young plantlet remains attached to the parent vine while developing roots. You can perform ground layering in the springtime using low-growing, flexible stems that easily reach the earth. This hands-off approach requires minimal equipment and yields excellent success rates for home gardeners.
Select a healthy, pliable stem from the lower section of the established climbing plant. Gently bend the stem down to the ground and identify the point where it naturally touches the soil surface. At this contact point, make a small, shallow nick in the bark to expose the inner cambium layer. This minor wounding triggers the plant’s natural healing response and encourages rapid localized root production.
Dig a small trench roughly two inches deep and pin the wounded section of the stem securely into the ground. Cover the buried portion with fertile soil and place a small stone on top to keep it in place. Leave the remaining tip of the shoot exposed and directed upward to continue its normal vegetative growth. Keep this buried section consistently moist throughout the summer months to support the emerging root system.
By the following autumn or spring, the buried stem section will have produced a self-sustaining network of roots. You can then use sharp pruners to sever the connection between the new plantlet and the original parent vine. Carefully dig up the newly rooted individual and transplant it to its permanent location or a nursery pot. This simple, natural process allows you to expand your garden collection with absolute confidence.

