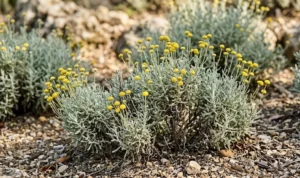
The successful establishment of these early-blooming flowers begins with a careful approach to their initial placement in the garden landscape. You must select a spot that mimics their natural rocky and sun-drenched habitats to ensure they feel at home from the very first day. The process of planting is not just about putting roots in the ground but about creating a micro-environment where they can flourish. Taking the time to prepare the site correctly will reward you with a stunning display of color in the following spring.
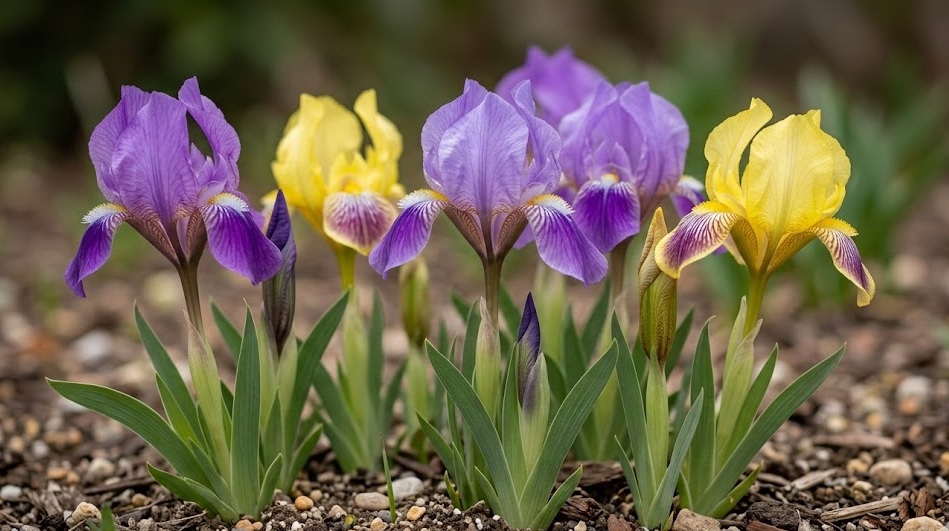
Sunlight is the most critical factor when choosing a permanent home for your new miniature iris collection. You should find a location that receives at least six hours of direct sunlight every day during the growing season. While they can tolerate very light shade, the best flower production and healthiest growth occur in full sun. Insufficient light often leads to weak stems and a disappointing lack of those characteristic vibrant blooms that gardeners cherish.
Soil drainage is the next priority you must address before you even pick up your trowel or garden fork. You should avoid any areas where water tends to sit after a heavy rain, as this will quickly lead to rhizome rot. If your soil is naturally heavy or contains a lot of clay, you can improve it by adding coarse sand or fine gravel. Raising the planting bed slightly above the surrounding ground level is another professional trick to ensure excess water drains away quickly.
Spacing is vital for both the aesthetic appeal and the long-term health of each individual plant in your garden. You should leave about ten to fifteen centimeters between each rhizome to allow for air circulation and future expansion. Crowding them too closely from the start will lead to competition for nutrients and a higher risk of fungal diseases. Proper spacing also makes it easier for you to perform maintenance tasks like weeding and dividing in the future.
Master techniques for planting rhizomes
The actual act of planting requires a gentle hand and a clear understanding of the plant’s unique anatomy. You should dig a shallow hole that is wide enough to accommodate the roots spread out horizontally. Instead of burying the entire structure, you must place the rhizome so that the top is level with or slightly above the soil surface. This exposure to the sun is essential for the health of the iris and prevents the base from rotting in damp soil.
More articles on this topic
Firming the soil around the roots is an important step to ensure there are no large air pockets that could cause the plant to dry out. You should use your fingers to gently press the earth down around the base of the fan and along the length of the rhizome. Be careful not to press too hard, as you do not want to compact the soil so much that the roots cannot breathe. A well-settled plant will be able to establish its root system much more quickly in its new environment.
Initial watering after planting helps the soil settle and provides the moisture needed to trigger new root development. You should apply water slowly and directly to the soil around the plant, avoiding the foliage and the top of the rhizome. The goal is to moisten the root zone without creating a muddy mess that could trap too much moisture. Once the initial watering is done, you should only water again when the top inch of soil feels dry to the touch.
Labeling your different varieties at the time of planting is a professional practice that prevents confusion later on. You can use small plastic or metal stakes to record the name of the cultivar and the date it was added to your garden. This information is incredibly helpful when the plants are dormant and you are planning new additions or maintenance tasks. It also allows you to track which varieties perform best in your specific soil and light conditions over time.
Propagation through rhizome division
Dividing established clumps is the most reliable and effective way to increase your stock of these beautiful miniature plants. You should plan to do this every three to four years to keep the plants vigorous and prevent the center of the clump from dying out. The best time for division is about six to eight weeks after the flowers have faded, which is usually in the mid-summer months. This timing allows the new divisions to establish themselves before the cold weather of winter arrives.
More articles on this topic
Start by digging around the entire clump and lifting it out of the ground with as much of the root system intact as possible. You should wash off the soil with a gentle stream of water so you can see the structure of the connected rhizomes. Look for the natural points where the rhizomes have branched out, as these are the best places to make your separations. Each division you keep should have a healthy fan of leaves and several strong white roots growing from the bottom.
Use a sharp and clean knife to cut the rhizomes into sections that are about five to eight centimeters long. You should inspect each piece for any signs of softness, holes from borers, or other damage that might compromise its health. Discard the old, leafless center sections of the original clump, as these are less likely to produce strong new growth. Treating the cut ends with a little bit of powdered sulfur can help prevent fungal infections while the wounds heal.
Trim the leaves back to about one-third of their original height in a fan shape before you replant the new divisions. This reduces the water loss through the foliage while the roots are trying to establish themselves in the new soil. You can then replant these segments following the same depth and spacing rules you used for your initial planting. This process essentially gives the plant a new lease on life and allows you to expand your garden for free.
Growing from seed for genetic diversity
While more time-consuming than division, growing from seed is a fascinating way to produce new and unique variations of the plant. You should harvest the seed pods once they have turned brown and started to crack open naturally in late summer. The seeds should be large, dark, and firm if they are fully mature and ready for the next stage of the process. Growing from seed requires patience, as it can take several years before you see the first flowers from your new plants.
Sowing the seeds in a cold frame or in a protected outdoor seedbed in the fall is the most natural method for germination. You should place them about one centimeter deep in a well-drained seed-starting mix that stays moist but not wet. The seeds need a period of cold temperatures over the winter to break their dormancy, a process known as stratification. In the spring, you will see small, grass-like seedlings emerging as the weather begins to warm up consistently.
Caring for the young seedlings involves providing consistent moisture and protecting them from the scorching heat of the afternoon sun. You should be careful when weeding around them, as they can easily be mistaken for common garden grasses during their first year. It is usually best to keep them in their nursery bed for at least two growing seasons before moving them to their permanent garden home. This allows them to develop a strong enough rhizome to survive the transition and eventual winter conditions.
The excitement of seeing a completely new flower color or form is the ultimate reward for the gardener who grows from seed. You might find a unique shade of blue or a particularly hardy growth habit that is perfectly suited to your local environment. This method contributes to the genetic diversity of the species and can be a very fulfilling long-term project for a dedicated enthusiast. Even if the results are not revolutionary, the experience of following the entire life cycle is deeply educational.