Establishing a new garden feature begins with the careful process of placing your young plants in a location where they can truly flourish. You must approach the planting stage with a professional mindset, ensuring that every detail is handled with precision and care. A successful start is the most important factor in the long-term success of your horticultural projects and personal landscapes. This guide will walk you through the essential steps to ensure your roses get the best possible beginning.
The first step in any planting project is to thoroughly inspect the specimens you have acquired for your garden. You should look for healthy, white roots and stems that show no signs of physical damage or environmental stress. It is always better to start with high-quality material from a reputable source than to try and salvage weak or struggling plants. Professional results start with professional-grade inputs, so take your time during the selection process to find the best individuals.
Before you even dig a hole, you must spend some time observing the conditions of your chosen site throughout the day. You should track the movement of the sun and the flow of water across the area to ensure it meets the requirements of the species. A well-chosen location will save you a significant amount of work in the future by reducing the need for constant interventions. Expert gardeners know that matching the plant to the place is the secret to a low-maintenance and high-impact garden.
Preparing the individual planting holes is a task that requires both physical effort and technical knowledge of soil physics. You should dig a hole that is significantly wider than the root ball to allow the young roots to spread out easily into the surrounding earth. Mixing some high-quality compost into the backfill can provide a gentle boost of nutrients to help the plant recover from the stress of moving. This initial investment in soil preparation will pay dividends as the shrub begins to grow and establish itself in its new home.
Selecting the ideal site
When choosing a spot for your new roses, you should prioritize areas that receive plenty of natural light and have good air movement. These shrubs are incredibly tough, but they will always perform their best when they are given the optimal environmental conditions. Avoid low-lying areas where cold air or excess water might collect and cause problems for the developing root systems. A slightly elevated position or a gentle slope can often provide the perfect balance of drainage and exposure.
More articles on this topic
The proximity of other large trees or structures should also be considered when you are planning your garden layout. You must ensure that the roses have enough space to reach their full potential without being crowded out by more aggressive neighbors. Competition for water and nutrients can be fierce in a crowded garden, so giving each plant its own dedicated zone is a professional strategy. Proper spacing also allows for easier maintenance and better visibility when you are inspecting your plants for health.
Soil consistency across the planting site should be relatively uniform to ensure even growth across a hedge or a group of plants. If you notice significant variations in the earth, you may need to perform more extensive remediation before you begin the actual planting. You can use a simple probe to check the depth and quality of the soil in several different locations around your chosen area. Taking these measurements beforehand allows you to address any issues in a systematic and professional manner.
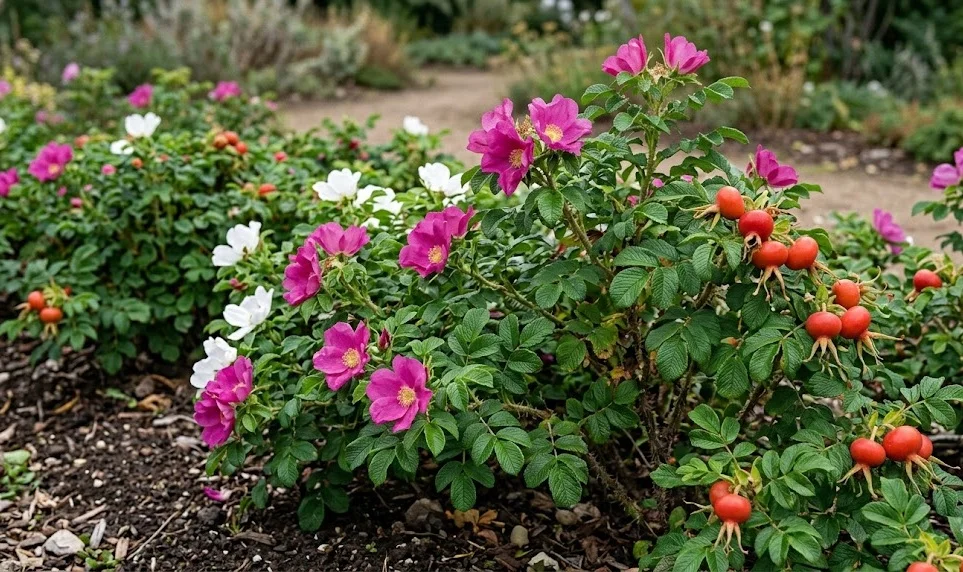
Consider the long-term accessibility of the site for tasks such as watering, pruning, and harvesting the decorative hips. You should be able to reach all sides of the plant comfortably without treading on other delicate garden features or compacting the soil. Creating dedicated paths or maintenance zones can help keep your garden organized and easy to manage throughout the entire year. A professional garden is not just beautiful to look at; it is also functional and efficient for the person who cares for it.
The planting process
Once your site is prepared and your plants are ready, you can begin the actual process of putting them into the ground. You should handle the root balls with great care to avoid breaking the delicate hairs that are responsible for absorbing water and nutrients. Place the plant in the center of the hole and ensure that it is sitting at the same depth as it was in its original container. Planting too deep or too shallow can lead to significant issues with the health of the stem and the roots.
More articles on this topic
As you fill the hole back in with soil, you should firm it down gently with your hands to remove any large air pockets. You must be careful not to pack the earth too tightly, as this can make it difficult for water to penetrate and for roots to grow. A professional touch involves finding the right balance between stability and aeration in the finished planting site. This step is crucial for ensuring that the plant has good contact with the earth and can begin to draw up moisture immediately.
Watering the new plant thoroughly right after it is in the ground is the most important part of the entire process. You should provide a deep soak that settles the soil around the roots and provides plenty of hydration for the initial recovery period. This first watering session also helps you identify any areas where the soil might have settled too much and needs a bit more backfill. Consistent moisture over the first few weeks will help the shrub overcome transplant shock and begin to produce new growth.
Applying a layer of organic mulch around the base of the newly planted shrub is the final touch for a professional installation. You should keep the mulch a few inches away from the actual stem to prevent any issues with moisture buildup against the bark. This protective layer will help keep the roots cool and moist while the plant is focusing its energy on establishment. It also provides a clean, finished look to your garden bed and helps suppress the growth of competing weeds.
Propagation by division
Propagation is a fantastic way to expand your garden collection without having to purchase new plants every time. One of the most effective methods for this particular variety is division, which involves separating a portion of an existing healthy shrub. You should choose a mature plant that has several strong stems and a well-developed root system for this process. This technique is best performed in the early spring before the plant has started its active growth for the season.
To begin the division, you will need to carefully dig around the section of the plant you wish to remove. You should use a sharp spade or a garden saw to cut through the roots and separate the new individual from the parent plant. It is essential to ensure that the new division has a good amount of both roots and top growth to sustain itself. This professional method allows you to create several new plants that are genetically identical to the original specimen.
Once you have separated the division, you should treat it just like a newly purchased plant and get it into the ground as quickly as possible. You must not allow the exposed roots to dry out during the process, as this can severely decrease the chances of success. If you cannot plant it immediately, keep it in a cool, shaded spot and cover the roots with damp burlap or soil. Speed and efficiency are key when you are working with live plant tissues in this manner.
Monitoring the new divisions closely over the first season is a mark of a professional and attentive gardener. You might find that they need a bit more frequent watering than established plants as they work to rebuild their root systems. It is also a good idea to provide some light shade if the weather becomes exceptionally hot shortly after the division process. With proper care, these new additions will soon grow into beautiful and productive members of your garden.