Establishing a new generation of these fragrant flowers is one of the most rewarding tasks for any serious gardener. Success in planting and propagation depends on your ability to create the perfect environment for young roots to take hold and grow. You must treat every seed, cutting, or seedling with the utmost care to ensure its long-term survival in the garden. This professional guide will walk you through the essential steps to expand your collection with confidence.
Timing is everything when it comes to starting new plants from seeds or vegetative parts. You should plan your propagation activities around the natural growing cycles to give the plants the best chance of success. Starting too early or too late in the season can lead to weak growth or total failure of the young plants. Understanding the local climate and frost dates is a fundamental skill for any expert horticulturalist.
The quality of your starting material will directly influence the health and vigor of the adult plants. You should always source seeds from reputable suppliers or collect them from your healthiest existing specimens. If you are taking cuttings, choose stems that are strong, healthy, and free from any signs of disease. Starting with superior genetics is the first secret to achieving a professional-grade garden display.
Creating a dedicated space for propagation allows you to control the environment more precisely than in the open garden. A small greenhouse or a bright windowsill can serve as an excellent nursery for your young plants. You need to manage the light, temperature, and humidity levels to mimic the ideal conditions for root development. This focused attention during the early stages of life pays off in the form of robust and resilient garden plants.
Optimal planting techniques
When the time comes to move your plants into their permanent home, preparation of the site is your top priority. You should dig a hole that is twice as wide as the root ball to allow for easy expansion into the surrounding soil. Mixing in a small amount of bone meal or starter fertilizer can provide the initial nutrients needed for a strong start. Proper spacing between plants is essential to ensure they have enough room to grow without being crowded.
More articles on this topic
The depth at which you plant is a critical factor that can determine the health of the crown. You should aim to place the plant at the same level it was growing in its original container or nursery bed. Planting too deep can lead to rot, while planting too shallow may expose the roots to drying out. Firm the soil gently around the base to remove any large air pockets that could damage the roots.
Initial watering after planting helps to settle the soil and ensures that the roots have immediate access to moisture. You should water deeply but gently to avoid washing away the top layer of soil from the newly planted site. Monitoring the plants closely for the first few weeks is necessary to help them overcome the stress of transplanting. A successful transition is the result of careful execution and consistent follow-up care.
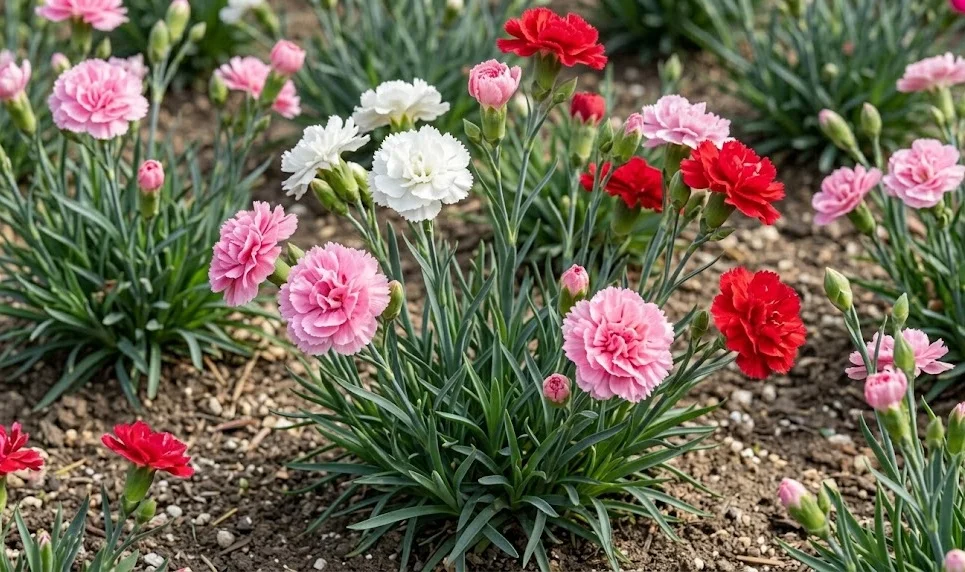
Choosing the right companion plants can enhance the visual appeal and health of your new garden bed. You should look for species that have similar water and light requirements to simplify your maintenance routine. Avoid planting next to aggressive spreaders that might choke out your newly established carnations. A well-designed garden layout is both beautiful to look at and easier to manage over time.
Propagation from seeds
Growing from seeds is a cost-effective way to produce a large number of plants for a grand garden display. You should start the seeds indoors several weeks before the last expected frost to give them a head start. Use a sterile seed-starting mix to reduce the risk of damping-off and other fungal issues. Press the seeds gently into the surface of the soil, as some varieties require light to germinate.
More articles on this topic
Maintaining a consistent temperature is essential for a high germination rate across your seed trays. You can use a heat mat to provide gentle bottom warmth, which encourages faster and more uniform sprouting. Keeping the soil consistently moist but not soggy is the most challenging part of the process for many beginners. A clear plastic cover can help retain humidity until the first green shoots appear through the surface.
Once the seedlings have developed their first set of true leaves, they will need more space to grow. You should carefully thin out the weaker plants or transplant them into individual pots to prevent overcrowding. Providing plenty of bright light prevents the seedlings from becoming leggy and weak as they reach for the sun. This stage of growth requires a delicate touch and a watchful eye to ensure the health of the young plants.
Hardening off your home-grown seedlings is a vital step before they are ready for the outdoor garden. You should gradually expose them to the outside elements over a period of one to two weeks. Start with a few hours in a shaded, sheltered spot and slowly increase their time in the direct sun and wind. This process toughens the plant tissues and prepares them for the realities of the outdoor environment.
Propagation from cuttings
Taking stem cuttings is a reliable way to create exact clones of your favorite and most successful plants. You should select non-flowering shoots that are about four to six inches long for the best rooting results. Remove the lower leaves and dip the cut end into a rooting hormone to speed up the process. Inserting the cuttings into a well-draining medium like perlite or sand provides the ideal balance of air and moisture.
The environment for your cuttings must be kept humid to prevent them from wilting before they can grow roots. You can create a simple humidity dome using a plastic bag or a cut-up soda bottle placed over the pot. Place the cuttings in a bright location but out of direct sunlight, which could cause them to overheat and die. Patience is required, as it may take several weeks for a strong root system to develop.
Checking for roots can be done by giving the cutting a very gentle tug after about three or four weeks. If you feel resistance, it is a good sign that the roots have begun to anchor into the medium. Once the roots are well-established, you can transplant the new plants into small pots with regular potting soil. This transition allows them to begin absorbing nutrients and preparing for their eventual move to the garden.
The best time to take cuttings is usually in the late summer or early autumn when the plant is still active. This timing allows the new plants to become established before the winter dormancy period begins. You can keep these young plants in a protected area like a cold frame throughout their first winter. Starting your propagation in the fall gives you a great supply of new plants for the following spring.
Dividing established plants
Division is a professional technique used to rejuvenate older plants and create new ones at the same time. You should consider dividing your plants every three to four years to maintain their vigor and flowering potential. The best time for this task is either in early spring or right after the flowering season has ended. Use a sharp spade to lift the entire clump out of the ground with as much of the root system as possible.
Carefully separate the plant into smaller sections, ensuring that each piece has a healthy amount of roots and at least one growth point. You may need to use a sharp knife to cut through the tough, woody centers of older specimens. Discard the old, unproductive middle parts of the plant and focus on the healthy outer growth. This process encourages the plant to put energy into new, more productive stems.
Replant the divisions immediately into prepared soil to prevent the roots from drying out in the air. You should follow the same planting procedures as you would for any new addition to your garden beds. Water the new divisions thoroughly to help them settle and recover from the shock of being moved. Dividng your plants is an excellent way to keep your garden looking fresh and full without spending more money.
The success of your propagation efforts will lead to a more diverse and vibrant garden for years to come. Sharing your extra plants with friends and neighbors is one of the joys of being an expert gardener. You can also use the new plants to experiment with different layouts and color combinations in your landscape. Continuous propagation ensures that your garden remains a dynamic and ever-evolving space of beauty.