Planting and propagating spiraea are fundamental skills for any gardener wishing to expand their collection or create a new landscape feature. These shrubs are remarkably easy to establish when the correct procedures are followed during the initial stages of growth. Whether you are starting with a nursery-grown specimen or attempting to create new plants from existing stock, the principles remain the same. A successful start ensures that the plant develops a strong root system and a healthy structure for the future.
The timing of your planting activities can greatly influence the success rate and the speed at which the plant settles in. Ideally, planting should occur during the cooler months of spring or autumn to avoid the intense stress of summer heat. This allows the root system to begin growing before the plant has to support a full canopy of leaves or flowers. Preparing the site in advance will make the actual planting process much smoother and more efficient.
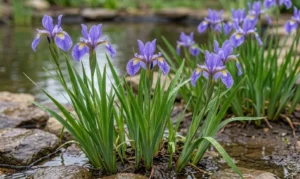
When choosing a location, you must consider the long-term needs of the plant in terms of space and sunlight. These shrubs are generally adaptable but will perform best when given the right environmental conditions from the start. Take the time to clear the area of any existing weeds or debris that might compete with the new arrival. A clean and well-prepared site is the first step toward a professional and successful garden installation.
Propagation is an excellent way to gain more plants without the expense of buying new nursery stock every time. It allows you to replicate your favorite varieties and share them with other gardening enthusiasts in your community. There are several methods available, ranging from simple division to more technical cutting techniques. Understanding the biology behind these methods will help you choose the one that best suits your needs and skill level.
Site selection and timing
Choosing the right spot for your new shrub is the most important decision you will make in the entire planting process. You should look for a location that offers the specific light conditions required by the variety you are planting. Consideration must also be given to the soil type and its ability to drain water effectively after a storm. Avoid placing the plant too close to structures or other large trees that might limit its growth or compete for nutrients.
More articles on this topic
The best time to plant is usually in early spring as the soil begins to warm up but before active growth starts. This gives the roots a chance to establish themselves while the air temperatures are still relatively mild and comfortable. Autumn is another excellent option, as the cooling air reduces moisture loss while the soil remains warm enough for root development. Avoid planting during the peak of summer or when the ground is frozen, as these conditions are extremely stressful.
Before you dig, take a moment to visualize how the mature plant will fit into the surrounding landscape. It is easy to underestimate the final size of a small nursery plant, so always check the expected dimensions on the tag. Leaving enough room for growth will prevent the need for excessive pruning or relocation in the future. A well-planned garden layout takes into account the full lifecycle of every plant involved in the design.
Environmental factors like wind exposure and proximity to walkways should also influence your choice of site. Some varieties are more sensitive to harsh winds which can dry out the foliage or damage brittle stems. If you are planting near a path, make sure the shrub’s natural spread won’t eventually block the way for people walking by. Thinking ahead about these practical details is what separates a professional landscape from a haphazardly planted yard.
The planting process
Once you have selected the perfect site and timing, you can begin the actual physical work of planting. Dig a hole that is twice as wide as the root ball but no deeper than the container the plant came in. This extra width allows the young roots to easily penetrate the surrounding soil as they begin to expand outward. It is important to loosen the soil at the edges of the hole to prevent it from acting like a solid wall.
More articles on this topic
When you remove the plant from its nursery pot, check the root system for any signs of being pot-bound. If the roots are circling tightly, gently tease them outward to encourage them to grow into the new soil environment. Place the plant in the center of the hole and ensure that it is sitting at the same level it was in the pot. Planting too deep can lead to stem rot, while planting too shallow can cause the roots to dry out.
Fill the hole with the original soil, perhaps mixed with a small amount of high-quality compost to improve the texture. Firm the soil down gently with your hands to remove any large air pockets that could dehydrate the roots. You should avoid stepping heavily on the soil, as this can lead to compaction and restricted oxygen flow. Once the hole is filled, create a small basin around the base of the plant to help direct water toward the roots.
Immediately after planting, give the shrub a deep and thorough watering to help settle the soil and hydrate the plant. This initial watering is crucial for reducing transplant shock and helping the roots make contact with the surrounding earth. You may want to apply a thin layer of mulch to help retain that moisture and keep the soil temperature stable. Monitor the plant closely over the next few weeks to ensure it is adapting well to its new home.
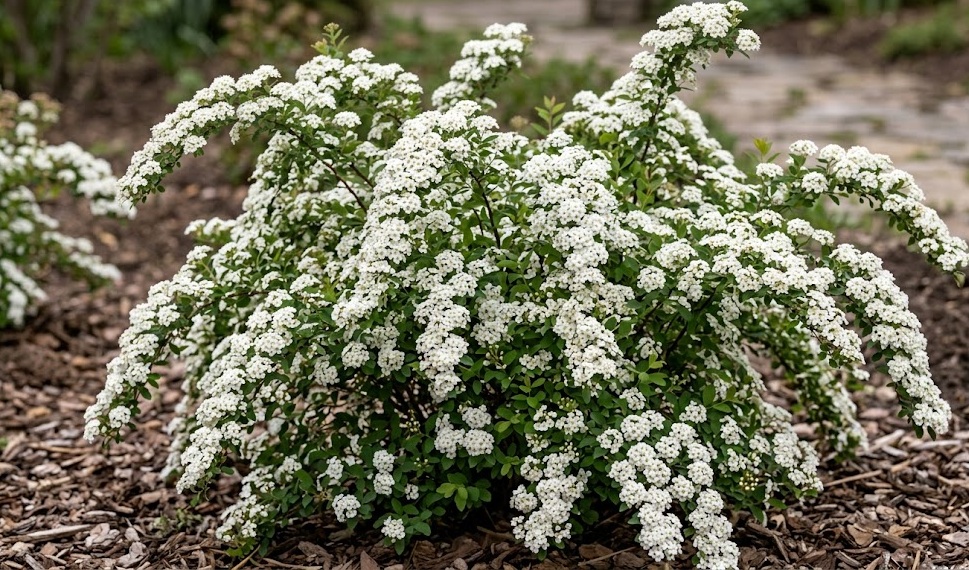
Hardwood and softwood cuttings
Propagating through cuttings is a popular and effective method for creating exact clones of your favorite spiraea varieties. Softwood cuttings are typically taken in late spring or early summer from the new, flexible growth of the current season. These cuttings root relatively quickly but require high humidity and careful monitoring to prevent them from wilting. It is best to take these cuttings in the cool of the morning when the plant is most hydrated.
Hardwood cuttings are taken during the dormant season, usually in late autumn or winter, from mature wood. This method takes longer to produce results but is often more robust and requires less daily attention than softwood cuttings. The stems used for hardwood cuttings should be about the thickness of a pencil and taken from healthy, disease-free parent plants. This technique is an excellent way to make use of the material you might otherwise discard during winter pruning.
For both types of cuttings, using a rooting hormone can significantly increase your chances of success by stimulating cell division. Place the cuttings in a well-draining medium like a mix of peat and perlite or coarse sand to prevent rot. Keep the medium consistently moist but never waterlogged, as the developing roots need oxygen to survive. Providing a stable environment with indirect light will help the cuttings focus their energy on root production.
Once the cuttings have developed a strong set of roots, they can be transplanted into individual pots for further growth. It is important to harden them off gradually before moving them into the permanent garden environment. This transition period allows the young plants to adjust to fluctuations in temperature and light intensity. Seeing a new plant grow from a simple stem cutting is one of the most satisfying experiences in horticulture.
Root ball division
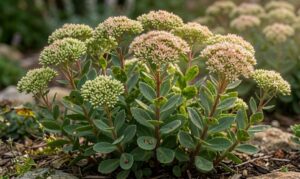
Division is a straightforward propagation method that is best suited for established, multi-stemmed shrubs that have become quite large. This process involves lifting the entire plant or a portion of it and physically separating it into smaller sections. Each new section must have an adequate amount of both stems and healthy roots to survive on its own. Division is often done in early spring before the plant starts its main growth spurt for the year.
To divide a shrub, start by digging a wide circle around the base to include as much of the root system as possible. Once the plant is lifted, you can use a sharp spade or a garden saw to cut the root ball into several pieces. Make sure your tools are clean to prevent the spread of any potential soil-borne pathogens during the process. Smaller divisions often establish themselves more quickly and produce more vigorous growth than trying to move a massive, undivided plant.
After dividing, replant the sections immediately into their new locations or into temporary containers. Treat these new divisions like freshly planted nursery stock, paying close attention to their water needs as they recover. Because they already have a mature root system, they will often bloom much sooner than plants started from cuttings. This is an efficient way to rejuvenate an old shrub while also gaining several new plants for your landscape.
Division not only provides new plants but also helps to maintain the health and vigor of the original specimen. Over time, the center of an old shrub can become woody and less productive, and division helps to solve this problem. By clearing out the old wood and giving the roots more space, you stimulate the production of fresh, new stems. Professional gardeners often use division as a regular part of their long-term maintenance strategy for larger ornamental shrubs.