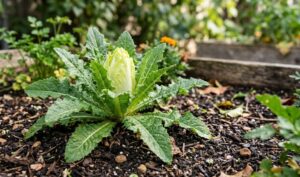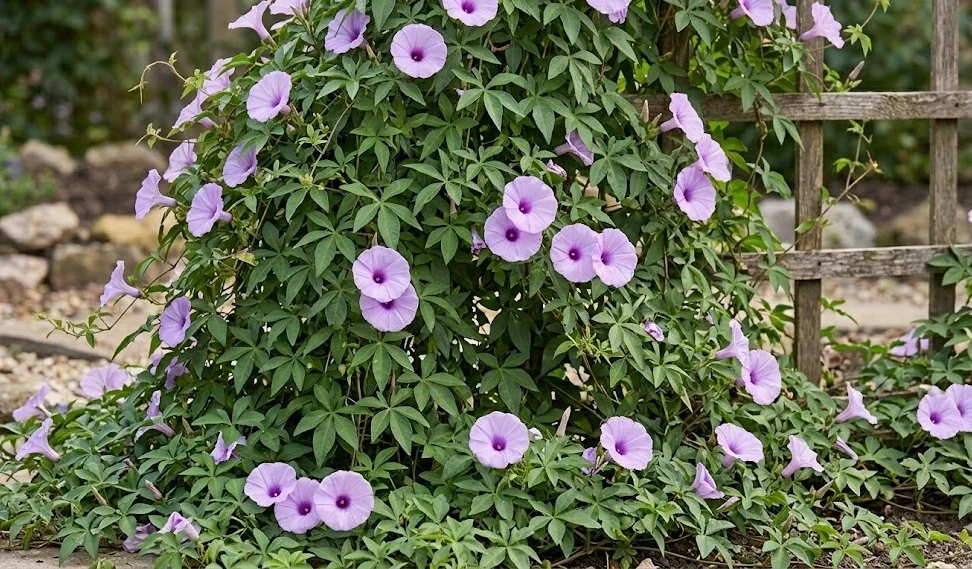
Establishing a new population of these vigorous climbers begins with a meticulous approach to the planting and propagation phases. You must understand that the success of the adult plant is largely determined by the care taken during its earliest stages of development. Whether you are starting from seeds or cuttings, the environment must be carefully controlled to ensure a high survival rate. This article explores the professional techniques required to successfully multiply and install these beautiful vines in your landscape.
Selecting the right location is the first and most crucial step in the planting process for any professional agriculturist. You need a spot that receives ample sunlight but is also protected from the most extreme environmental elements. The soil should be prepared weeks in advance by incorporating organic amendments and ensuring proper drainage is achieved. Taking the time to prepare the site properly will yield significantly better results once the plants are in the ground.
The timing of your planting activities must align with the local climate and the plant’s natural growth cycles. In most regions, the best time to put new plants in the ground is after all danger of frost has passed in the spring. You want the soil to be warming up, as this stimulates the roots to begin exploring their new environment immediately. Planting during a period of moderate weather reduces transplant shock and allows the vine to establish itself quickly.
Once the site is ready and the timing is right, the physical act of planting should be done with great care. You should dig a hole that is twice as wide as the root ball but no deeper than the original container. Placing the plant at the correct depth is essential for preventing stem rot and ensuring the roots can breathe. After backfilling the hole, water the area thoroughly to settle the soil and remove any large air pockets.
Propagation through seed starting
Starting from seeds is a cost-effective way to produce a large number of plants for an expansive agricultural or gardening project. You should source your seeds from a reputable supplier to ensure a high germination rate and genetic purity. Before sowing, many professionals recommend nicking the seed coat or soaking them in warm water for several hours. This process, known as scarification, helps moisture penetrate the tough outer shell and speeds up germination.
More articles on this topic
The sowing medium should be a sterile, well-draining mix specifically designed for starting seeds in a controlled environment. You should place the seeds at a depth of about half an inch and keep the medium consistently moist but not saturated. Providing bottom heat can further encourage the seeds to sprout within a matter of days. Once the seedlings emerge, they require bright, indirect light to prevent them from becoming leggy and weak.
Thinning the seedlings is an emotionally difficult but necessary task for ensuring the health of the remaining plants. You should select the strongest, most vigorous individuals and remove the smaller ones that are competing for space. This ensures that the chosen plants have enough room to develop a healthy root system and a sturdy stem. Proper spacing from the very beginning prevents many of the issues associated with overcrowding later in life.
Hardening off the young plants is the final step before they can be moved to their permanent outdoor location. You must gradually expose the seedlings to outdoor conditions over a period of seven to ten days to avoid shock. Start by placing them in a sheltered, shady spot for a few hours and slowly increase their time in the sun. This professional transition process allows the plant’s tissues to toughen up and prepare for the realities of the garden.
Propagation through stem cuttings
For those who wish to replicate a specific plant with desirable traits, propagation through stem cuttings is the most effective method. You should select healthy, non-flowering shoots that are approximately four to six inches long for the best results. Make a clean cut just below a leaf node, as this is where the highest concentration of root-promoting cells is located. Using sharp, sterilized tools is essential to prevent the spread of diseases during this delicate operation.
More articles on this topic
Removing the lower leaves from the cutting helps reduce moisture loss and prevents rot when the stem is placed in the rooting medium. You may choose to dip the end of the cutting in a rooting hormone to accelerate the development of new roots. The cuttings should then be placed in a light, airy medium such as a mix of peat and perlite. Maintaining high humidity around the cuttings is vital until they have established their own root systems.
Monitoring the cuttings for signs of growth requires patience and a gentle touch from the expert gardener. You should keep the medium moist and place the containers in a warm spot with bright, indirect light. After a few weeks, you can check for root development by giving the cuttings a very gentle tug. If you feel resistance, it means roots have begun to form and the plant is becoming self-sufficient.
Once the cuttings have developed a significant root mass, they can be potted up into individual containers with standard potting soil. This intermediate step allows the young plants to grow stronger before they are subjected to the challenges of the open garden. You should continue to provide them with optimal care and slowly introduce them to more intense light levels. Successful cutting propagation allows you to expand your collection of vines with complete confidence in their genetic makeup.
Best practices for transplanting
Transplanting is a high-stress event in the life of any plant, and your goal should be to minimize this disruption. You should water the plants thoroughly a few hours before you intend to move them to ensure they are fully hydrated. When removing the plant from its container, be careful to keep the root ball as intact as possible. Avoiding root damage at this stage is the key to a fast recovery and continued vigorous growth.
The preparation of the receiving hole is just as important as the care of the plant itself during the move. You should add a small amount of slow-release fertilizer or bone meal to the bottom of the hole to provide immediate nutrients. Ensure the sides of the hole are not “glazed” or compacted, which can prevent roots from penetrating the surrounding soil. A well-prepared hole encourages the roots to spread out and anchor the plant securely.
After placing the plant in the hole and backfilling with soil, you must provide immediate and thorough irrigation. This initial watering is not just for hydration but also to ensure the soil makes good contact with the roots. You might also consider applying a diluted liquid seaweed solution to help the plant cope with the stress of the move. Firming the soil gently with your hands will provide stability without causing excessive compaction.
Finally, you should monitor the transplanted vines daily for the first two weeks to ensure they are settling in well. Some minor wilting is normal during the first few days, but the plant should recover as the roots begin to function in their new home. Providing temporary shade during the hottest part of the day can be very beneficial for struggling transplants. Constant care during this window ensures that your new additions become a permanent and thriving part of your landscape.