Successfully establishing a forsythia shrub in your garden begins with a proper planting process, a foundational step that will influence the plant’s health and vigor for its entire life. This iconic spring-blooming shrub is remarkably forgiving, but providing it with the right start will ensure it grows into a robust and floriferous specimen. The process is straightforward, yet paying close attention to details such as site selection, soil preparation, and planting depth can make a significant difference. Furthermore, forsythia is one of the easiest shrubs to propagate, allowing you to multiply your stock and create new plants for other parts of your garden or to share with fellow enthusiasts at virtually no cost.
The initial phase of planting involves choosing the ideal location, a decision that hinges primarily on sunlight exposure. Forsythia is a sun-loving plant and requires a minimum of six hours of direct sunlight per day to achieve its full flowering potential. A location that is too shady will result in a leggy plant with sparse, underwhelming blooms. The soil in your chosen spot should be well-draining, as forsythia despises “wet feet,” and waterlogged conditions can lead to root rot. If your native soil is heavy clay, it is crucial to amend it with organic matter like compost to improve its texture and drainage before you even consider digging a hole.
Once the site is prepared, the actual planting of your nursery-grown forsythia can commence. The hole should be dug approximately twice as wide as the plant’s root ball but no deeper than the root ball itself. This width allows the roots to spread out easily into the loosened soil. It is a common and detrimental mistake to plant shrubs too deeply, which can lead to stem rot and eventual death. The top of the root ball should be level with or slightly above the surrounding ground level, ensuring the plant is positioned for optimal growth from day one.
After planting, the journey continues with propagation, which is a rewarding and economical way to expand your garden. Forsythia is exceptionally easy to propagate, primarily from softwood or hardwood cuttings. This process allows you to clone the parent plant, guaranteeing that the new shrubs will have the exact same characteristics, from flower color to growth habit. Mastering simple propagation techniques not only provides you with more plants but also deepens your understanding of the plant’s life cycle and growth processes.
Preparing the ideal planting site
The success of your forsythia planting venture is largely determined before the shrub even goes into the ground. Thorough site preparation is essential for creating an environment where the plant can thrive. Start by clearing the selected area of all weeds, grass, and other debris, creating a clean slate for your new addition. This step is crucial because it eliminates competition for water, nutrients, and sunlight, giving your young forsythia the best possible chance to establish itself quickly and strongly. A well-cleared area also makes ongoing maintenance, such as mulching and watering, much easier.
More articles on this topic
Next, focus on improving the soil structure and fertility, a process known as soil amendment. Regardless of your soil type, the addition of organic matter is always beneficial. For heavy clay soils, incorporating compost, aged manure, or coconut coir will improve drainage and aeration, preventing the roots from becoming waterlogged. In sandy soils, the same organic materials will help to retain moisture and nutrients that would otherwise leach away too quickly. Mix a generous amount of your chosen amendment into the soil you removed from the planting hole, as well as the surrounding area, to create a rich, loamy foundation.
It is also wise to conduct a simple soil pH test before planting. Forsythia is adaptable to a wide range of pH levels but performs best in soil that is near neutral, from about 6.0 to 8.0. Most garden soils fall within this range, but if your soil is extremely acidic or alkaline, you may need to make adjustments. Garden lime can be added to raise the pH of acidic soils, while elemental sulfur or peat moss can be used to lower the pH of alkaline soils. Making these adjustments before planting is far more effective than trying to alter the pH later on.
Finally, consider the spacing of your forsythia, especially if you are planting more than one to create a hedge or border. Research the mature spread of your specific forsythia variety and space the plants accordingly, usually at least 1.5 to 2 meters apart. While it may look sparse at first, providing adequate space from the beginning is vital for good air circulation, which helps prevent fungal diseases. It also allows each shrub to develop its natural, graceful shape without being crowded by its neighbors, resulting in a healthier and more aesthetically pleasing landscape in the long run.
The step-by-step planting process
Once you have prepared the ideal site, you are ready for the physical act of planting your forsythia. The best time to plant is during the cooler, often wetter, months of spring or autumn. This timing allows the plant to establish its root system without the stress of extreme summer heat or winter cold. Begin by digging a hole that is two to three times wider than the container or root ball of your forsythia. Crucially, the depth of the hole should be no greater than the height of the root ball, ensuring the plant will not be set too deep in the ground.
More articles on this topic
Carefully remove the forsythia from its nursery pot, being gentle with the roots. If the plant is root-bound, meaning the roots are densely circling the inside of the pot, it is important to tease them apart gently with your fingers or make a few vertical cuts with a sharp knife. This encourages the roots to grow outward into the surrounding soil rather than continuing to circle, which can strangle the plant over time. Place the plant in the center of the hole and check its depth; the top of the root ball should be flush with or slightly above the level of the existing soil.
Begin to backfill the hole with the amended soil you set aside earlier. Fill the hole about halfway, and then water thoroughly to settle the soil and eliminate any large air pockets around the roots. Once the water has drained away, continue backfilling the remainder of the hole until it is full. Gently tamp down the soil with your hands to secure the plant in place, but avoid compacting it too firmly, as this can hinder water penetration and root growth. Create a shallow basin or “moat” of soil around the base of the plant to help direct water to the root zone during irrigation.
The final step is to water the newly planted forsythia again, deeply and thoroughly. This initial soaking is critical for hydrating the roots and ensuring good contact between the root ball and the surrounding soil. After planting, apply a 5- to 7-centimeter layer of organic mulch around the base of the shrub, keeping it a few centimeters away from the main stems to prevent rot. This mulch will help conserve moisture, regulate soil temperature, and suppress weeds, giving your forsythia the perfect start in its new home.
Propagation from cuttings
Propagating forsythia from cuttings is an incredibly simple and effective method for creating new plants that are genetically identical to the parent. The most common technique involves taking softwood cuttings in late spring or early summer when the new growth is still flexible but mature enough to snap when bent. Using a sharp, clean pair of pruning shears, select a healthy, vigorous stem from the current season’s growth. The ideal cutting should be about 10-15 centimeters long and taken from the tip of a branch.
Once you have your cutting, you need to prepare it for rooting. Make a clean, angled cut just below a leaf node (the point on the stem where a leaf emerges). Carefully remove the leaves from the lower half of the cutting, leaving only two or three pairs of leaves at the top. This reduces water loss through transpiration and directs the cutting’s energy towards root development. While forsythia roots so readily that it is often not necessary, you can dip the cut end of the stem into a rooting hormone powder to increase the success rate and speed up the rooting process.
Fill a small pot with a well-draining rooting medium, such as a mix of perlite and peat moss or coarse sand. Moisten the medium thoroughly, and then use a pencil or your finger to create a hole for the cutting. Insert the prepared cutting into the hole, ensuring the leaf nodes where you removed the leaves are buried beneath the surface, as this is where roots will form. Gently firm the medium around the stem to hold it in place.
To create a humid environment that encourages rooting, you can cover the pot with a clear plastic bag, making sure the bag does not touch the leaves. Place the pot in a warm location that receives bright, indirect light, but avoid direct sun, which can scorch the cutting. Keep the rooting medium consistently moist but not waterlogged. In about four to six weeks, the cutting should develop a healthy root system. You can test for this by gently tugging on the cutting; if you feel resistance, roots have formed, and your new forsythia plant is on its way.
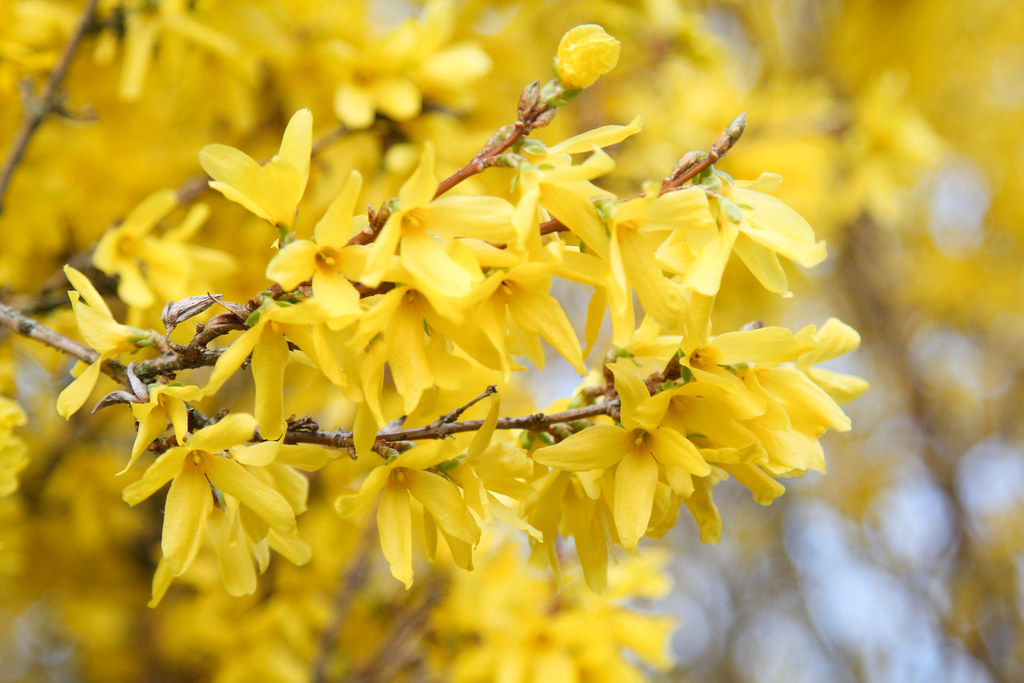
📷 Flickr / Szerző: Maja Dumat / Licence: CC BY 2.0