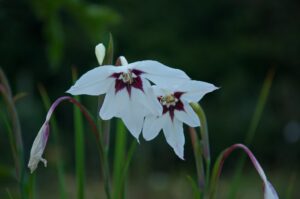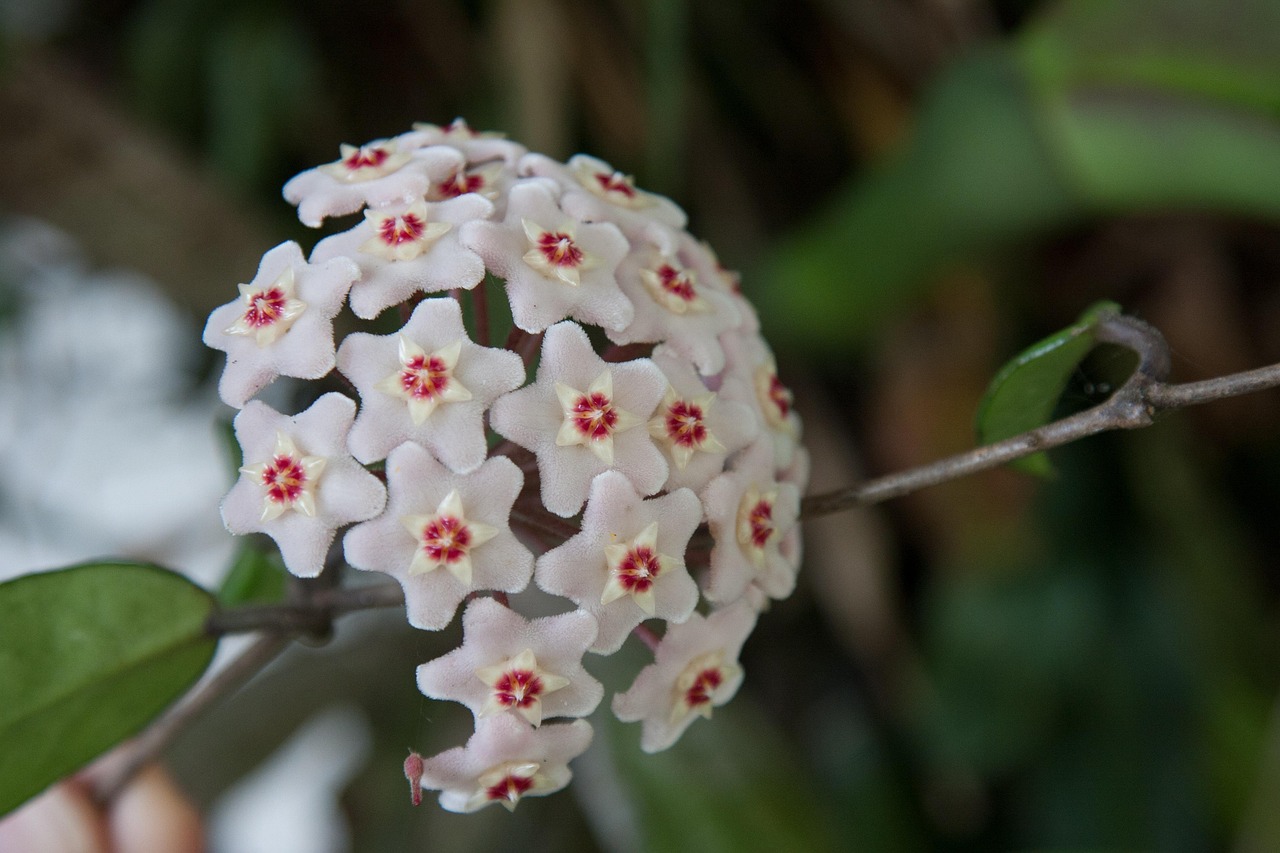
Starting a new journey with this beautiful vine begins with understanding the proper techniques for planting and the various ways you can multiply your collection. Many people are surprised by how easy it is to grow a new plant from a single cutting if you follow a few basic rules. Whether you are a beginner or an experienced gardener, the process of propagation is incredibly rewarding and cost-effective. By mastering these skills, you can share your favorite plants with friends or fill your home with even more greenery.
Choosing the right time to start your propagation project is the first step toward ensuring a high success rate for your new cuttings. The best time to take cuttings is during the spring or early summer when the plant is in its most active growth phase. During this period, the sap is flowing freely, and the plant has plenty of energy to develop new roots quickly. Avoid trying to propagate during the deep winter months when the plant is dormant and less likely to respond to your efforts.
Before you begin, make sure you have all the necessary tools and materials ready to create a clean and efficient workspace. You will need a sharp, sterilized pair of scissors or a knife to make clean cuts without crushing the delicate stems. Having your pots, soil, and water prepared in advance will make the process much smoother and reduce the time the cuttings spend out of the medium. Cleanliness is essential to prevent the spread of diseases or fungi to your new, vulnerable plantlets.
When selecting a vine for propagation, look for a healthy, vigorous section that is free from any pests or signs of disease. You want a piece that has at least two or three nodes, which are the points where the leaves grow out from the stem. These nodes are where the new roots will emerge, so having multiple nodes increases your chances of success. A healthy parent plant is the best source for strong and resilient new growth that will thrive in its own pot.
Potting and soil choice for young plants
When you are ready to plant your rooted cuttings or move a young plant into its first pot, the choice of substrate is paramount. You should use a mix that is specifically designed for epiphytes or create your own by mixing potting soil with plenty of perlite and orchid bark. This ensures that the young roots have access to plenty of oxygen while still being able to stay hydrated. A heavy soil will often lead to rot before the young plant has a chance to establish itself.
More articles on this topic
The size of the pot is also a critical factor that can determine the health of your new plant from the very beginning. You should always choose a small pot for young cuttings, as a large pot will hold too much moisture for the small root system to handle. A container that is about eight to ten centimeters in diameter is usually perfect for a single cutting or a small group of them. As the plant grows, you can gradually move it into larger pots to accommodate its expanding root mass.
Make sure the pot you choose has excellent drainage to allow any excess water to escape immediately after watering. If you prefer to use a decorative pot without holes, you can place the plant in a plastic nursery pot inside the decorative one. This allows you to take the inner pot to the sink for watering and ensures that no water sits at the bottom of the container. Proper drainage is the best insurance policy against the most common planting mistakes.
After planting, gently press the soil around the base of the stem to provide stability and ensure good contact with the roots. You don’t want to pack the soil too tightly, as this will reduce the amount of air available to the roots. Give the new plant a light watering to settle the soil and then place it in a warm, bright spot away from direct sunlight. This initial period of adjustment is when the plant needs the most stability and care to start its new life successfully.
Successful propagation in water
Water propagation is one of the simplest and most visually satisfying ways to grow new plants from your existing collection. To start, take a cutting that is about ten to fifteen centimeters long and remove the bottom leaves to expose at least one node. Place the stem in a clean glass or jar filled with room-temperature water, making sure the node is completely submerged. You will be able to see the tiny white roots begin to emerge from the node over the next few weeks.
More articles on this topic
It is important to change the water every few days to keep it fresh and prevent the growth of algae or bacteria. Using a transparent container allows you to monitor the root development and ensures that the stem is getting enough light to stimulate growth. Keep the jar in a bright spot, but avoid direct sunlight, which can heat the water too much and stress the cutting. You will find that watching the roots grow is a great way to learn about the plant’s biology.
Once the roots have grown to about five centimeters in length, the cutting is ready to be transitioned into a solid potting medium. Don’t wait too long to pot it up, as roots grown in water can sometimes have a hard time adapting to the different texture of soil. When you move the cutting to a pot, be very gentle with the new roots, as they are quite fragile and can break easily. Water the new plant thoroughly after potting to help it settle into its new home.
If you notice that the stem is starting to turn dark or mushy in the water, it might be a sign of rot. In this case, you should cut away the damaged part and start over with fresh water and a clean container. Sometimes adding a small piece of horticultural charcoal to the water can help keep it clean and healthy for a longer period. With a bit of patience, you will soon have a perfectly rooted cutting ready for its first pot.
Propagation directly in the soil
Propagating directly in soil is often preferred by professional growers because it produces stronger roots that are already adapted to the potting medium. To do this, prepare a small pot with a light, airy mix and make a small hole in the center with a pencil or your finger. Dip the end of your cutting in rooting hormone if you want to speed up the process, although this is not strictly necessary for this species. Insert the stem into the hole and firm the soil gently around it to keep it upright.
To maintain the high humidity that cuttings need to grow, you can place a clear plastic bag or a dome over the pot. This creates a mini-greenhouse environment that prevents the cutting from drying out before it has developed its own roots. Make sure to open the bag for a few minutes every day to let in fresh air and prevent mold from forming. Keep the soil slightly moist but never soggy, as too much water will cause the stem to rot quickly.
Place the pot in a warm spot with bright, indirect light, as heat is a major factor in how fast the roots will grow. You can tell if the propagation is successful by gently giving the cutting a very slight tug after a few weeks. If you feel resistance, it means that roots have started to form and are anchoring the plant into the soil. At this point, you can gradually remove the plastic cover and treat the cutting like a mature plant.
This method is particularly effective if you want to create a fuller-looking plant from the start by planting several cuttings in the same pot. As they grow, they will fill out the container more quickly and create a lush, bushy appearance. Just make sure each cutting has enough space and that the soil remains well-aerated to support multiple root systems. Soil propagation is a reliable way to expand your indoor garden with very little equipment.
Advanced layering techniques
Layering is an advanced but very effective propagation method that allows a new plant to form while still attached to the parent. This technique is often more successful for difficult cuttings because the new plant receives nutrients and water from the main vine during the entire process. To start, find a long, healthy vine and identify a node that you want to turn into a new root system. You don’t even need to cut the vine away from the mother plant until the roots are fully established.
Take a small pot of moist soil and place it next to the parent plant so you can rest the chosen vine on top of the soil. Use a small U-shaped wire or a bent paperclip to pin the node down so it stays in constant contact with the potting medium. You can even make a tiny, shallow nick in the stem at the node to encourage the plant to send out roots more quickly. Keep the soil in the small pot consistently moist to provide the best environment for root growth.
After several weeks, you should see new growth emerging from the node, indicating that the new root system is functional. At this point, you can carefully cut the vine that connects the new plant to the parent with a sharp, sterile tool. Leave the new plant in its pot for another week or two to make sure it can survive on its own before moving it. This method is incredibly safe for the plant and almost always results in a healthy new specimen.
Layering is a great way to use long, leggy vines that might otherwise be pruned off and thrown away. It allows you to create a backup of your favorite plant without taking the risk of a cutting failing to root in water or soil. Many collectors use this technique to “air layer” larger sections of the plant by wrapping a node in moist moss and plastic wrap while it is still hanging in the air. Once you see roots through the plastic, you can cut the section off and pot it up as a mature plant.