Establishing a new specimen of this versatile shrub requires careful planning and a deep understanding of its foundational needs. You must realize that the initial steps you take during the planting process will define the health of the plant for the next fifty years. Choosing the right location and preparing the soil correctly are the most important investments you can make in your garden. A professional approach to planting ensures that the young shrub transitions smoothly into its new environment.
Site selection is the first critical decision you will make when adding this plant to your landscape or orchard. You should look for a spot that offers a balance of bright sunlight and protection from the harshest prevailing winds of the region. While the plant is adaptable, it performs best in deep, fertile soils that have a slightly alkaline to neutral pH level. Taking the time to analyze your garden’s microclimate will help you find the perfect permanent home for your new arrival.
Soil preparation should be done well in advance of the actual planting day to allow the ground to settle and the nutrients to integrate. You can improve the structure of the soil by digging in well-rotted compost or aged manure to a significant depth around the planting hole. This enrichment provides the young roots with immediate access to the energy they need for rapid establishment and growth. A well-prepared site is like a welcoming environment that encourages the plant to thrive from the very first day.
Spacing is another professional consideration that you must not overlook when planting multiple shrubs or creating a hedge. You should allow enough room for the mature width of the plant to ensure adequate air circulation and light penetration for every branch. Overcrowding can lead to increased disease pressure and lower fruit yields as the plants compete for resources and space. Giving each shrub its own dedicated area allows it to reach its full potential as a beautiful and productive specimen.
Planting process
When the time comes to actually place the shrub into the ground, you should handle the root ball with extreme care to avoid damage. The planting hole should be at least twice as wide as the root system but no deeper than the original container it came in. You want to ensure that the roots have plenty of loose soil to expand into without being buried too deeply in the earth. This balance is crucial for preventing stem rot and ensuring that the roots can breathe effectively in their new home.
More articles on this topic
As you backfill the hole with soil, you should firm it down gently with your hands to remove any large air pockets that could dry out the roots. You can also mix in some slow-release organic fertilizer at this stage to provide a steady supply of nutrients over the coming months. It is important to avoid stomping on the soil too hard with your boots, as this can lead to compaction that hinders root growth. A firm but gentle touch is what the plant needs during this sensitive transition period.
Immediately after planting, you must water the area thoroughly to help settle the soil and provide the plant with essential hydration. This initial watering is critical because it ensures that the roots make good contact with the surrounding earth and begin the establishment process. You might also consider applying a thick layer of organic mulch around the base of the plant to conserve this moisture. This protective barrier keeps the roots cool and damp while they begin to explore their new environment.
Staking might be necessary if you are planting a larger specimen or if your garden is located in a particularly windy area. You should use soft ties that will not cut into the bark as the stem expands and grows over the next few seasons. The goal is to provide temporary support until the root system is strong enough to hold the plant firmly in place against the elements. Checking these supports regularly ensures that they are doing their job without causing any unintended harm to the young shrub.
Seed propagation
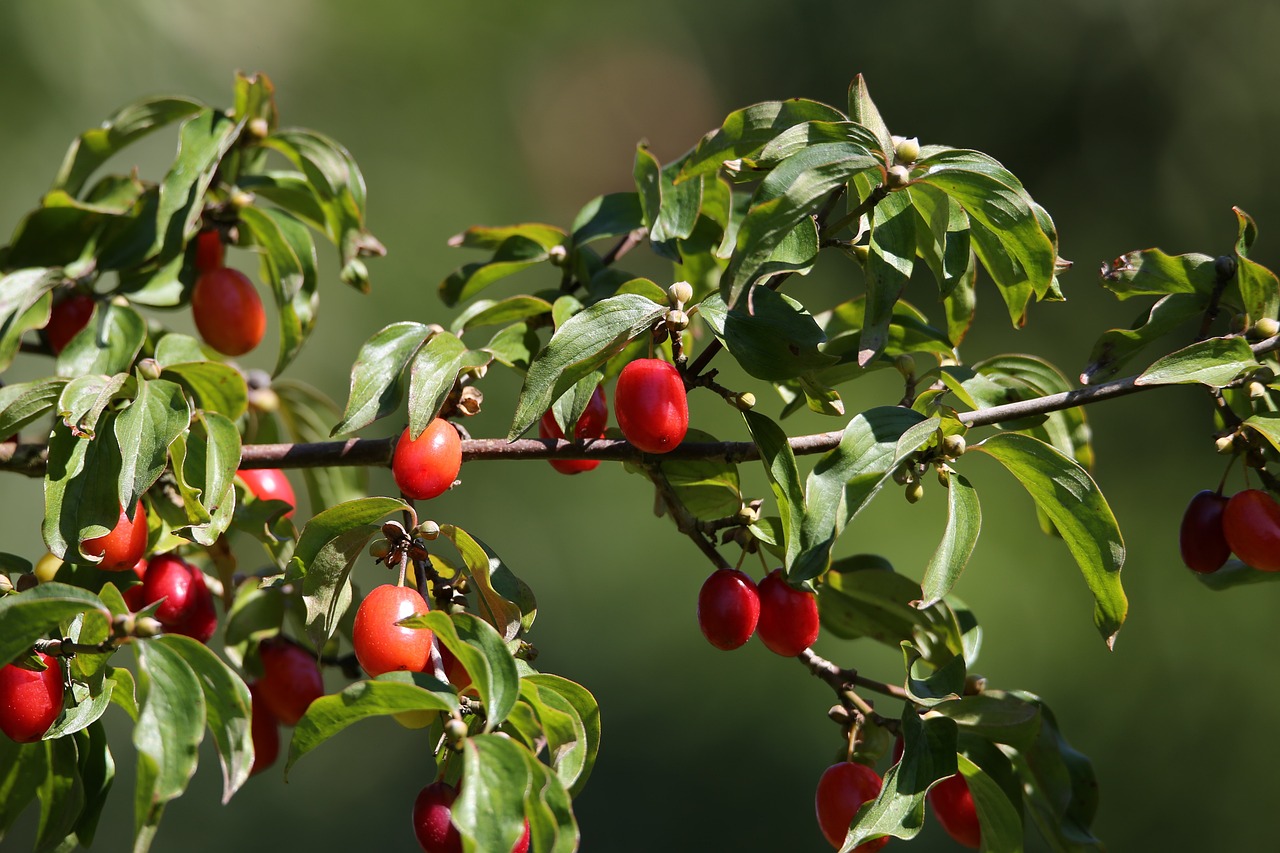
Growing this species from seed is a rewarding process that requires a significant amount of patience and attention to detail. You should collect the seeds from fully ripe fruit in late summer and clean away all the pulp before they have a chance to dry out. The seeds have a natural dormancy that must be broken through a process known as stratification, which mimics the natural winter cycle. This phase can take several months and is essential for triggering the internal mechanisms that lead to germination.
More articles on this topic
You can achieve stratification by placing the clean seeds in a mix of damp sand and peat and storing them in a cool, dark place. It is important to monitor the moisture levels throughout the winter to ensure that the seeds do not dry out or become too wet and rot. Some gardeners find that a double stratification period is needed, alternating between warm and cold temperatures to achieve the best results. This meticulous care is what separates a successful propagation effort from one that fails to produce results.
In the spring, you can sow the stratified seeds into individual pots filled with a high-quality seed-starting mix that offers excellent drainage. You should place the pots in a warm, bright location but away from the direct, scorching heat of the afternoon sun. Germination can be irregular, so you must be patient and continue to keep the soil consistently moist but not waterlogged. Seeing the first green shoots emerge from the soil is a moment of great satisfaction for any dedicated propagator.
Once the seedlings have developed their first true leaves, you can begin to introduce them to a very weak solution of liquid organic fertilizer. You should keep them in a protected environment for at least the first year until they have built up enough strength to survive the garden. Moving them into larger pots as they grow will ensure that the roots have plenty of space to develop without becoming cramped. This gradual upbringing produces hardy young plants that are ready for their permanent positions in the landscape.
Cuttings and grafting
Propagating through cuttings is a faster way to create new plants that are genetically identical to the parent shrub you admire. You should take semi-hardwood cuttings in late summer when the current season’s growth has started to firm up but is still flexible. These cuttings should be about ten to fifteen centimeters long and have several healthy leaf nodes along their length for the best results. Using a sharp, clean knife or shears ensures that you make a clean cut that heals quickly and reduces the risk of infection.
You can increase your success rate by dipping the base of the cuttings into a natural rooting hormone before placing them in a well-draining rooting medium. It is essential to keep the cuttings in a high-humidity environment to prevent them from drying out before they can develop their own root systems. You might use a simple plastic cover or a misting system to maintain the necessary moisture levels in the air around the leaves. This controlled environment is critical for the survival of the cuttings during the first few weeks of their new life.
Grafting is a more advanced technique that you can use to combine the benefits of a strong rootstock with a particularly productive or decorative variety. You should perform this task in late winter or early spring just before the sap begins to flow and the buds start to swell. This method requires precision and a steady hand to ensure that the vascular layers of the two plants are perfectly aligned for a successful union. When done correctly, grafting allows you to enjoy the best characteristics of different varieties on a single, hardy plant.
After grafting, you must protect the union site with specialized wax or tape to prevent it from drying out or becoming infected by pathogens. You should monitor the plant closely for signs of growth from the graft, which indicates that the two parts have successfully fused together. Once the graft is established, you can gradually remove the protective materials and allow the new branch to grow freely. This professional skill opens up many possibilities for customizing your garden with unique and highly productive cornelian cherry specimens.