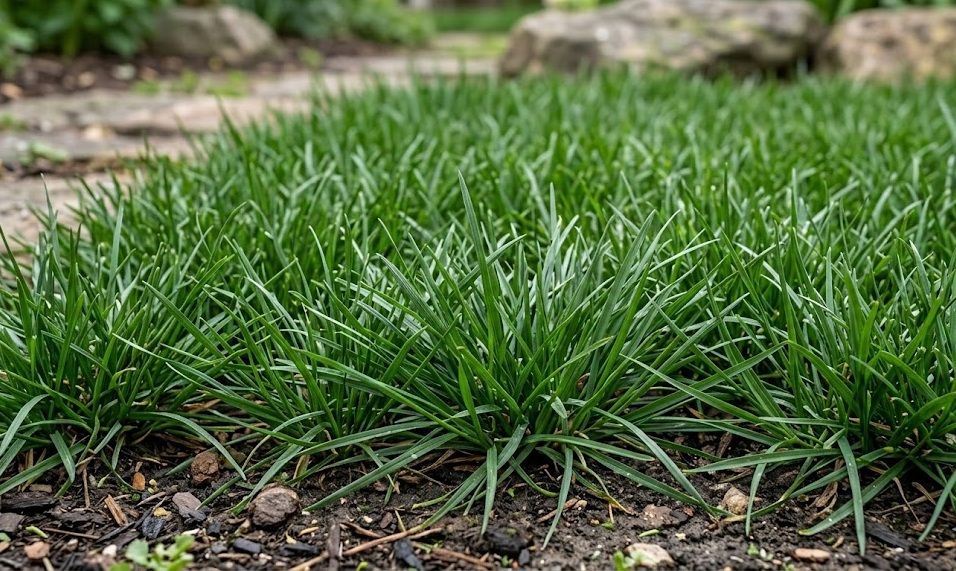
Establishing a new lawn or renovating an existing agricultural area requires a clear plan and an understanding of the germination process. Tall fescue is primarily established through seeds, as its bunch-forming growth habit makes it less suitable for traditional sodding compared to creeping varieties. The goal of planting is to create the perfect environment for seeds to wake up, send down roots, and establish a dense canopy. Success depends on the timing of your work, the quality of the seeds you select, and the preparation of the site.
Timing and site preparation
The window for successful planting is relatively narrow and depends heavily on the prevailing weather patterns in your local region. Autumn is widely considered the best time for sowing because the soil is still warm from the summer, but the air temperatures are beginning to cool. These conditions promote rapid root development without the extreme heat stress that often kills young seedlings during the summer months. If you miss the autumn window, early spring is a secondary option, though you will need to be much more diligent with irrigation.
Preparing the site involves removing any existing vegetation and ensuring the soil surface is level and free of large debris. You should start by clearing away weeds and old grass using mechanical or chemical means to ensure the new seeds don’t have to compete for space. Once the area is clear, tilling the top few inches of soil will break up compaction and create a loose bed for the seeds to settle into. A smooth, even surface prevents water from pooling in some areas while leaving others bone dry during the critical first weeks.
Adding organic matter or a specialized starter fertilizer during the preparation phase gives the new plants the boost they need to get started. Compost improves the soil structure and helps retain moisture around the seeds, which is essential for consistent germination across the entire area. A starter fertilizer should be high in phosphorus to specifically target root growth rather than just making the leaves grow fast. By incorporating these elements into the top layer of soil, you ensure that the nutrients are exactly where the young roots will be searching for them.
Final grading of the area should be done with a heavy rake to create a fine texture that allows for good seed-to-soil contact. You want the soil to be firm enough that you don’t sink in when walking, but loose enough that the tiny seeds can find their way into the crevices. Any large clods of earth should be broken down, and stones should be removed to prevent interference with future mowing. Taking the time to get the foundation right will save you countless hours of corrective work once the grass begins to grow.
More articles on this topic
Seed selection and sowing techniques
Choosing the right seed variety is a professional decision that will impact the look and durability of your lawn for the next decade. Look for certified seeds that have a high germination rate and a low percentage of weed seeds or inert matter listed on the label. Many modern cultivars have been bred for specific traits such as improved drought tolerance, darker green color, or better resistance to common local diseases. Mixing different cultivars of the same species can often provide a more resilient turf that can adapt to varying microclimates in your garden.
The rate at which you spread the seed is critical for achieving a dense lawn without overcrowding the individual plants. If you sow too thinly, you will be left with bare patches that weeds will quickly occupy; if you sow too thickly, the seedlings will compete with each other and become weak. Most experts recommend a rate of about six to eight pounds of seed per thousand square feet for a completely new lawn. Using a calibrated spreader ensures that the distribution is even and that you don’t run out of seed halfway through the job.
Achieving good seed-to-soil contact is the secret to a high germination rate and a uniform appearance across the site. After spreading the seeds, you should lightly rake the area to cover them with about an eighth to a quarter inch of soil. This protects the seeds from being eaten by birds and prevents them from drying out too quickly when the sun is out. Some professionals also use a light roller to press the seeds into the earth, ensuring they are firmly tucked in and ready to absorb moisture.
Covering the seeded area with a thin layer of straw or a specialized germination blanket can help retain moisture and prevent erosion. This is especially important on sloped areas where heavy rain could wash away your hard work before the seeds have a chance to take root. The mulch layer also helps regulate the soil temperature, keeping it more consistent during the day and night cycles. Make sure the layer is thin enough that sunlight can still reach the soil surface, as some light is often beneficial for the young shoots.
More articles on this topic
Germination and early seedling care
Once the seeds are in the ground, your primary responsibility shifts to moisture management and protection of the fragile new life. Germination typically takes between seven and fourteen days, depending on the soil temperature and the specific variety you have planted. During this time, the soil surface must remain constantly moist but never completely saturated or underwater. You may need to water lightly several times a day to prevent the seeds from drying out, which would be fatal to the emerging embryo.
As the first green shoots appear, you can gradually reduce the frequency of watering while increasing the amount of water applied during each session. This shift encourages the young roots to grow deeper into the soil in search of moisture, rather than staying near the surface. You should monitor the area closely for any signs of damping-off, which is a fungal disease that can quickly kill entire patches of new seedlings. If you notice thin, shriveled stems or fuzzy growth on the soil, you may need to reduce your watering slightly and improve air circulation.
Protecting the new lawn from traffic is essential during the first few weeks when the plants are most vulnerable to physical damage. Even small animals or light foot traffic can crush the tender shoots and displace the seeds that have not yet fully anchored themselves. You might want to put up temporary fencing or markers to remind people to stay off the area until the grass has been mown at least once. This period of rest allows the root system to become established enough to support the weight of maintenance equipment and regular use.
The first mowing is a major milestone in the life of your new turf and should be handled with extreme care. You should wait until the grass has reached a height of about four and a half inches before taking the mower to it for the first time. Set your mower to its highest setting to ensure you only remove the very tips of the blades, which stimulates the plant to start thickening up. Make sure your blades are exceptionally sharp to avoid pulling the young plants right out of the ground during the cutting process.
Propagation and renovation methods
Because this grass variety does not spread through runners or rhizomes effectively, propagation is almost always done through overseeding. This process involves adding new seed to an existing lawn to increase its density or to introduce improved varieties into the mix. Overseeding is a great way to repair damage from the summer or to refresh a lawn that has become thin over time. To be successful, the new seeds must be able to reach the soil, which often requires aggressive raking or aeration before sowing.
Slit seeding is a professional propagation technique that uses a machine to cut small grooves into the soil and drop seeds directly into them. This method provides excellent seed-to-soil contact and is often much more successful than simply broadcasting seed over the surface of the grass. It is particularly effective for large agricultural areas or sports fields where a high success rate is required to justify the cost. The machine can be adjusted to the perfect depth, ensuring that the seeds are placed exactly where they have the best chance of survival.
If you are dealing with small bare spots, you can create a simple propagation mix by combining seeds with topsoil and a bit of organic matter. This mixture can be spread into the holes and firmed down by hand, providing a nutrient-rich environment for the new grass to take hold. This localized approach is much easier than treating the entire lawn and allows you to fix problems as soon as they appear. Regular “spot-seeding” throughout the growing season can keep your turf looking consistently thick and green.
Renovating a completely degraded area might require a more radical approach, including the use of temporary cover crops to improve soil health. In some professional contexts, you might grow a crop like clover or rye for a season to add nitrogen and organic matter before establishing the final grass. This long-term perspective on propagation ensures that the site is truly ready to support a high-quality lawn for years to come. Propagation is not just about the moment of planting, but about the continuous effort to maintain a vibrant and living ecosystem.