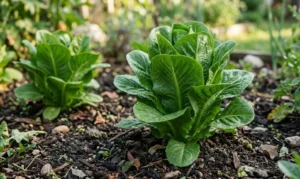
The process of establishing a successful kale crop begins with a strategic approach to planting and understanding the various methods of propagation. Whether you are starting from seed or using vegetative techniques, the goal is to create a strong root system that can support rapid leaf development. This vegetable is remarkably versatile, allowing for both indoor starts and direct sowing depending on the local climate and season. By mastering these initial stages, you provide your garden with the best possible chance for a high-yield and healthy harvest throughout the year.
Choosing the right time to start your seeds is the first critical decision in the planting process. For a spring crop, you should begin sowing indoors about six to eight weeks before the last expected frost date. This gives the young plants enough time to develop a sturdy stem and several true leaves before facing outdoor conditions. Using a high-quality seed-starting mix will provide the drainage and aeration necessary for delicate new roots to thrive.
The depth at which you sow the seeds significantly impacts the germination rate and the stability of the seedling. Generally, kale seeds should be planted about a quarter to half an inch deep in the soil or starting medium. You should keep the soil consistently moist but never waterlogged to prevent the seeds from rotting before they can sprout. A warm environment, ideally between 65 and 75 degrees Fahrenheit, will encourage the fastest and most uniform germination.
Once the seedlings emerge, they require intense light to prevent them from becoming leggy and weak. If you are growing them on a windowsill, you may need to rotate the trays frequently to ensure even growth. Many professional growers prefer to use supplemental LED or fluorescent lights to provide a consistent twelve to fourteen hours of illumination. Strong, compact seedlings are much more likely to survive the transition to the garden than tall, spindly ones.
Seed starting and indoor preparation
Preparing your seedlings for the transition to the outdoor garden is a process known as hardening off. This involves gradually exposing the young plants to outdoor temperatures, wind, and direct sunlight over a period of seven to ten days. You should start with just an hour or two in a sheltered spot and slowly increase the duration each day. This gradual adjustment prevents transplant shock, which can stall growth for several weeks if not managed correctly.
More articles on this topic
The containers you choose for your indoor starts should allow for easy drainage to maintain root health. Cell trays or peat pots are popular choices because they help keep the root ball intact during the eventual transplanting process. If the seedlings become too large for their initial containers before it is time to plant them outside, they should be moved to larger pots. Providing enough space for root expansion at this stage is vital for the long-term vigor of the plant.
Watering indoor seedlings requires a delicate touch to avoid disturbing the soil or damaging the tiny stems. Many gardeners prefer bottom-watering, which involves placing the seedling trays in a shallow basin of water for a few minutes. This allows the soil to wick up moisture from below, ensuring that the entire root zone is hydrated without getting the foliage wet. Keeping the leaves dry is an excellent way to prevent common indoor plant diseases like damping-off.
Nutrient supplementation for young seedlings should be minimal until they have developed their first set of true leaves. At that point, a very dilute solution of balanced organic fertilizer can be applied to support their rapid development. You must be careful not to over-fertilize at this early stage, as young roots are very sensitive to salt buildup. The goal is to produce a plant that is healthy and resilient, ready to take hold in the garden soil.
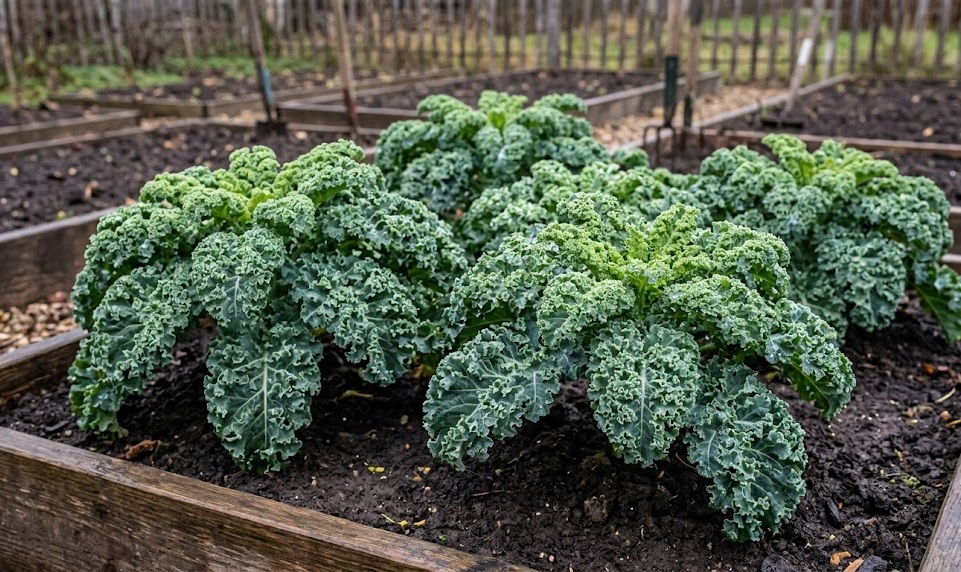
Transplanting techniques and spacing
When the time comes to move your kale into the garden, you must prepare the planting site with care. The holes should be dug slightly deeper and wider than the root ball of the seedling to allow for easy expansion. If you are planting in rows, you should space the plants at least twelve to eighteen inches apart to ensure proper airflow. This distance allows each plant to reach its full size without competing too heavily with its neighbors for light and nutrients.
More articles on this topic
You should place the seedling into the hole and firm the soil gently around the base of the stem. It is often beneficial to plant the seedling slightly deeper than it was in its original container to provide extra stability. After planting, a thorough watering is necessary to settle the soil around the roots and eliminate any large air pockets. This initial hydration helps the plant recover quickly from the stress of being moved to a new environment.
Applying a light layer of mulch immediately after transplanting can help protect the young roots from temperature swings. It also keeps the soil from splashing onto the leaves during rain, which can reduce the risk of soil-borne diseases. If the weather is particularly sunny or windy on transplant day, you might consider providing temporary shade for the first few days. These small steps can make a significant difference in the survival rate of your new kale crop.
Timing your transplanting during a cloudy day or in the late afternoon is another professional trick to reduce stress. The cooler temperatures and lower light levels allow the plant to settle in without the immediate demand of high transpiration. If you notice the plants wilting slightly in the first 48 hours, do not panic, as they usually upright themselves once the roots begin to function. Consistency in moisture during this first week is the most important factor for success.
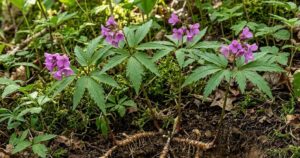
Direct sowing and alternative propagation
Direct sowing into the garden is a highly effective method for autumn crops or for gardeners in milder climates. You should wait until the soil temperature has reached at least 45 degrees Fahrenheit for reliable germination in the ground. Sowing seeds directly into the bed eliminates the risk of transplant shock and allows the roots to grow deep from day one. You can sow the seeds more densely than the final spacing and then thin the seedlings once they are a few inches tall.
Thinning is an essential part of direct sowing that many beginners are hesitant to perform properly. If the plants are left too close together, they will struggle for resources and remain small and unproductive. You should select the strongest-looking seedlings to keep and remove the others by cutting them at the soil line. These young “thinnings” are perfectly edible and make a wonderful addition to salads or stir-fries.
In some cases, you may want to propagate kale using vegetative methods, although this is less common than starting from seed. Some varieties of kale produce side shoots or “offsets” that can be carefully detached and rooted in moist soil. This method is an excellent way to clone a particularly productive or resilient plant from your garden. While it takes a bit more care to get these cuttings to take root, it can be a rewarding experiment for experienced growers.
Regardless of the method you choose, the key to successful propagation is maintaining a stable environment during the early stages. Whether it is a tiny seed or a leafy cutting, the young plant is vulnerable to extremes of heat, cold, and dryness. By providing consistent care and monitoring, you can turn a few small seeds into a massive harvest of nutritious greens. Propagation is both a science and an art that improves with every season of experience.