Embarking on the journey of planting rosemary begins with selecting a suitable location and preparing the soil to create an environment where this Mediterranean native can thrive. Success is fundamentally linked to replicating the sun-drenched, well-drained conditions of its origin. Whether you are starting with a nursery-grown plant or propagating your own, the initial steps of planting are critical for establishing a strong root system and a healthy foundation for future growth. Understanding the nuances of soil amendment, proper spacing, and the plant’s sunlight requirements will pay dividends in the form of a robust, aromatic, and long-lived herb. This initial investment of care ensures the plant is well-equipped to flourish in your garden landscape.
Preparing the ideal planting site
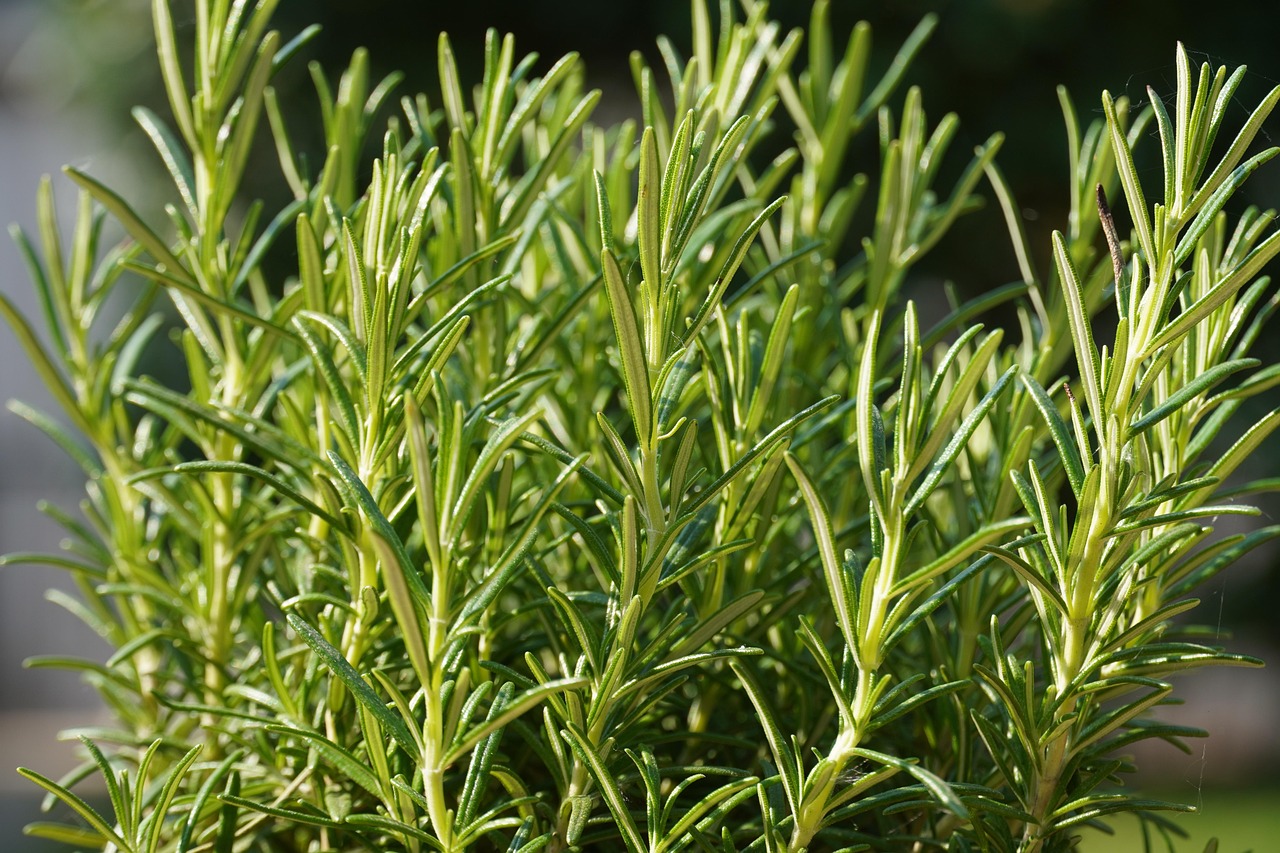
The first and most critical decision in planting rosemary is choosing the right location, which is defined by one primary factor: sunlight. Rosemary is a quintessential sun-loving herb that demands a minimum of six to eight hours of direct sun exposure each day. A south-facing aspect in your garden is often the perfect choice, as it typically receives the most prolonged and intense sunlight throughout the day. Insufficient light will lead to a weak, spindly plant with sparse foliage and a noticeable lack of the rich, aromatic oils for which it is prized. Before you even dig a hole, spend some time observing your garden to identify the sunniest possible spot.
Once the location is selected, the focus shifts to the soil, which must be exceptionally well-draining. Rosemary has a strong aversion to “wet feet” and will quickly succumb to root rot if left in heavy, waterlogged soil. If your garden consists of dense clay, significant soil amendment is necessary. You will need to incorporate generous amounts of organic matter, such as compost, which helps to improve soil structure, along with inorganic materials like coarse sand, perlite, or fine gravel to increase porosity. The goal is to create a loose, gritty texture that allows water to percolate through quickly, keeping the root zone oxygenated and healthy.
For those with persistently heavy or poorly draining soil, creating a raised bed is an outstanding solution that provides complete control over the growing medium. A raised bed elevates the planting area, physically lifting the root system away from the problematic subsoil. You can then fill the bed with an ideal custom soil blend, typically a mix of topsoil, compost, and a significant portion of sand or perlite to ensure sharp drainage. This method effectively bypasses the issue of poor native soil and creates the perfect environment for rosemary to establish itself successfully.
The final aspect of site preparation involves considering the mature size of the rosemary variety you intend to plant. Some cultivars can grow into large, sprawling shrubs, reaching several feet in both height and spread, while others maintain a more compact or prostrate habit. It is essential to provide adequate space for the plant to grow to its full potential without being crowded by other plants. Good spacing not only allows for healthy development but also promotes crucial air circulation around the plant, which is vital for preventing fungal diseases like powdery mildew from taking hold.
More articles on this topic
The process of planting rosemary
When you are ready to plant a rosemary seedling or a small plant purchased from a nursery, the timing of this activity can influence its successful establishment. The ideal time to plant rosemary outdoors is in the spring, after the last threat of frost has passed and the soil has begun to warm up. This timing gives the plant the entire growing season to develop a strong root system before it has to face the challenges of the following winter. Planting during the extreme heat of mid-summer can be stressful for a young plant, requiring more diligent watering to help it get established.
To plant your rosemary, begin by digging a hole that is approximately twice as wide as the plant’s current root ball but only as deep as the container it came in. Making the hole wider allows you to loosen the surrounding soil, making it easier for the new roots to penetrate and expand outward. It is important not to plant the rosemary deeper than it was growing in its nursery pot, as burying the crown of the plant can lead to stem rot. The top of the root ball should be level with or even slightly above the surrounding soil surface.
Carefully remove the rosemary from its container, taking care not to damage the root ball. If the plant is root-bound, with roots circling tightly around the inside of the pot, gently tease them apart with your fingers to encourage them to grow outwards into the new soil. Place the plant in the center of the prepared hole and backfill with the amended soil, gently firming it down around the root ball to eliminate any large air pockets. Ensure the plant is upright and stable in its new position.
After planting, water the rosemary thoroughly to help settle the soil around the roots and to provide essential moisture for its initial establishment. This initial deep watering is crucial, even for a drought-tolerant plant like rosemary. Following this, apply a layer of inorganic mulch, such as gravel or small pebbles, around the base of the plant. This type of mulch helps to suppress weeds and conserve soil moisture while also keeping the crown of the plant dry, which further helps to prevent rot and reflects heat, which rosemary appreciates.
More articles on this topic
Propagation from stem cuttings
Propagating rosemary from stem cuttings is an incredibly reliable and popular method for creating new plants, essentially cloning the parent plant. The best time to take cuttings is in the late spring or early summer when the plant is in a state of active growth, producing plenty of healthy, vigorous new shoots. Look for new growth that is still soft and green but is beginning to firm up slightly; this is known as semi-hardwood and is ideal for rooting. Avoid taking cuttings from the old, brown, woody parts of the plant, as these are much less likely to develop roots.
Using a clean, sharp pair of scissors or a knife, take cuttings that are about four to six inches long from the tips of healthy branches. Once you have your cuttings, prepare them by stripping the leaves from the bottom two inches of the stem. This bare section of the stem is what will be placed into the rooting medium, and removing the leaves prevents them from rotting and causing potential disease issues. It is important to handle the cuttings gently to avoid bruising the stems during this process.
You now have two primary options for rooting your prepared cuttings: in water or in a solid medium. For water rooting, simply place the stripped ends of the cuttings into a jar of water, ensuring that no leaves are submerged. Place the jar in a warm location with bright, indirect light and change the water every few days to keep it fresh. For rooting in a medium, fill a small pot with a mixture of perlite and peat moss or a seed starting mix. Dip the bare end of each cutting into a rooting hormone powder to encourage faster root development, then insert it into the potting medium.
Regardless of the method used, patience is key. Roots can take anywhere from a few weeks to a couple of months to develop, depending on the conditions. If you are rooting in a solid medium, keep it consistently moist but not waterlogged. You can create a humid environment to speed up the process by covering the pot with a clear plastic bag. Once a strong root system has formed – you’ll see new leaf growth as a sign of success – you can transplant your new rosemary plant into a larger pot or its permanent location in the garden.
Growing rosemary from seed
While propagating rosemary from cuttings is generally the more common and faster method, growing it from seed can be a rewarding experience, though it requires more patience and attention to detail. Rosemary seeds are notoriously slow and erratic to germinate, so it’s important to start with fresh, high-quality seeds from a reputable source to maximize your chances of success. The germination rate can be low, so it is advisable to sow more seeds than the number of plants you ultimately want to grow.
The best time to start rosemary seeds is indoors, about eight to ten weeks before the last expected spring frost date. Use a sterile seed starting mix and sow the seeds on the surface, lightly pressing them into the soil but not covering them completely, as they need light to germinate. Moisten the soil gently with a fine mist sprayer to avoid dislodging the seeds. To maintain the necessary warmth and humidity for germination, cover the seed tray with a clear plastic dome or plastic wrap.
Place the covered tray in a warm location, ideally one that maintains a consistent temperature of around 70 to 80 degrees Fahrenheit. A heat mat placed under the tray can be very effective in providing this consistent warmth. Be prepared to wait, as germination can take anywhere from two to four weeks, and sometimes even longer. During this time, ensure the soil remains consistently moist but not saturated, and allow for some ventilation to prevent the growth of mold.
Once the seedlings have emerged and developed their first true leaves, you can remove the plastic cover. Provide them with plenty of light, either from a sunny south-facing window or, more effectively, from a set of grow lights placed just a few inches above the seedlings. When the seedlings are a few inches tall and have several sets of leaves, they can be carefully transplanted into individual pots. Continue to care for them indoors until all danger of frost has passed, and then gradually acclimate them to outdoor conditions before planting them in the garden.