Brimeura amethystina is a hardy bulbous perennial, well-adapted to surviving cold winter conditions when grown in a suitable environment. Native to the mountainous regions of the Pyrenees, it is naturally equipped to handle periods of frost and snow. For gardeners, ensuring its successful overwintering primarily revolves around protecting it from the one condition it cannot tolerate: cold, wet soil. Proper site selection and soil preparation at the time of planting are the most critical factors for winter survival. By providing excellent drainage, you create a winter habitat where the dormant bulbs can rest without the constant threat of rot, ensuring they emerge healthy and vigorous the following spring.
In-ground winter care
For Brimeura amethystina planted in the garden, overwintering is typically a straightforward and low-maintenance affair, provided they are in the right location. These bulbs are generally hardy in zones where winter temperatures do not consistently drop to extreme lows without snow cover. The most important factor for their survival is not the cold itself, but the moisture level of the soil. The bulbs are highly susceptible to rotting if they sit in waterlogged, frozen ground. Therefore, the well-drained soil that is crucial for their summer dormancy is equally vital for their winter survival.
In regions with reliable winter snow cover, the snow acts as a natural insulator, protecting the dormant bulbs from the harshest temperature fluctuations and desiccating winds. This blanket of snow keeps the soil temperature more stable, preventing the damaging effects of repeated freezing and thawing cycles. If your garden benefits from consistent snow cover, little to no additional protection is usually necessary. The bulbs will rest safely beneath the soil, awaiting the warmth of spring to signal the start of a new growth cycle.
In areas that experience cold winters with little or no snow cover, or where freeze-thaw cycles are common, providing a layer of winter mulch is a beneficial practice. After the ground has frozen in late autumn or early winter, apply a 5-10 centimetre layer of organic mulch, such as straw, shredded leaves, or pine boughs. This mulch layer does not keep the ground warm, but rather it helps to keep it consistently frozen, insulating the bulbs from temperature swings that can cause them to heave out of the soil or trigger premature growth during a brief warm spell.
It is important to apply the winter mulch only after the ground has frozen. Applying it too early, when the ground is still warm, can trap heat and moisture, potentially encouraging rot. It can also provide a cosy winter home for rodents like voles, which may then feed on the bulbs. In early spring, as the threat of hard frost passes and the ground begins to thaw, this mulch layer should be gently raked away to allow the soil to warm up and to make way for the emerging new shoots.
More articles on this topic
Overwintering in containers
Overwintering Brimeura amethystina grown in containers requires a bit more attention than for those planted in the ground. The soil in pots is more exposed to ambient air temperatures on all sides, making it freeze more quickly, more deeply, and for longer periods than garden soil. This can potentially damage or kill the bulbs. Furthermore, containers can become waterlogged from winter rain and snow, and if this mass of wet soil freezes solid, it can be fatal to the bulbs within. Therefore, providing some form of protection is essential for container-grown specimens.
One of the simplest methods for overwintering potted bulbs is to move the containers to a sheltered location. An unheated garage, a cold frame, a shed, or a spot against the sheltered wall of the house are all excellent options. The goal is to protect the pot from the harshest winter winds and, most importantly, to shield it from excessive winter precipitation. The soil in the pot should be kept on the dry side throughout the winter. It does not need to be bone dry, but it should never be saturated. A very light watering once a month is usually sufficient if the location is completely dry.
Another technique is to sink the pots into an empty patch of garden soil up to their rims. The surrounding soil provides excellent insulation, protecting the roots and bulbs from the rapid temperature fluctuations that affect above-ground pots. After sinking the pot, you can apply a layer of mulch over the top, just as you would for in-ground plants. This method effectively allows you to treat your container plants as if they were in the ground for the winter, providing them with a much more stable and protected environment.
If you lack a suitable sheltered location or garden space, you can insulate the pots themselves. Group several pots together to create a larger mass, which will be more resistant to temperature changes. You can then wrap the entire group in bubble wrap or burlap, or pack insulating materials like straw or leaves into the gaps between the pots and around the outside of the cluster. Ensure that the drainage holes at the bottom of the pots remain unobstructed to prevent any water from accumulating and freezing.
More articles on this topic
Preparing bulbs for winter
The preparation for winter actually begins long before the cold weather arrives. The health and energy reserves of the bulb as it enters dormancy are a primary determinant of its ability to survive the winter. This is why proper care during the spring and summer is so critical. Allowing the foliage to die back naturally after flowering is essential. The leaves are the plant’s engine for photosynthesis, and during this senescence period, they are busy transporting energy and nutrients back down into the bulb for storage. Cutting the foliage back prematurely will result in a weaker bulb that is less equipped to endure the stresses of winter.
Ensuring the bulb experiences its required dry dormancy period during the summer is another crucial preparatory step. A bulb that has been kept too wet during the summer may have already begun to suffer from low levels of fungal activity, even if it is not fully rotted. This pre-existing weakness will make it far more vulnerable to the challenges of a cold, damp winter. By providing the correct summer conditions, you are essentially ensuring the bulb is healthy, firm, and ‘cured’ before it faces the rigours of winter.
As autumn approaches, it is important to ensure the area around your Brimeura amethystina is clear of weeds and debris. This improves air circulation and removes potential hiding places for overwintering pests or disease spores. For new plantings, getting the bulbs into the ground in early to mid-autumn gives them sufficient time to develop a healthy root system before the soil freezes. These roots anchor the bulb and are vital for water and nutrient uptake in the spring. A bulb without a well-established root system is more susceptible to heaving out of the ground during freeze-thaw cycles.
No fertilization is needed in the autumn. Applying fertilizer late in the season could stimulate new growth at the wrong time, which would be vulnerable to frost damage. The energy for the initial spring growth is already stored within the bulb. Any feeding should be reserved for the following spring when the plant is in its active growth phase. The focus in autumn is simply on providing the right conditions for the bulb to establish its roots and settle in for its long winter rest.
Common overwintering mistakes
A frequent mistake gardeners make is providing too much water in the autumn and winter. While newly planted bulbs need an initial watering to settle the soil, established in-ground plantings generally require no supplemental water during this period. Natural precipitation is more than enough, and the primary concern should always be avoiding waterlogged conditions, not dryness. Forgetting to move containers to a sheltered spot where they are protected from winter rains is a common oversight that often leads to the demise of potted bulbs.
Another common error is applying a winter mulch too early in the season, before the ground has frozen. As mentioned, this can trap excess warmth and moisture, creating an ideal environment for fungal rot and for pests like voles and mice that might view your bulbs as a winter food source. It is equally important to remember to remove the mulch in a timely manner in the early spring. Leaving the mulch on for too long can delay the warming of the soil and physically obstruct the emerging shoots, potentially causing them to become pale and distorted.
Overcrowding is a less obvious but still significant factor that can impact winter survival. Dense clumps of bulbs have to compete for limited resources, which can result in weaker individual bulbs. These less vigorous bulbs may be less resilient to winter stress. Periodically dividing the clumps every few years in late summer not only helps to propagate the plants but also ensures that each bulb has adequate space and resources, leading to stronger plants that are better prepared to overwinter successfully.
Finally, a crucial mistake is underestimating the importance of drainage. A gardener might do everything else correctly—mulching at the right time and protecting containers—but if the underlying soil is heavy and holds water, the bulbs will remain at high risk. There is no substitute for proper soil preparation. If you have consistently lost bulbs over winter in a particular spot, it is almost certain that poor drainage is the culprit. In such cases, it is best to dig up any remaining bulbs, amend the area heavily with grit, or move the planting to a more suitable location like a raised bed or a rock garden.
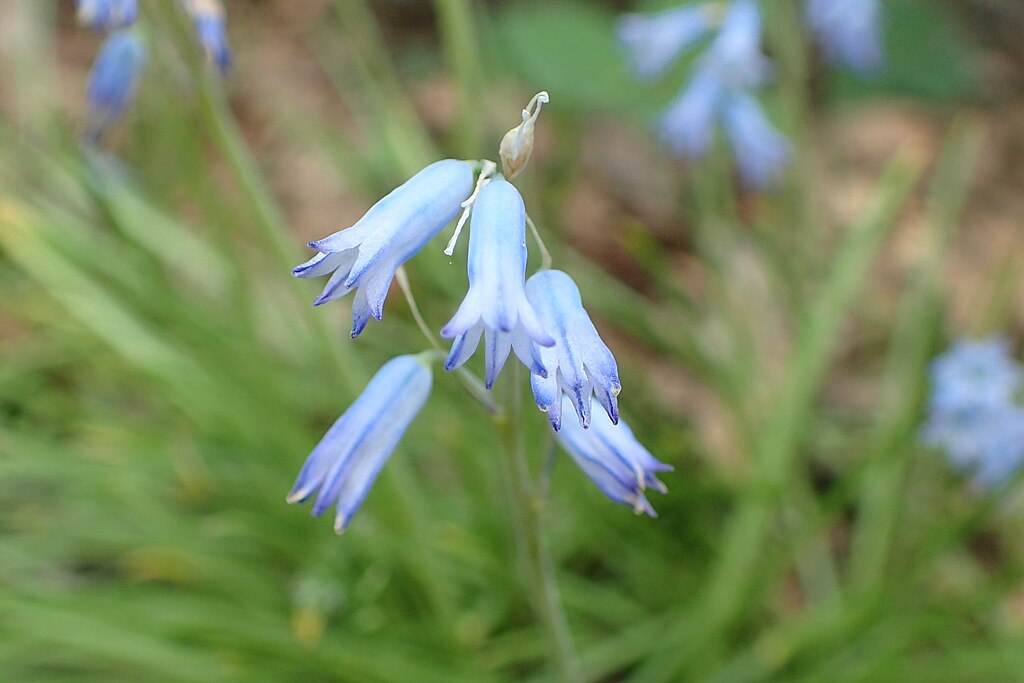
📷: Krzysztof Ziarnek, Kenraiz, CC BY-SA 4.0, via Wikimedia Commons