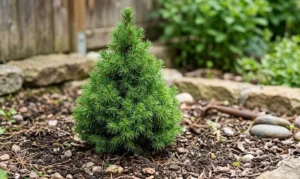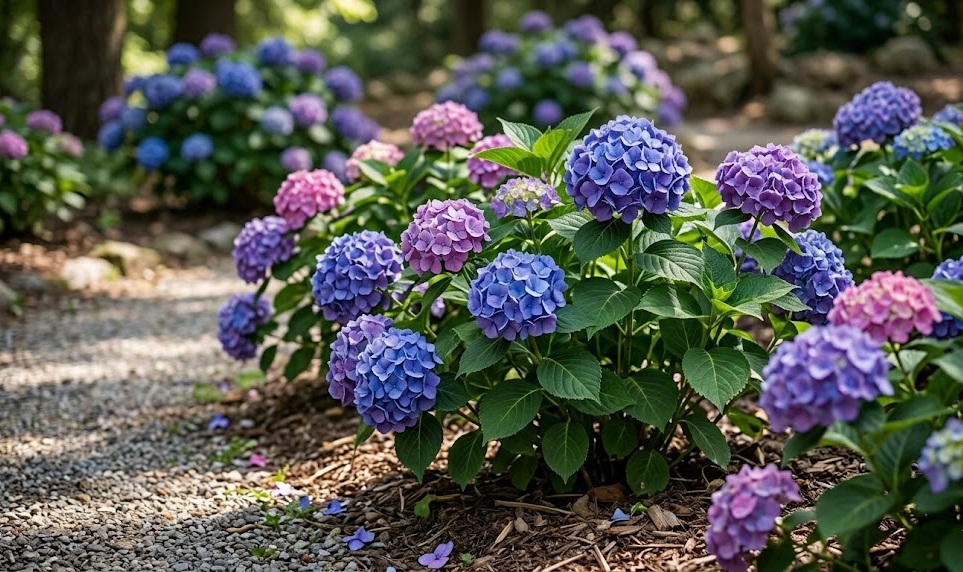
The process of establishing these iconic shrubs in the landscape begins with a meticulous approach to planting and a clear strategy for future expansion through propagation. Success is largely determined by the timing of the intervention and the quality of the preparation performed before the plant ever touches the soil. Professional horticulturists understand that the initial period after planting is the most vulnerable time in the specimen’s life cycle. By following established protocols for soil preparation and root management, the foundation for a lifetime of healthy growth and spectacular blooms is laid.
Selecting the optimal time for planting is a decision that can significantly impact the survival rate and subsequent growth speed of the shrub. In most temperate climates, early spring or late autumn are the preferred windows for introducing new plants to the garden. During these periods, the temperatures are moderate, and the soil moisture levels are generally more stable, which reduces transplant shock. Planting during the dormant phase allows the root system to begin establishing itself without the burden of supporting active foliage and flowers.
Site preparation should involve a thorough assessment of the drainage capabilities and the existing nutrient profile of the designated area. Digging a hole that is at least twice as wide as the root ball but no deeper ensures that the roots have plenty of loose soil to expand into. Mixing in organic amendments like compost or peat moss during the backfilling process improves the soil’s structure and its ability to retain moisture. Avoiding the use of heavy fertilizers in the planting hole prevents the burning of tender new roots as they emerge.
The actual planting process requires careful handling to protect the integrity of the root system and the main stems. When removing the plant from its container, any circling roots should be gently loosened to encourage outward growth rather than continued spiraling. The shrub should be placed in the hole at the same depth it was growing in its original pot to prevent stem rot or root exposure. Once the hole is filled, firming the soil gently with your hands removes large air pockets and ensures good contact between the roots and the earth.
Propagation through softwood cuttings
Softwood cuttings offer a reliable and cost-effective method for creating new plants that are genetically identical to the original parent shrub. This technique is most successful when performed in late spring or early summer when the new growth is still flexible but has begun to firm up slightly. Selecting healthy, non-flowering shoots ensures that the plant’s energy is focused on root development rather than reproductive efforts. Each cutting should be approximately ten to fifteen centimeters long and taken with a sharp, sterilized tool to minimize tissue damage.
More articles on this topic
Preparing the cuttings involves removing the lower leaves to expose the nodes where new roots are most likely to form from the cambium layer. Dipping the cut end into a rooting hormone powder or gel can significantly increase the speed and success rate of the rooting process. The cuttings should then be inserted into a well-draining, sterile medium such as a mix of perlite and peat moss. Maintaining high humidity around the cuttings by using a plastic dome or a clear bag prevents the foliage from drying out before the roots can take over.
The environment for the developing cuttings must be carefully managed to provide warmth and indirect light without the risk of overheating. A spot with bright, filtered sunlight is ideal, as direct sun can quickly scorch the delicate tissues and dry out the growing medium. Checking the moisture levels daily is essential, as the medium should remain consistently damp but never waterlogged. Most softwood cuttings will begin to develop a functional root system within four to six weeks under these controlled conditions.
Once the roots have reached a length of several centimeters, the new plants can be gradually hardened off and moved into individual pots with standard potting soil. This transition phase allows the young shrubs to adapt to lower humidity and more variable light conditions before being planted in the garden. Providing a liquid seaweed extract or a very diluted balanced fertilizer can support this early stage of growth. Growing the cuttings in containers for their first full season ensures they are strong enough to survive the challenges of the open landscape.
Success with hardwood cuttings
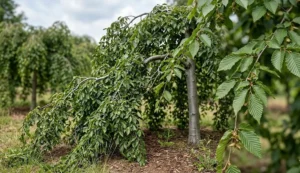
Hardwood propagation is a traditional technique performed during the late autumn or winter months when the plant is in a state of deep dormancy. This method is particularly useful for gardeners who want to produce large numbers of new plants with minimal specialized equipment. The cuttings are taken from the current year’s growth that has fully matured and turned woody, providing a sturdy base for development. Since the plant is dormant, there is no risk of moisture loss through the leaves, which simplifies the overall management process.
More articles on this topic
Cuttings for this method are typically longer than softwood ones, often ranging from twenty to thirty centimeters in length. They should be cut just below a node at the base and just above a node at the top to ensure the correct orientation for growth. These dormant stems can be bundled together and buried in a protected outdoor spot or placed in a cold frame filled with sandy soil. The cool winter temperatures encourage slow callus formation at the base, which is the precursor to root development in the spring.
As the soil begins to warm in the early spring, the hardwood cuttings will start to produce roots and eventually push out new leaf buds. It is important to monitor the moisture levels as the weather becomes more active to prevent the cuttings from drying out during this critical transition. Many professional growers prefer to leave these cuttings in place for an entire growing season to ensure a robust root system has formed. By the following autumn, the successful cuttings will be ready to be moved to their permanent locations or potted up.
This method requires patience, as the growth rate of hardwood cuttings is generally slower than that of softwood versions taken in the summer. However, the resulting plants are often very hardy and well-adapted to the local climate from the very beginning. Hardwood propagation is an excellent way to make use of the material removed during winter pruning tasks, turning waste into valuable new garden assets. It is a sustainable practice that connects the gardener to the natural cycles of the seasons.
Layering and division techniques
Layering is a low-stress propagation method that allows a new plant to form while still being physically attached to and supported by the parent shrub. This technique involves bending a flexible, low-growing branch down to the soil surface and securing it in place with a landscape staple or a heavy stone. A small nick or scrape on the underside of the branch where it touches the ground can stimulate the production of roots at that point. Covering the wounded section with a few inches of moist soil and mulch keeps the area dark and humid, which is necessary for root growth.
The primary advantage of layering is that the developing plant continues to receive water and nutrients from the established root system of the mother plant. This significantly reduces the risk of failure and allows for the production of larger new specimens in a shorter amount of time. Depending on the variety and the environmental conditions, the layered branch can take anywhere from a few months to a full year to develop a sufficient root system. Once roots are well-established, the new plant can be severed from the parent and moved to its own location.
Division is another effective way to propagate, though it is usually reserved for older, multi-stemmed shrubs that have become too large for their space. This process involves digging up the entire plant in the early spring and carefully separating the root ball into two or more smaller sections. Each division must have a healthy portion of both roots and stems to ensure it can re-establish itself successfully. This is also an excellent opportunity to rejuvenate an old plant and improve its overall vigor.
After dividing, it is crucial to replant the sections immediately and provide them with plenty of water to settle the soil around the disturbed roots. Some pruning of the top growth may be necessary to balance the loss of roots that occurs during the separation process. Division is a more immediate way to gain large plants, but it is physically demanding and can be stressful for the specimen if not done with care. Both layering and division are essential tools in the professional gardener’s repertoire for managing and expanding a collection.